Lamp Lighting Kit Instructions
Shoulder Lamp Lighting Kit
Supplies Needed:
Shoulder Lamp Drill
Hot Glue Drill Bits
Remember, only paint or sand resin outdoors, or in a well ventilated room while wearing goggles and a mask.
The kit includes – Lighting Kit, Velcro
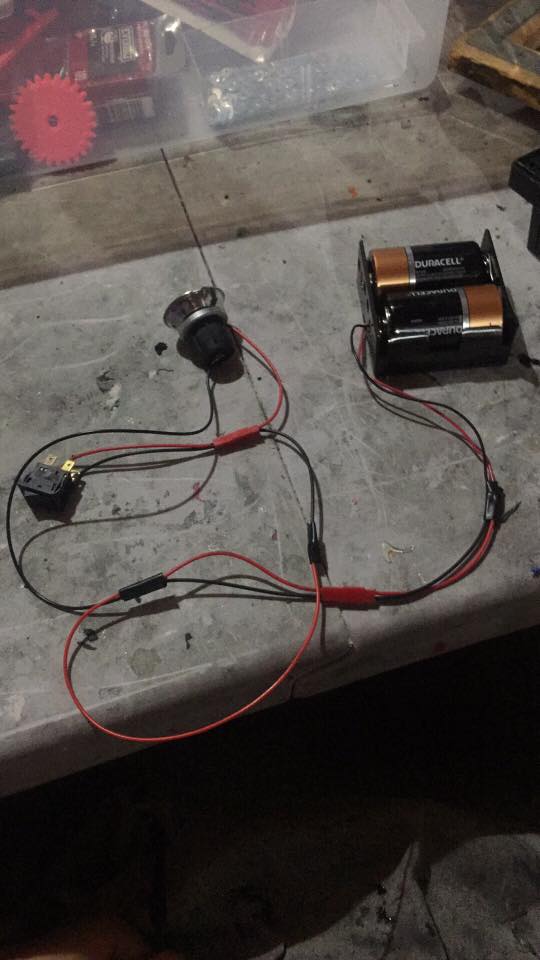
Lighting Kit
Assemble the Lamp kit as per the instructions, but insert these instructions as noted:
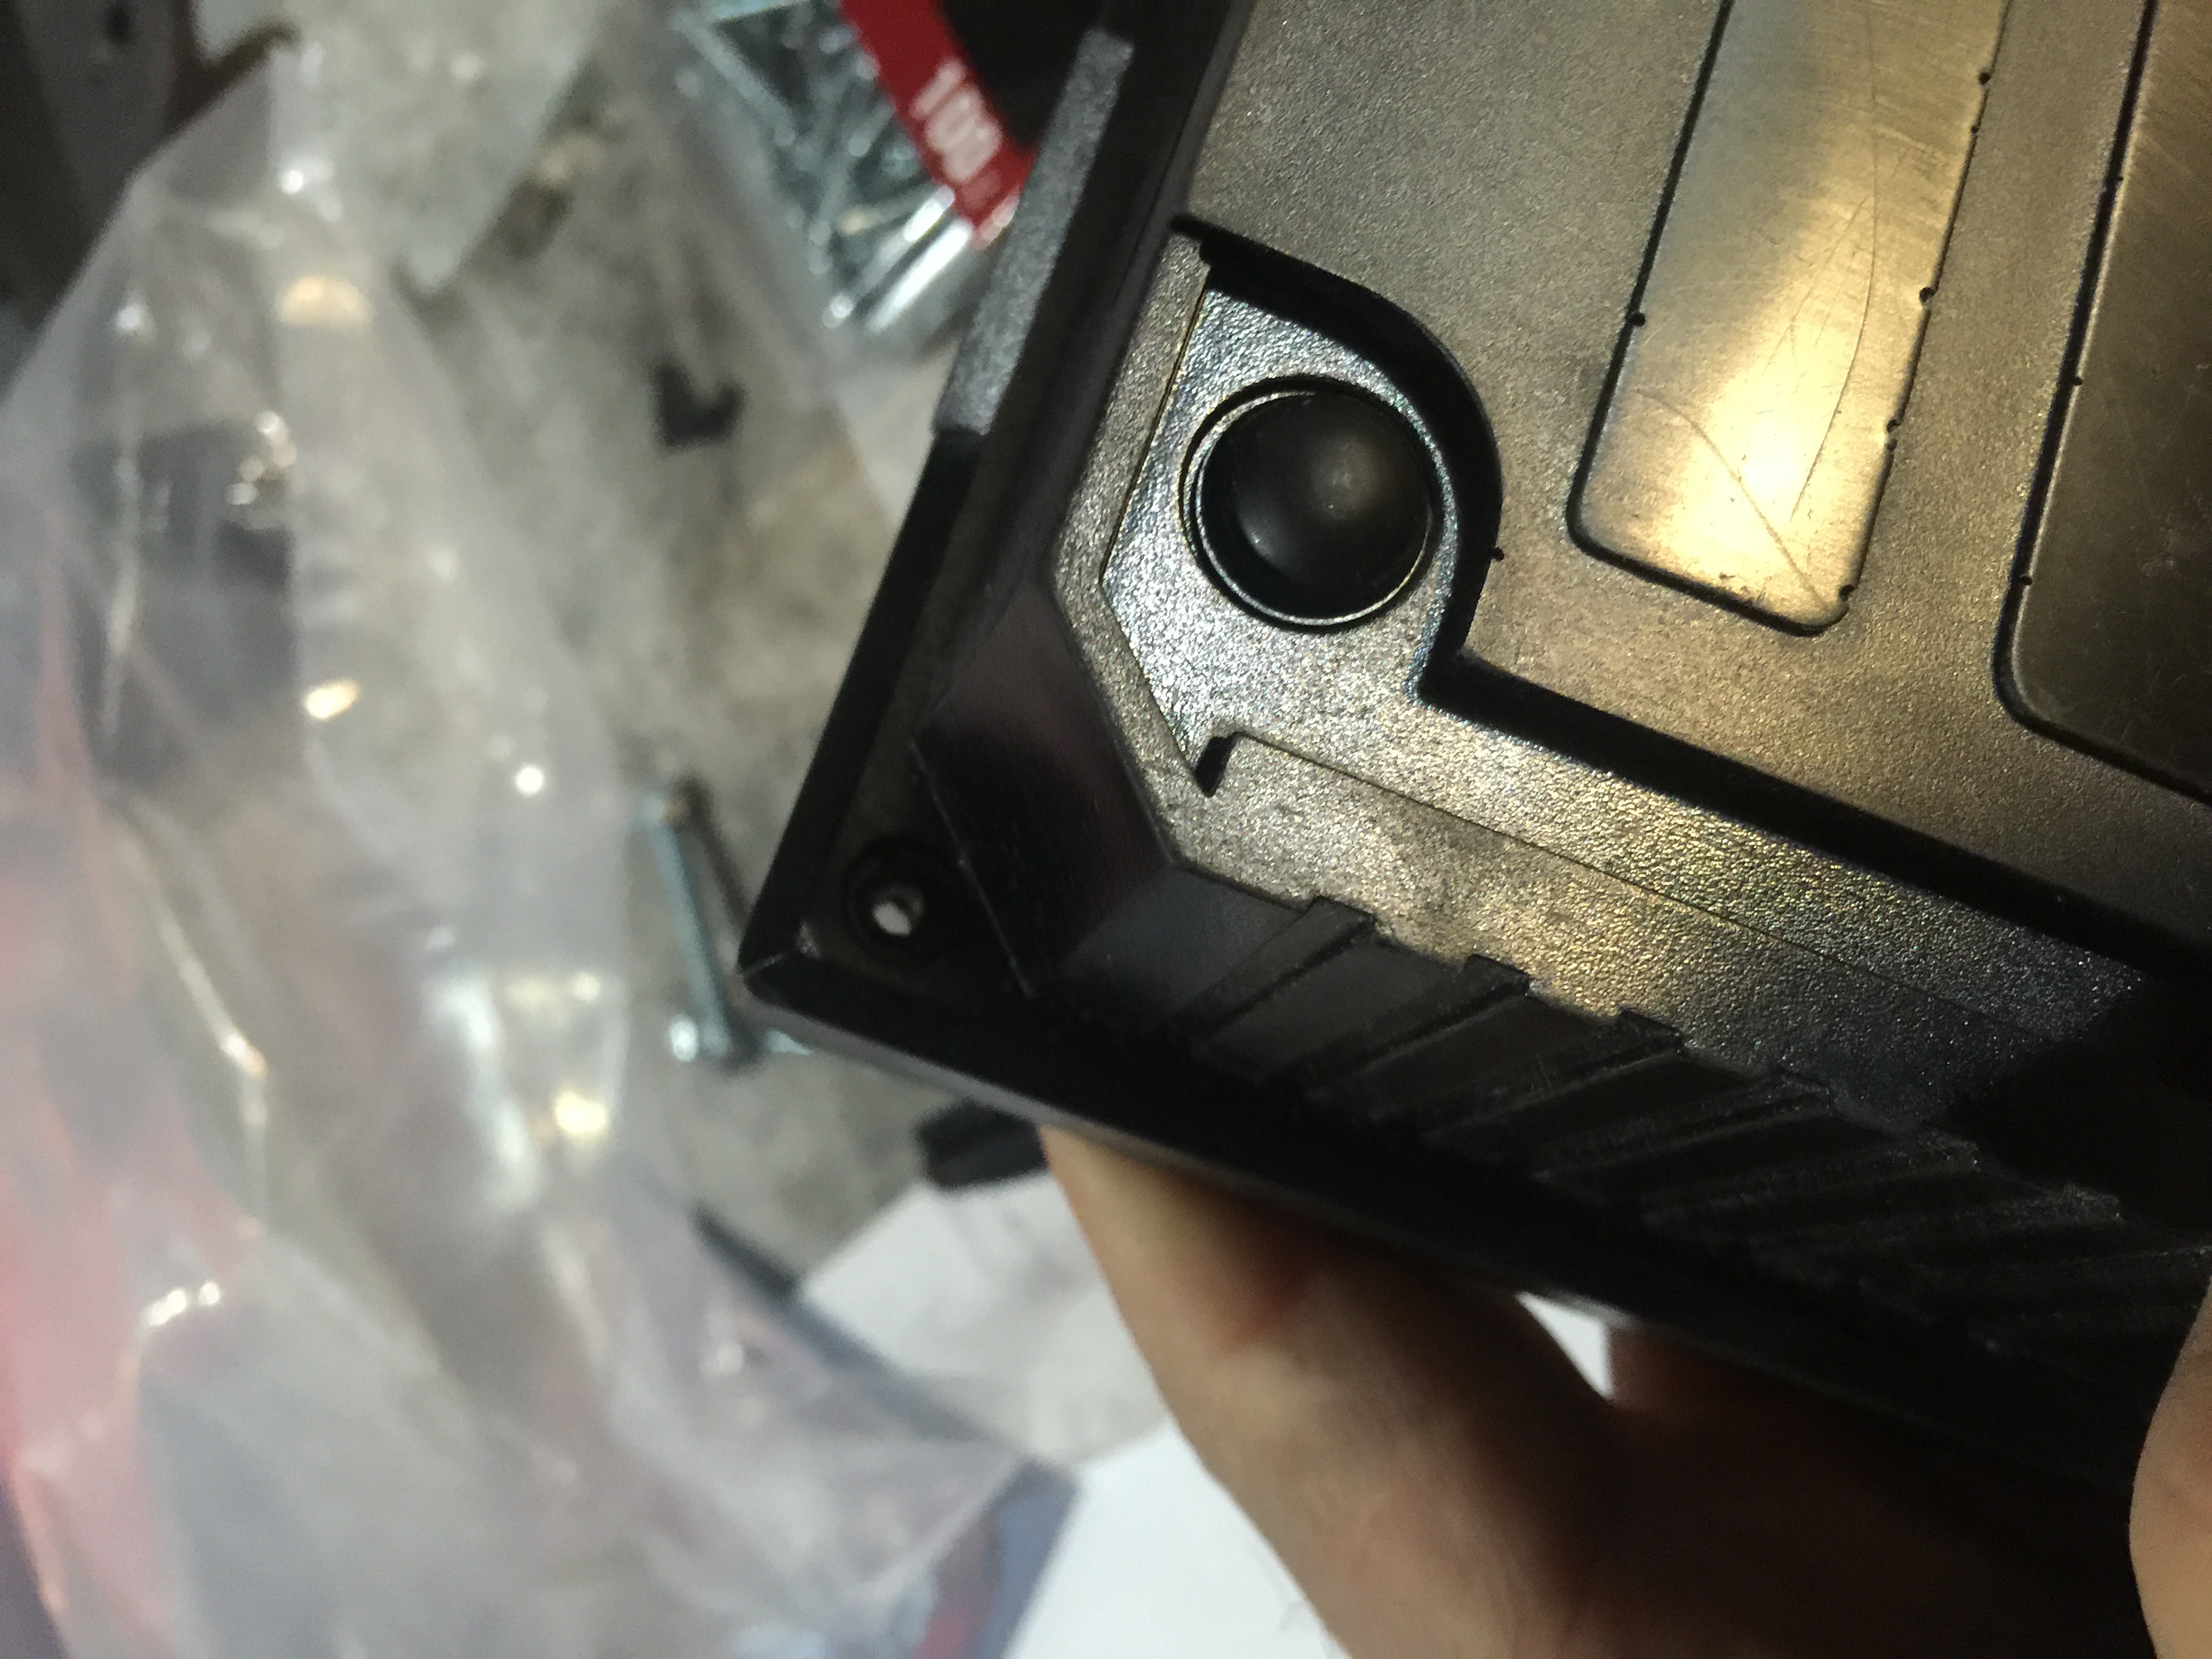
4.5: Drill a 5/16” hole in the bottom of the Lamp Head for the wires.
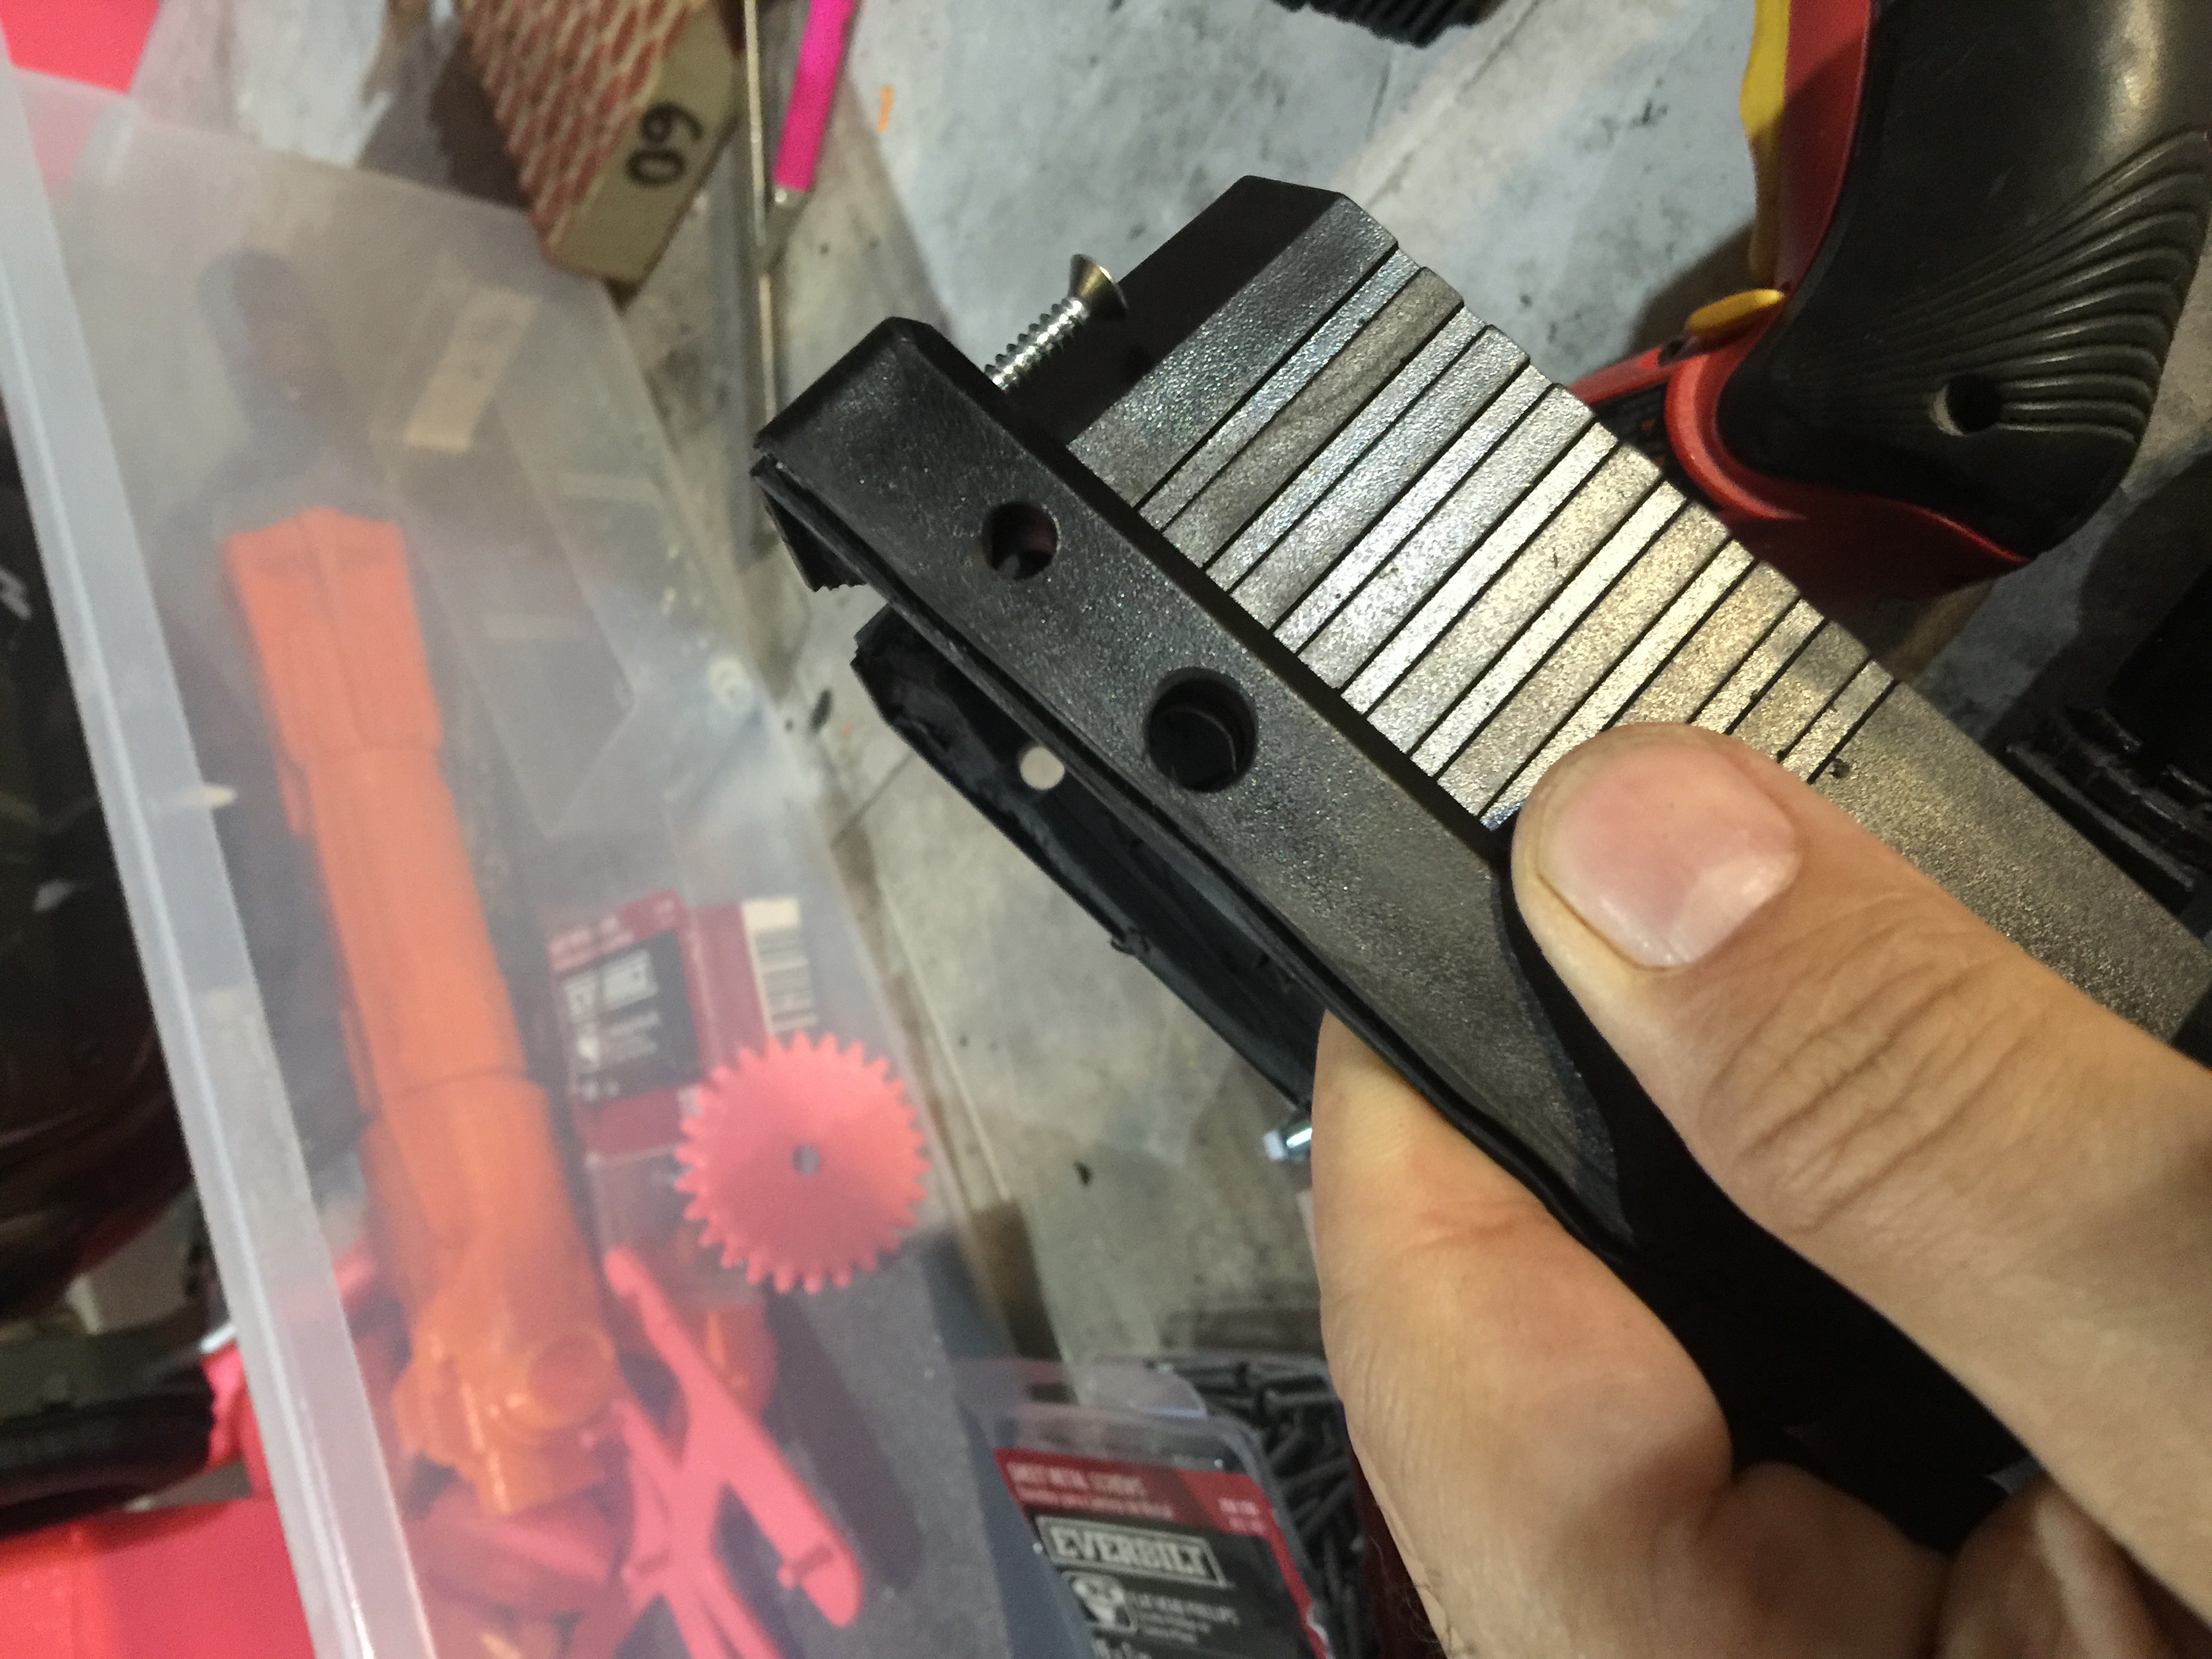
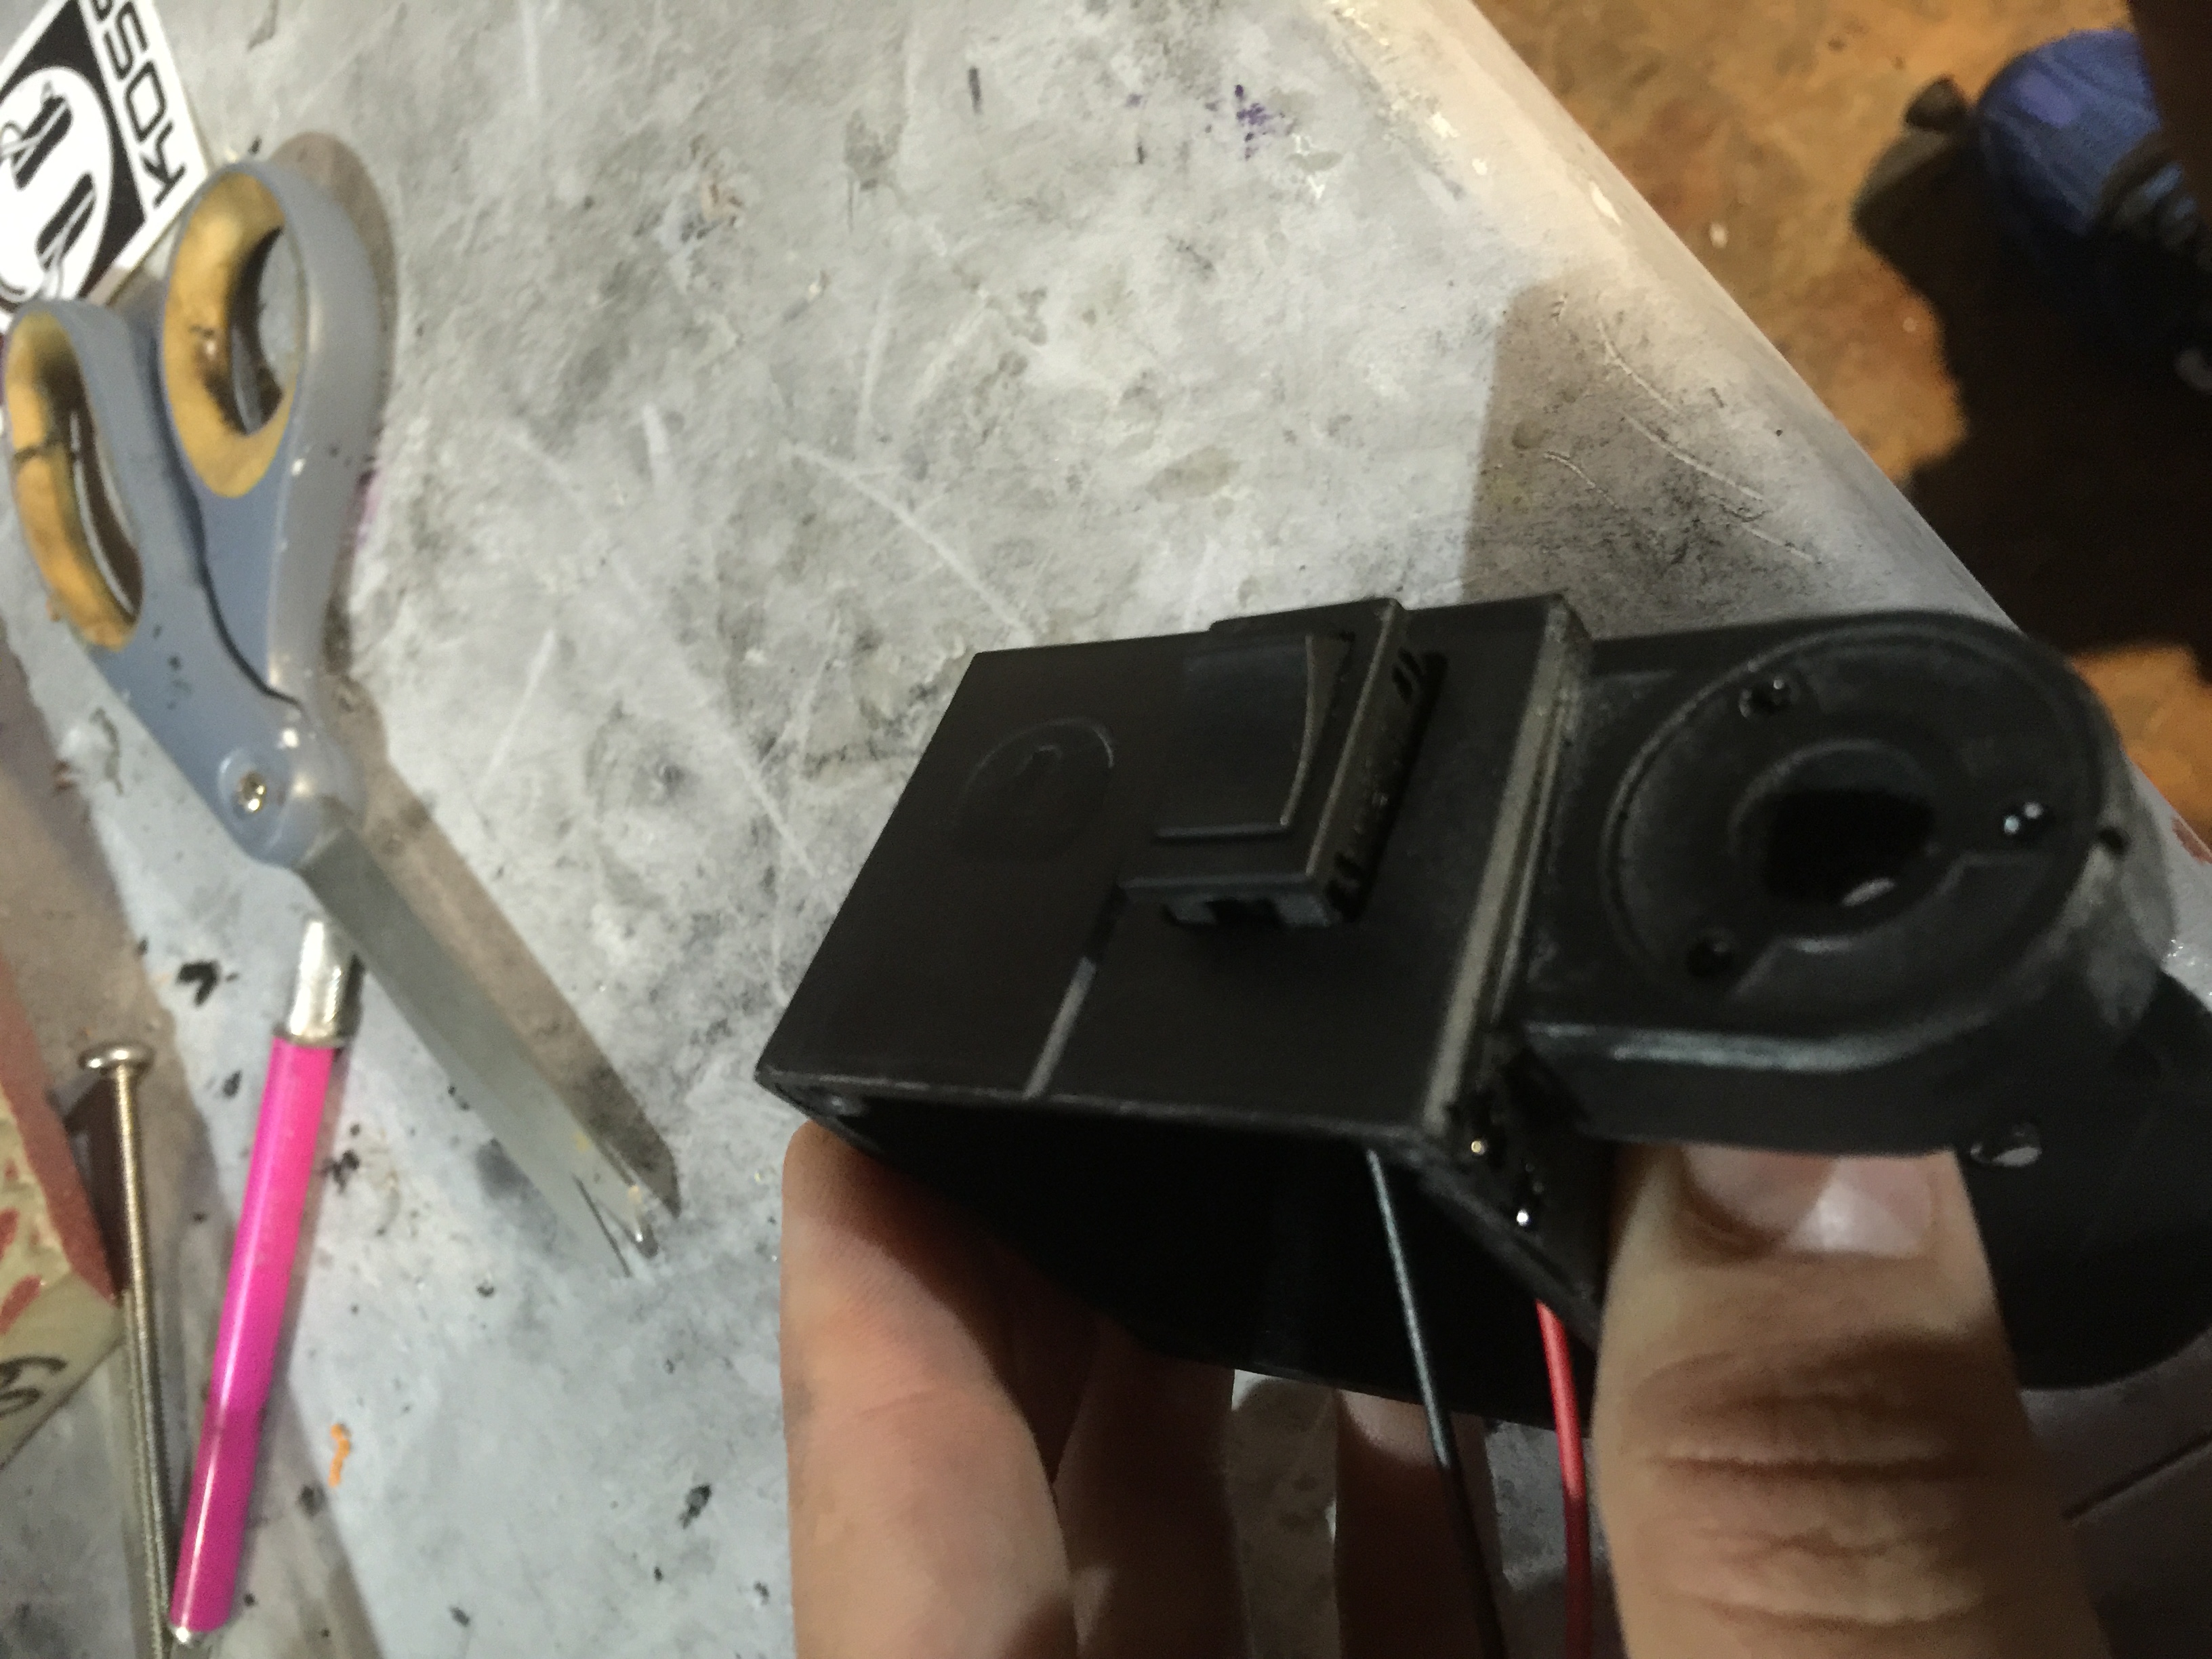
8.5: Drill a 5/16” hole just below the hole you just drilled on the left side of the Outer Body for the wires for the lighting kit to connect.
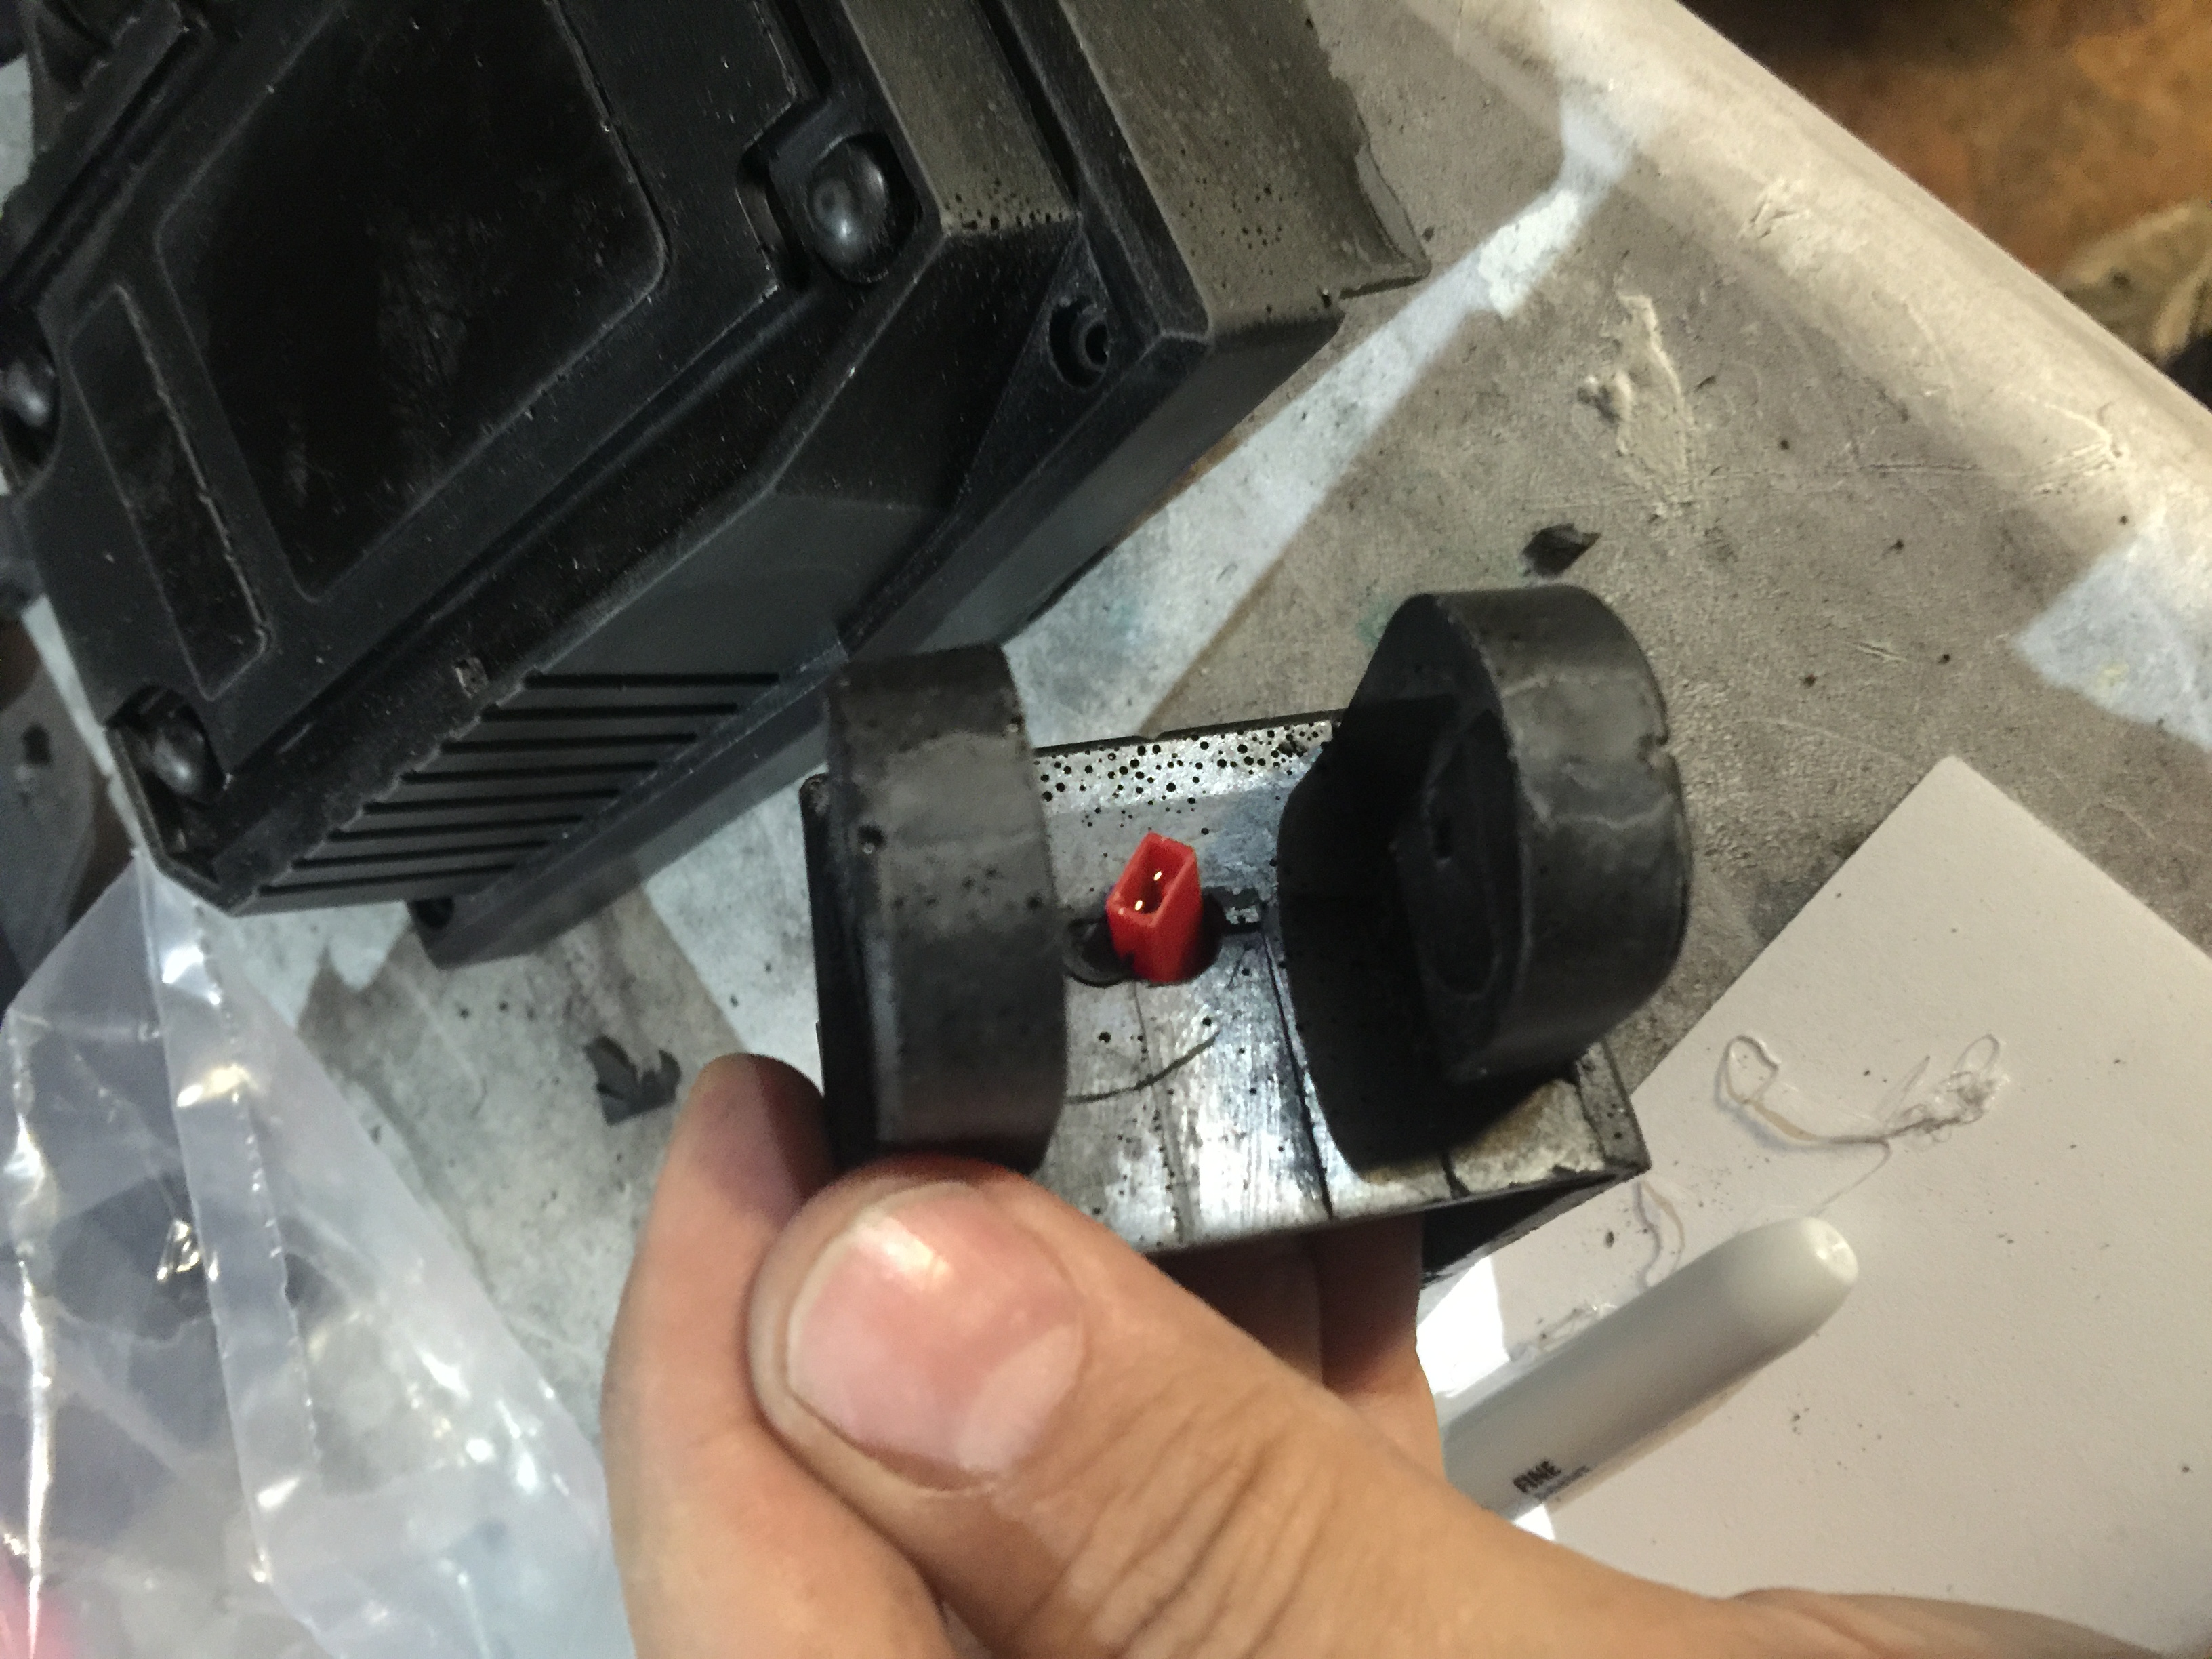
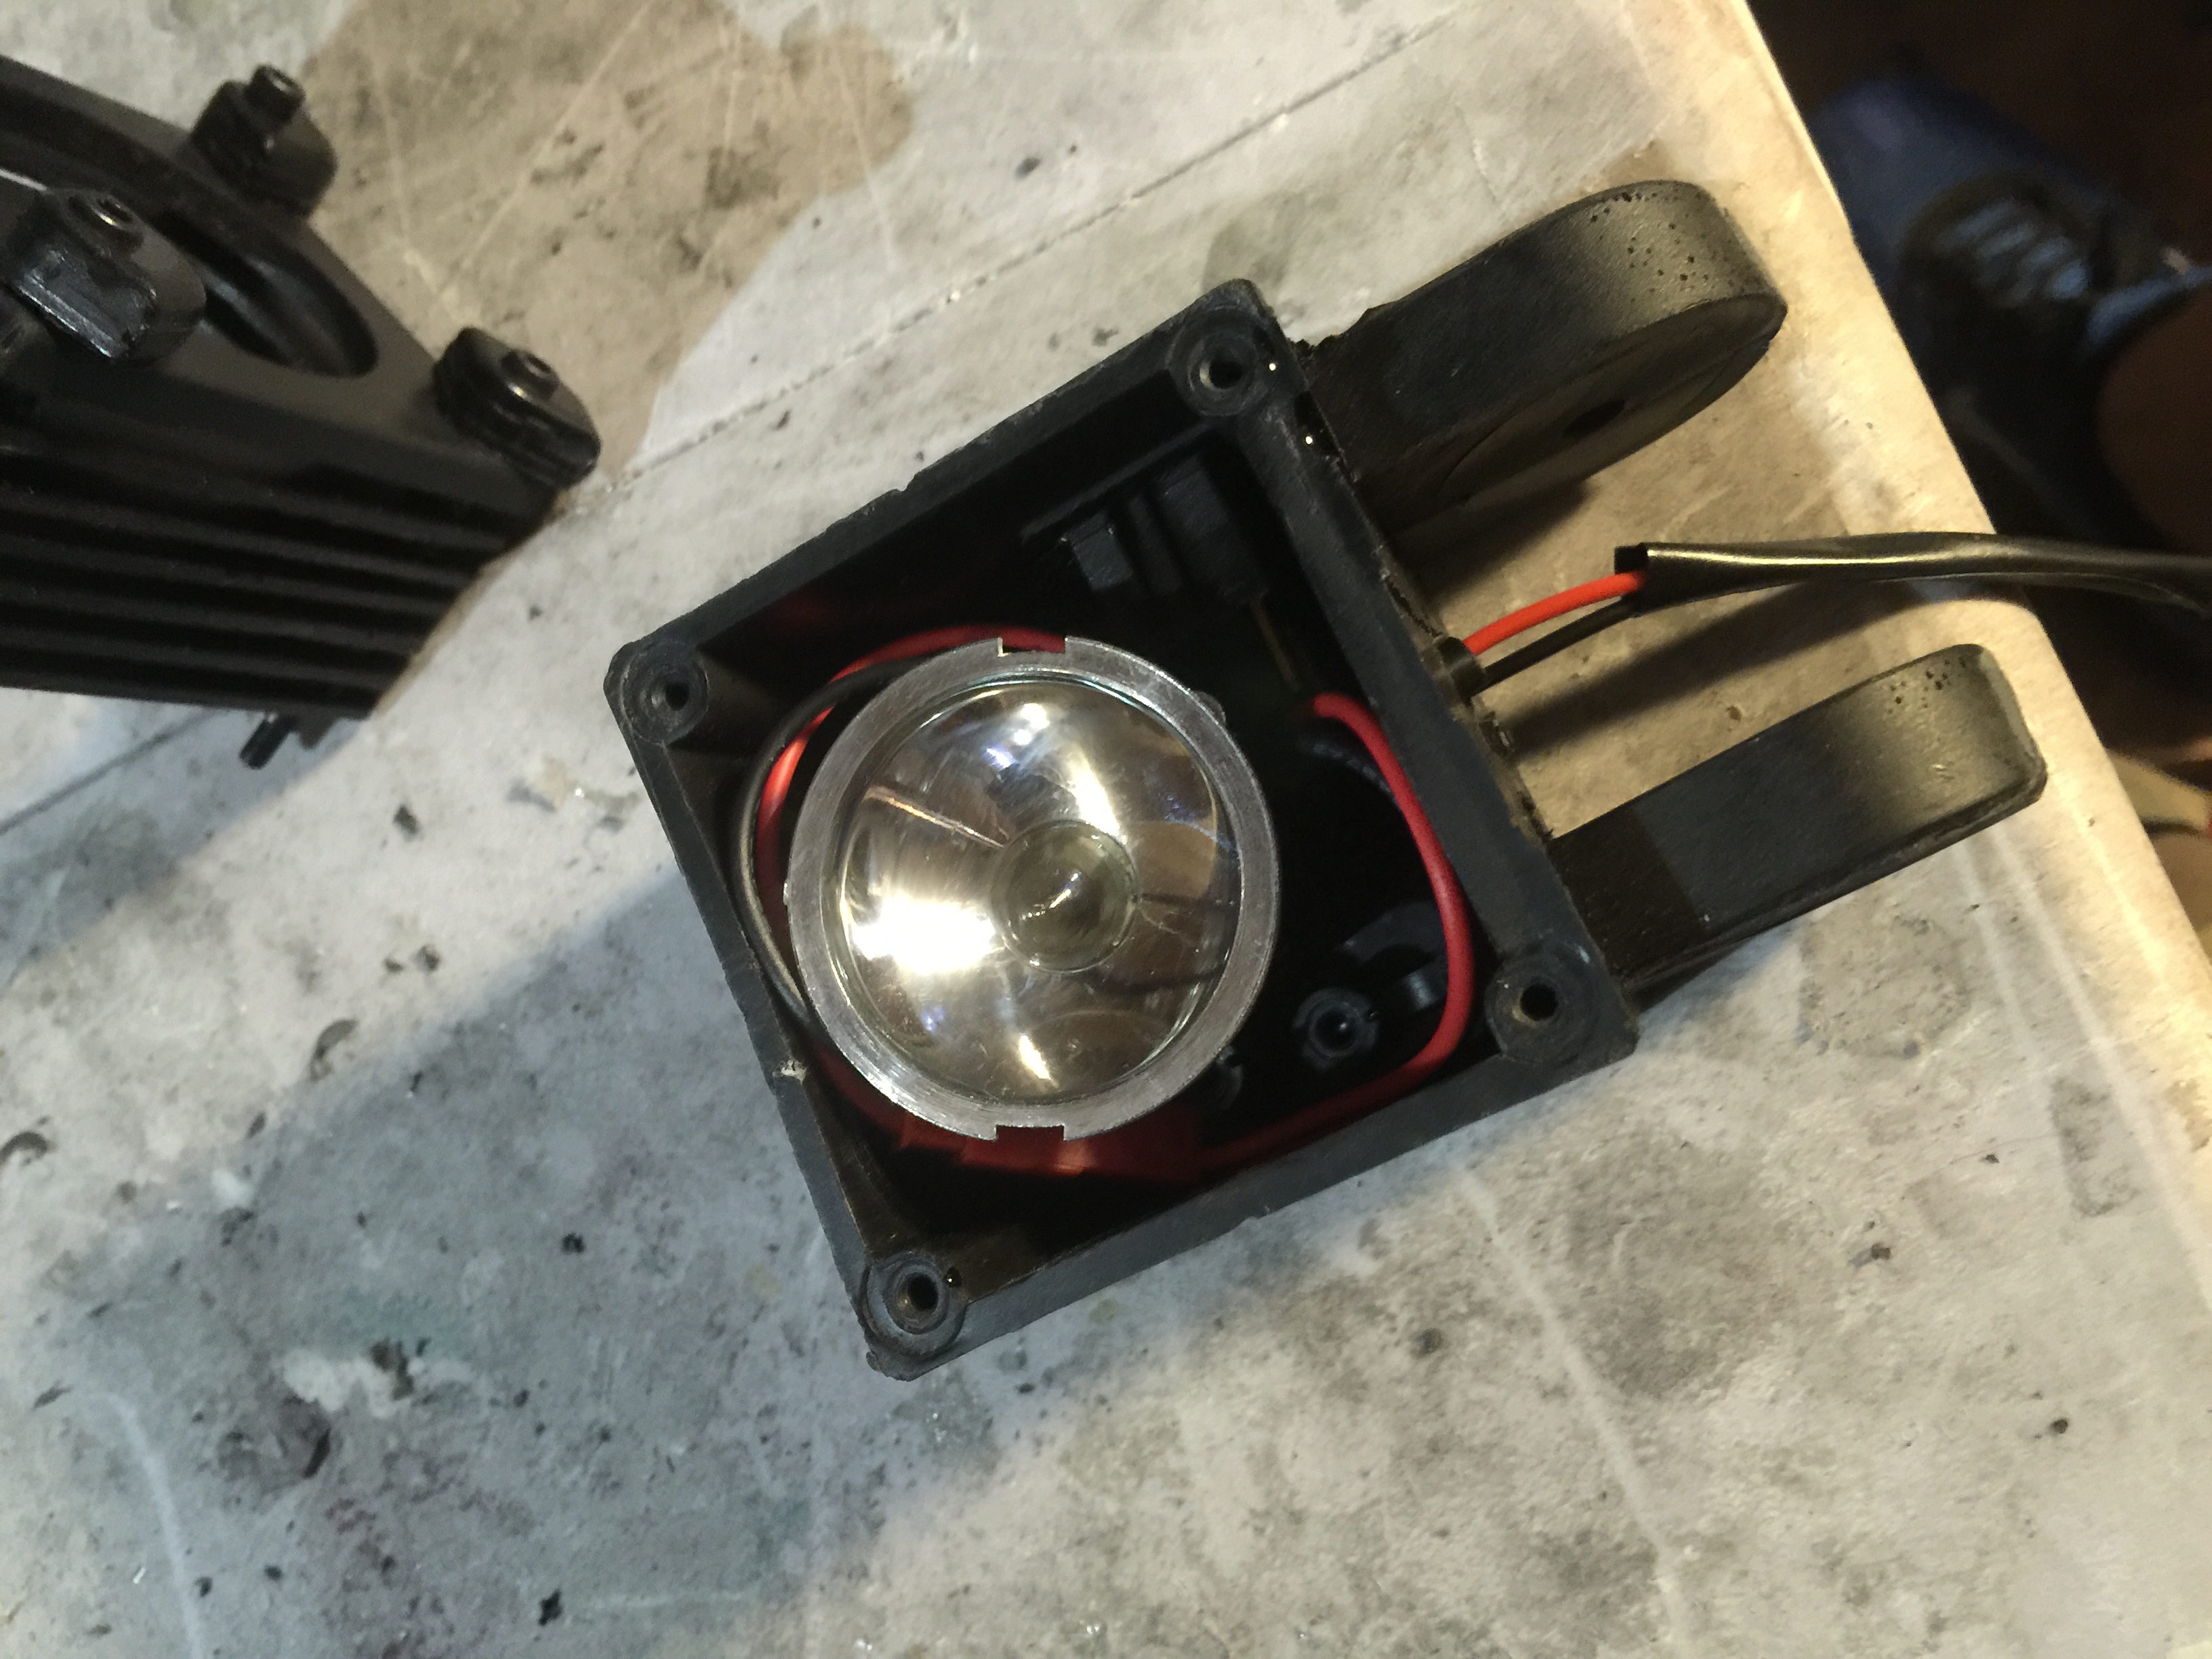
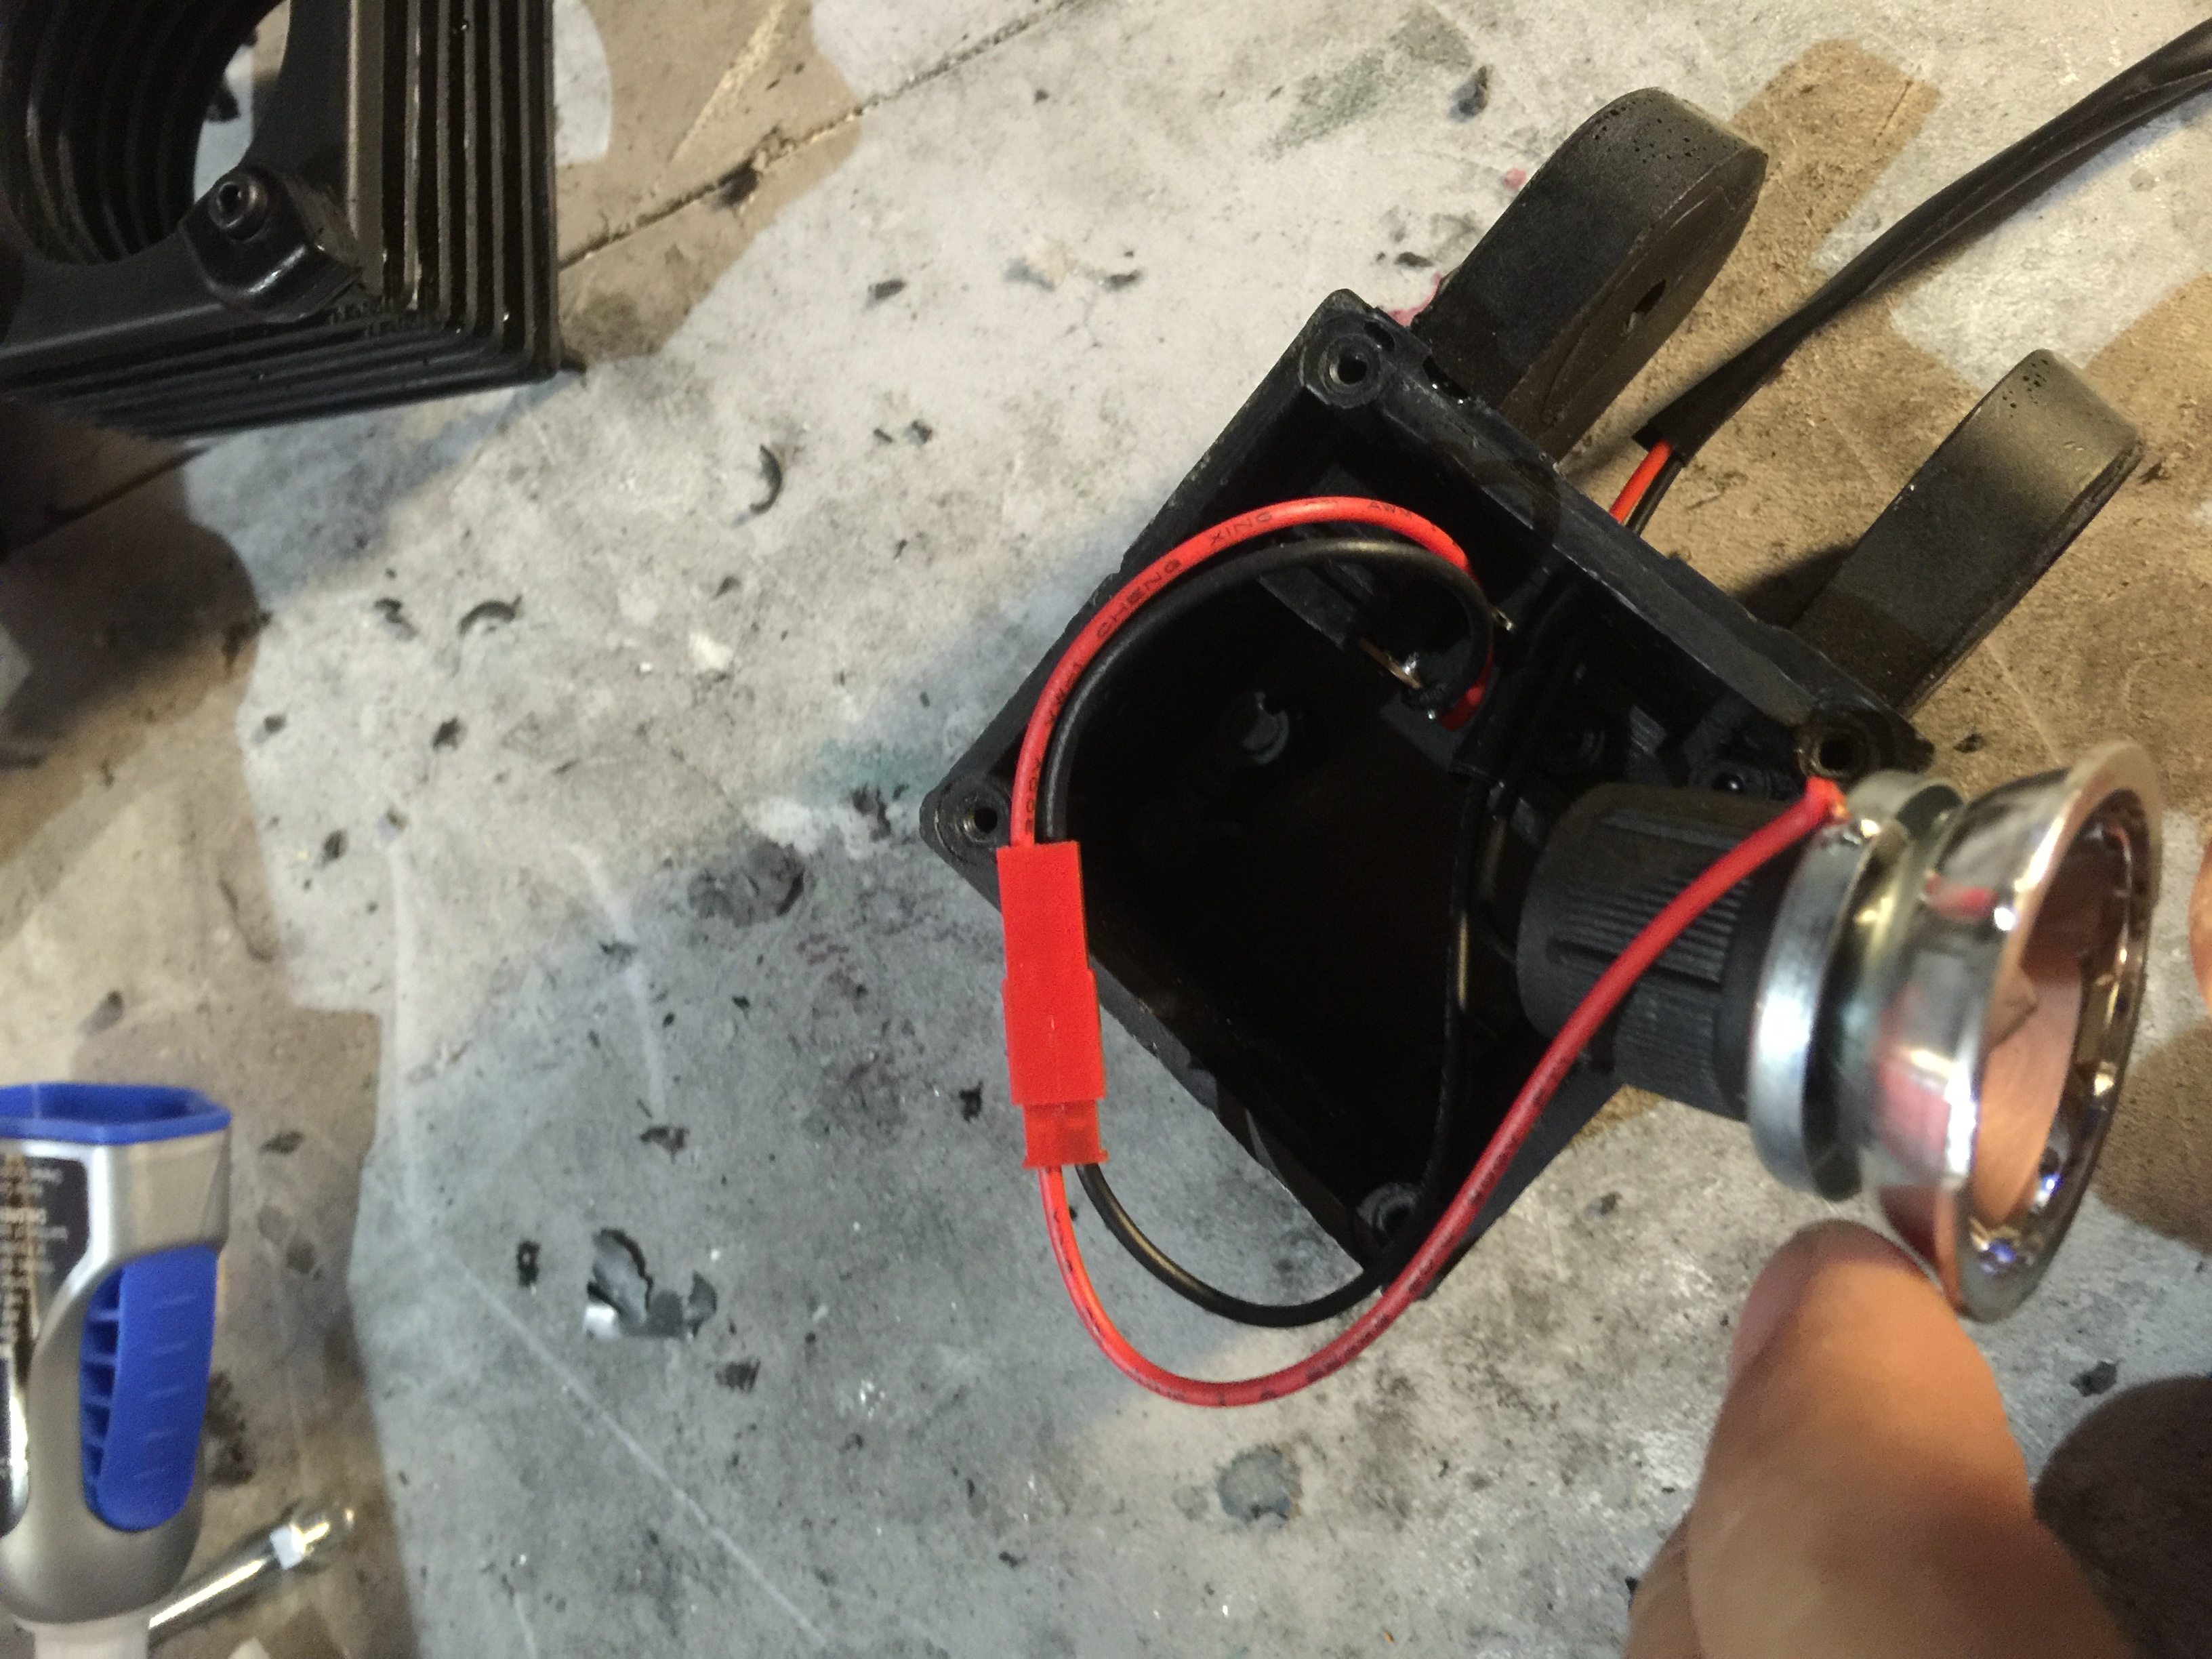
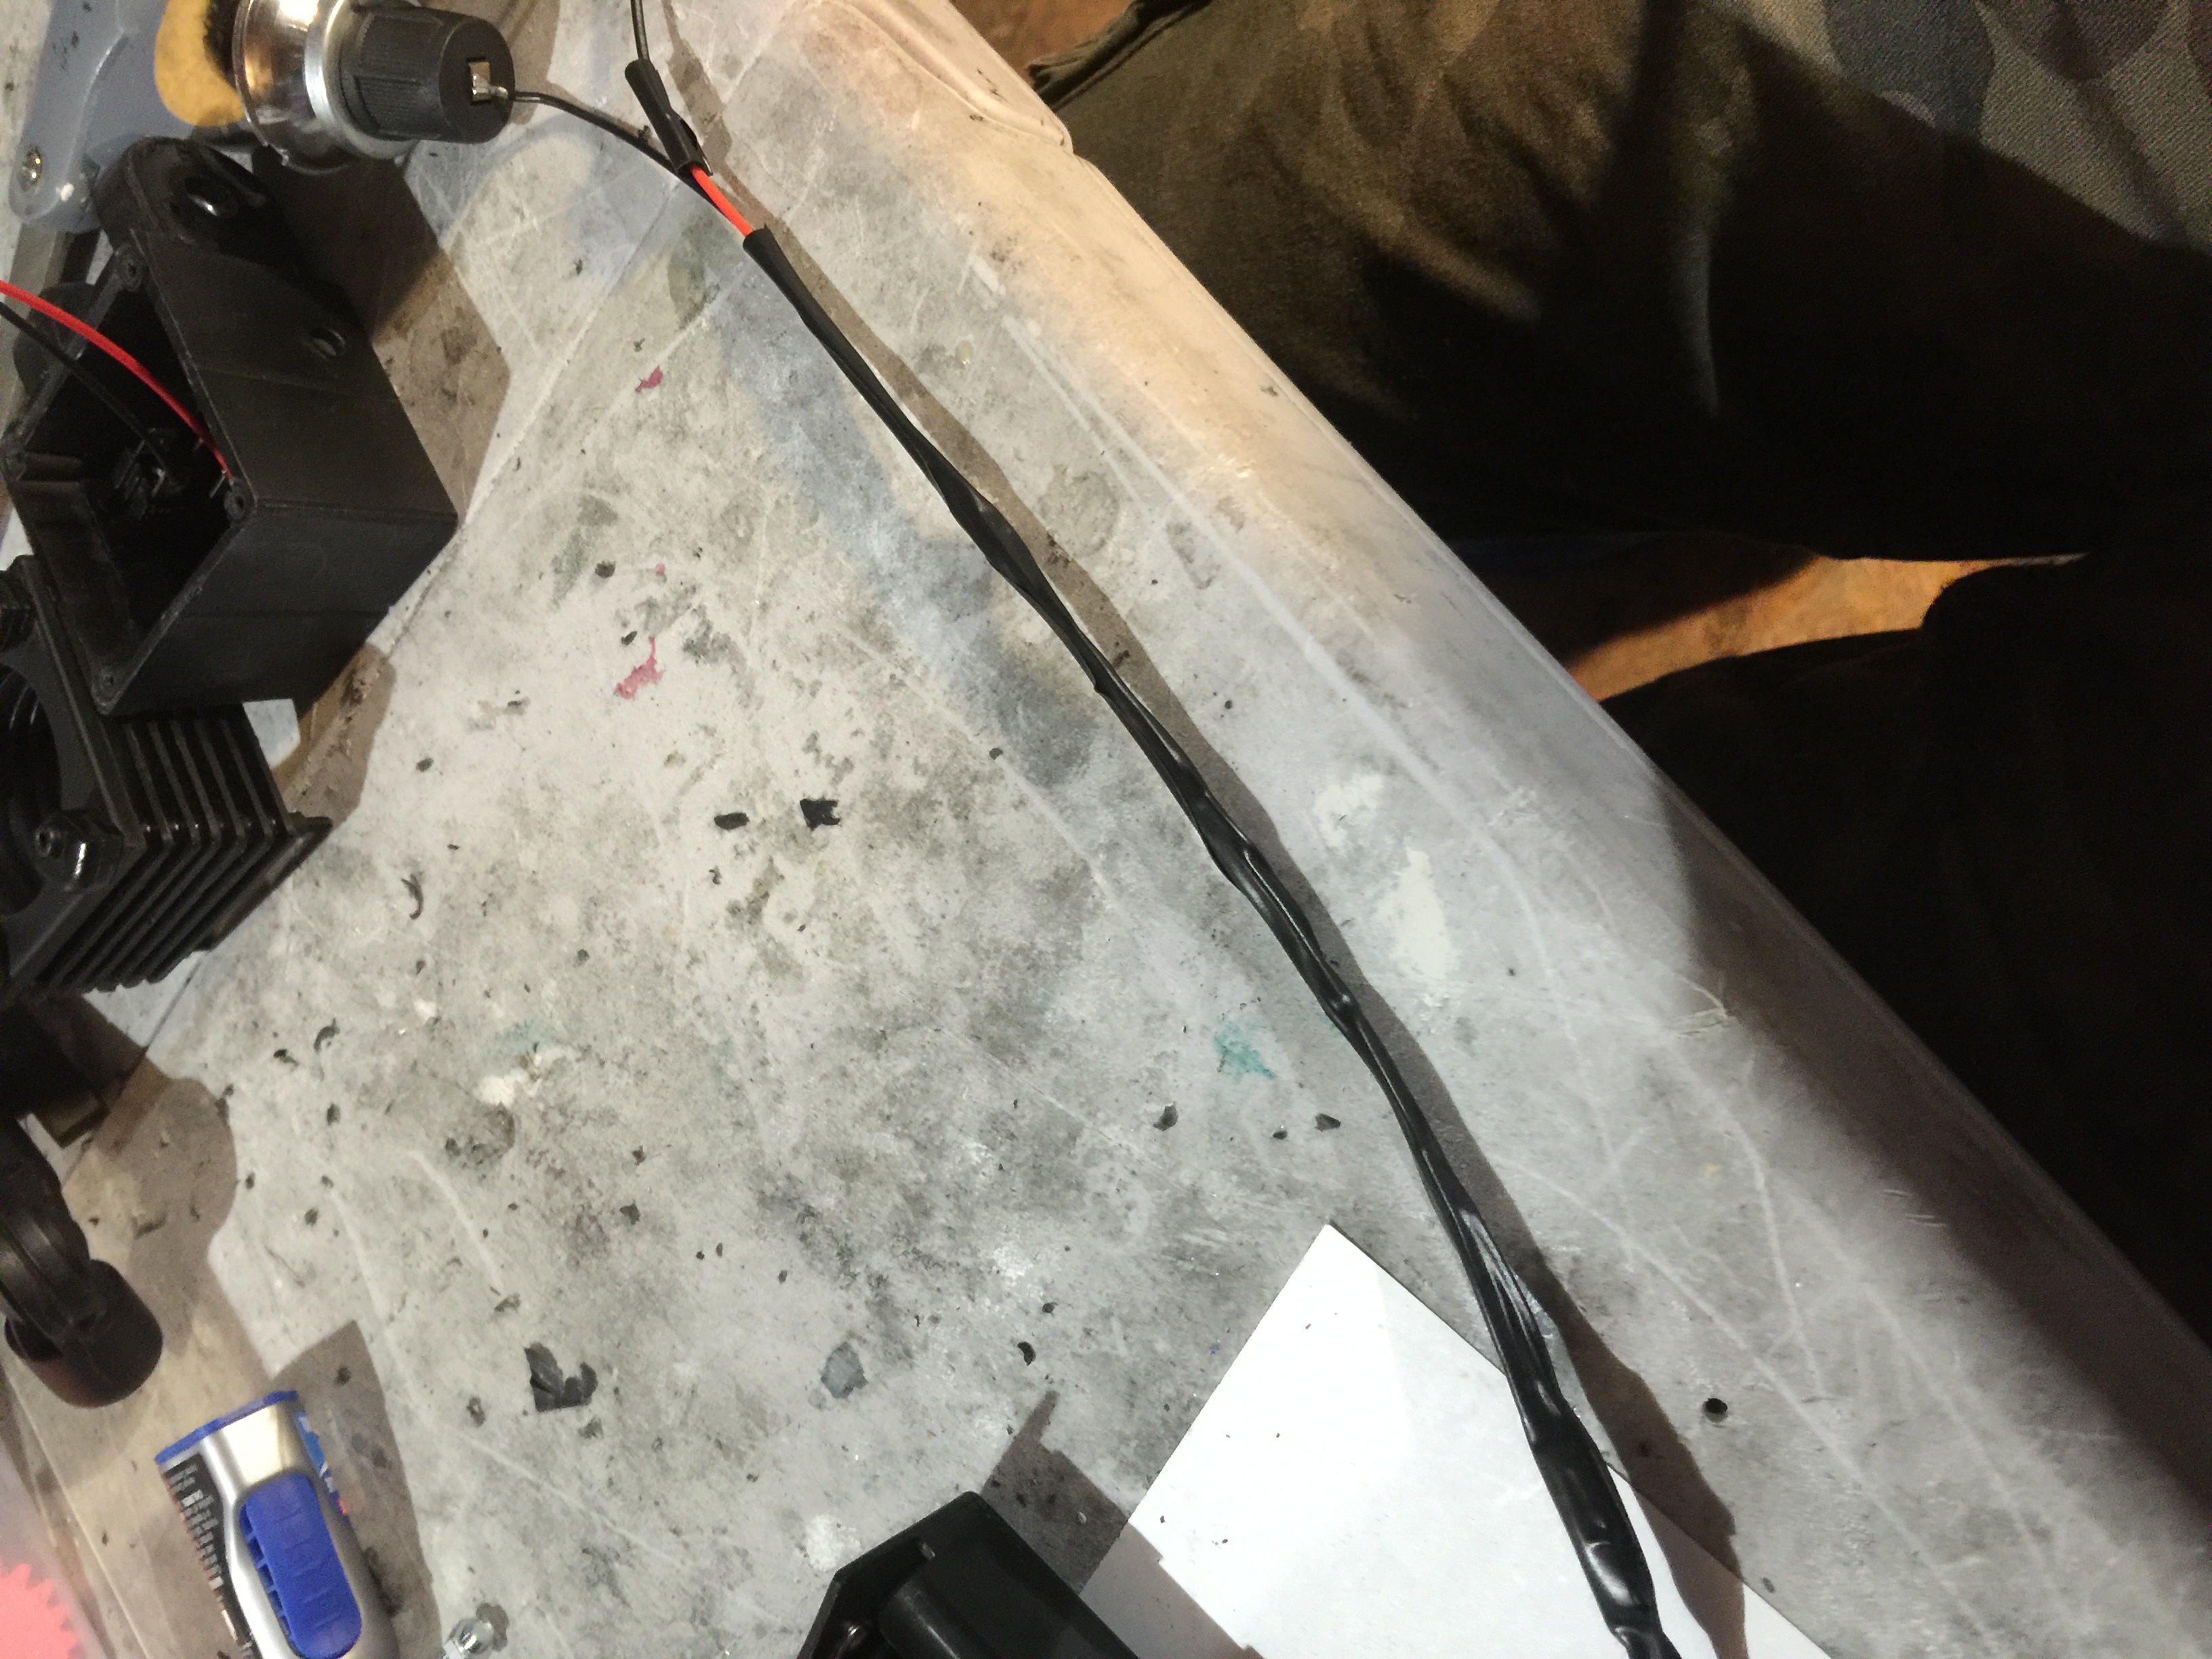
15.5: Hot Glue the Bulb in place and connect it to the Switch. The thread the wire out the bottom of the Lamp Head. I covered the wire in black electrical tape to make it less obvious.
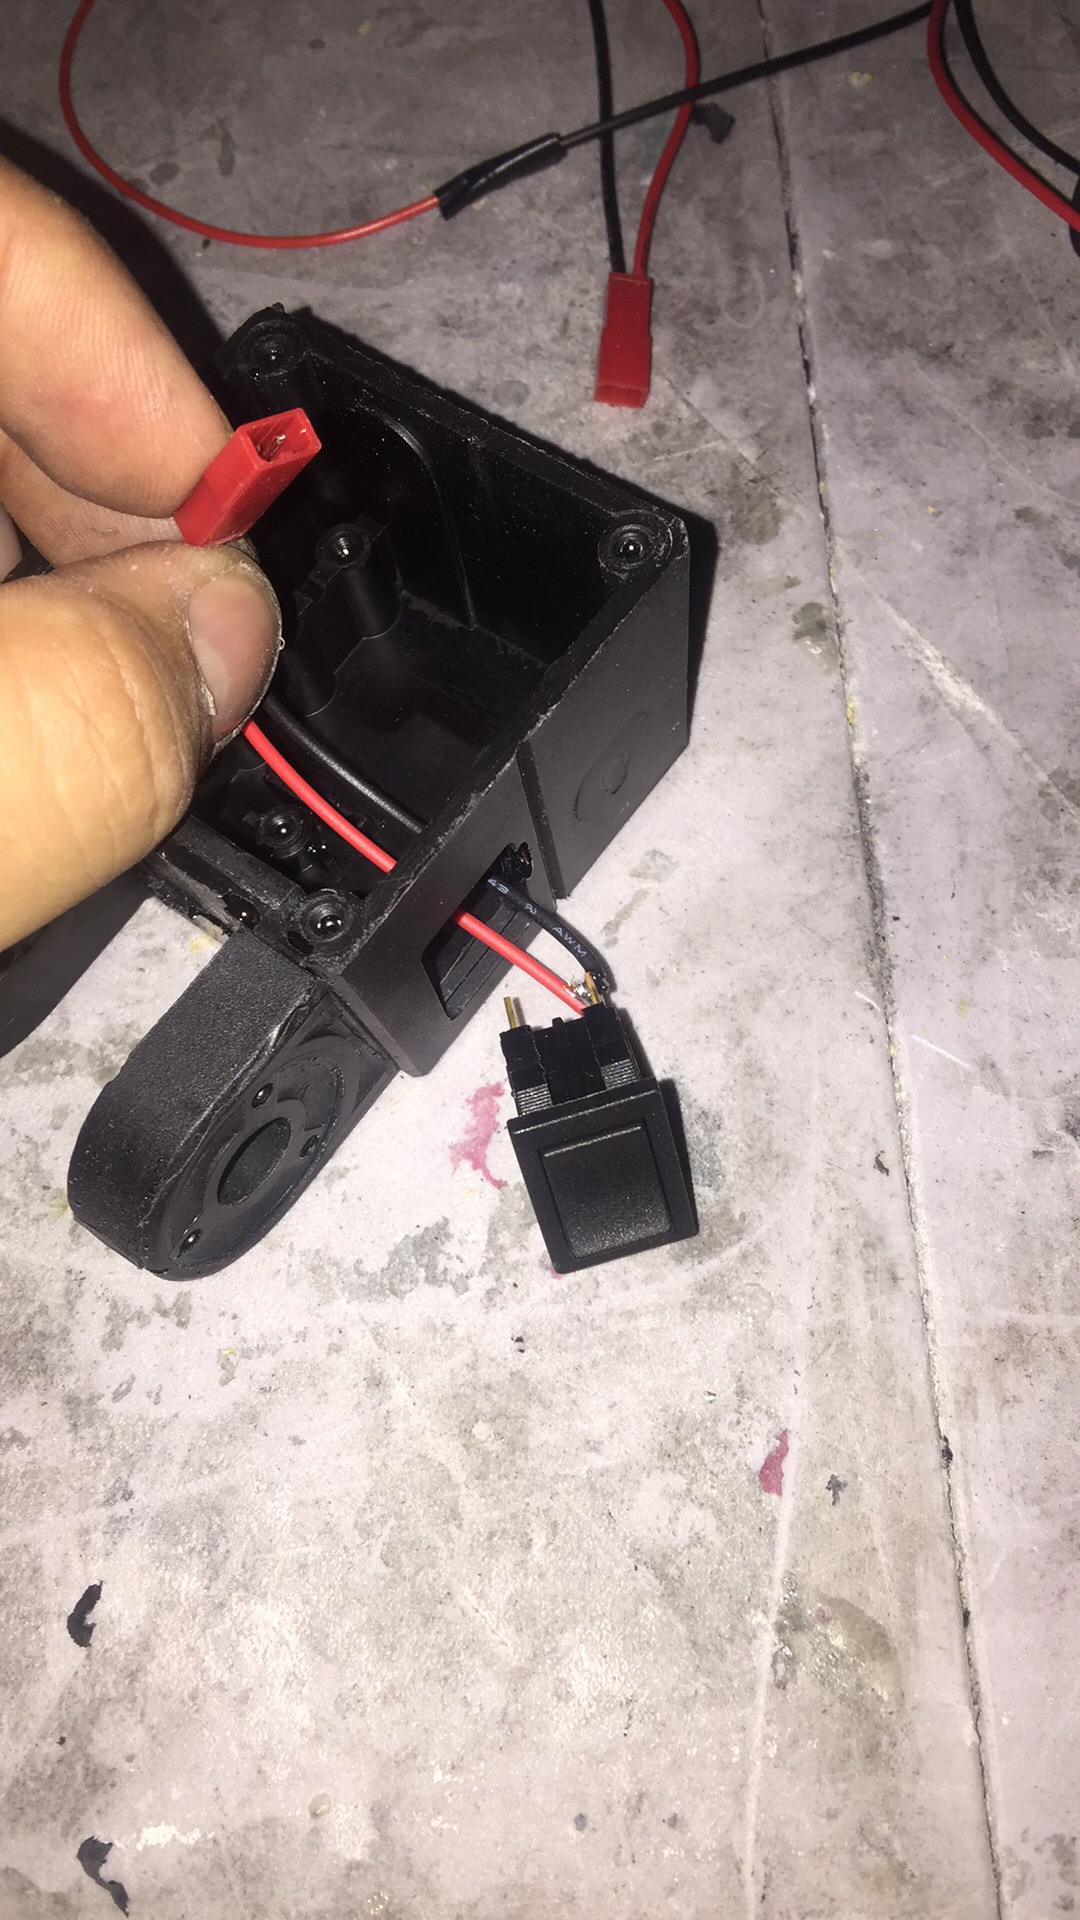

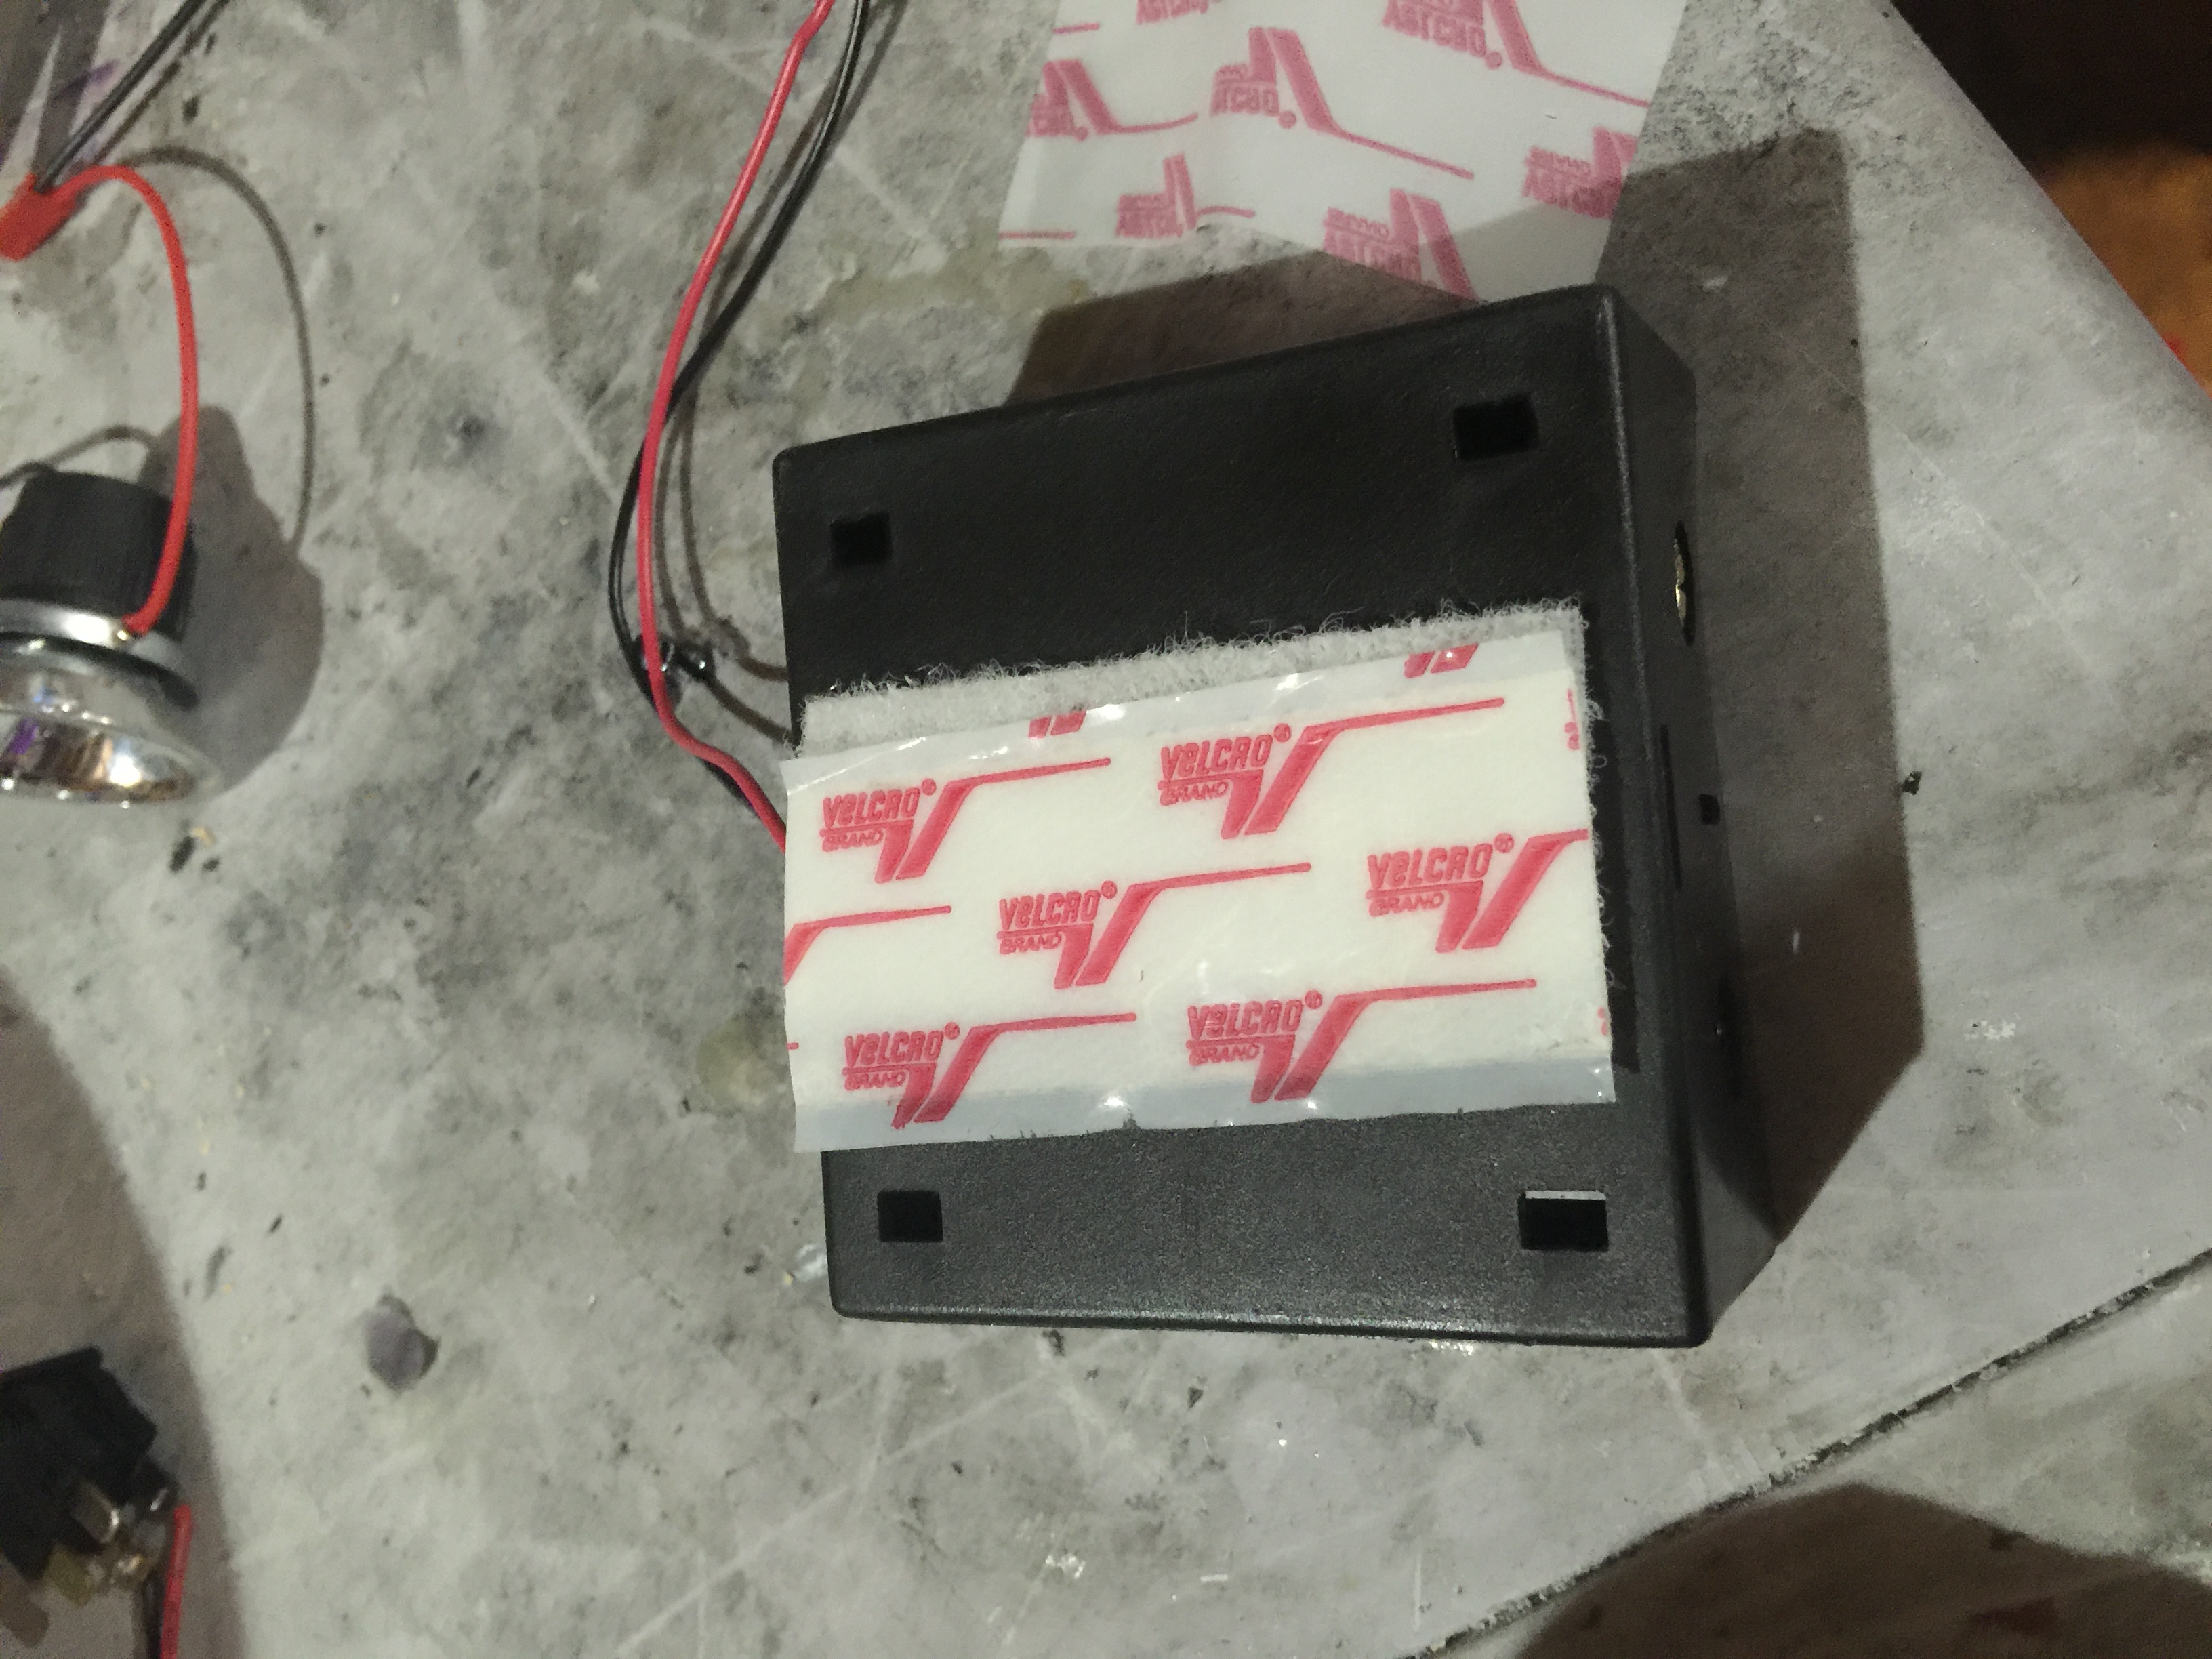
18.5: Use the included Velcro strip to attach the battery pack to the inside of the Lamp Body. And then run the wire into the Lamp Body and connect it to the Battery Pack.


DONE! Enjoy!
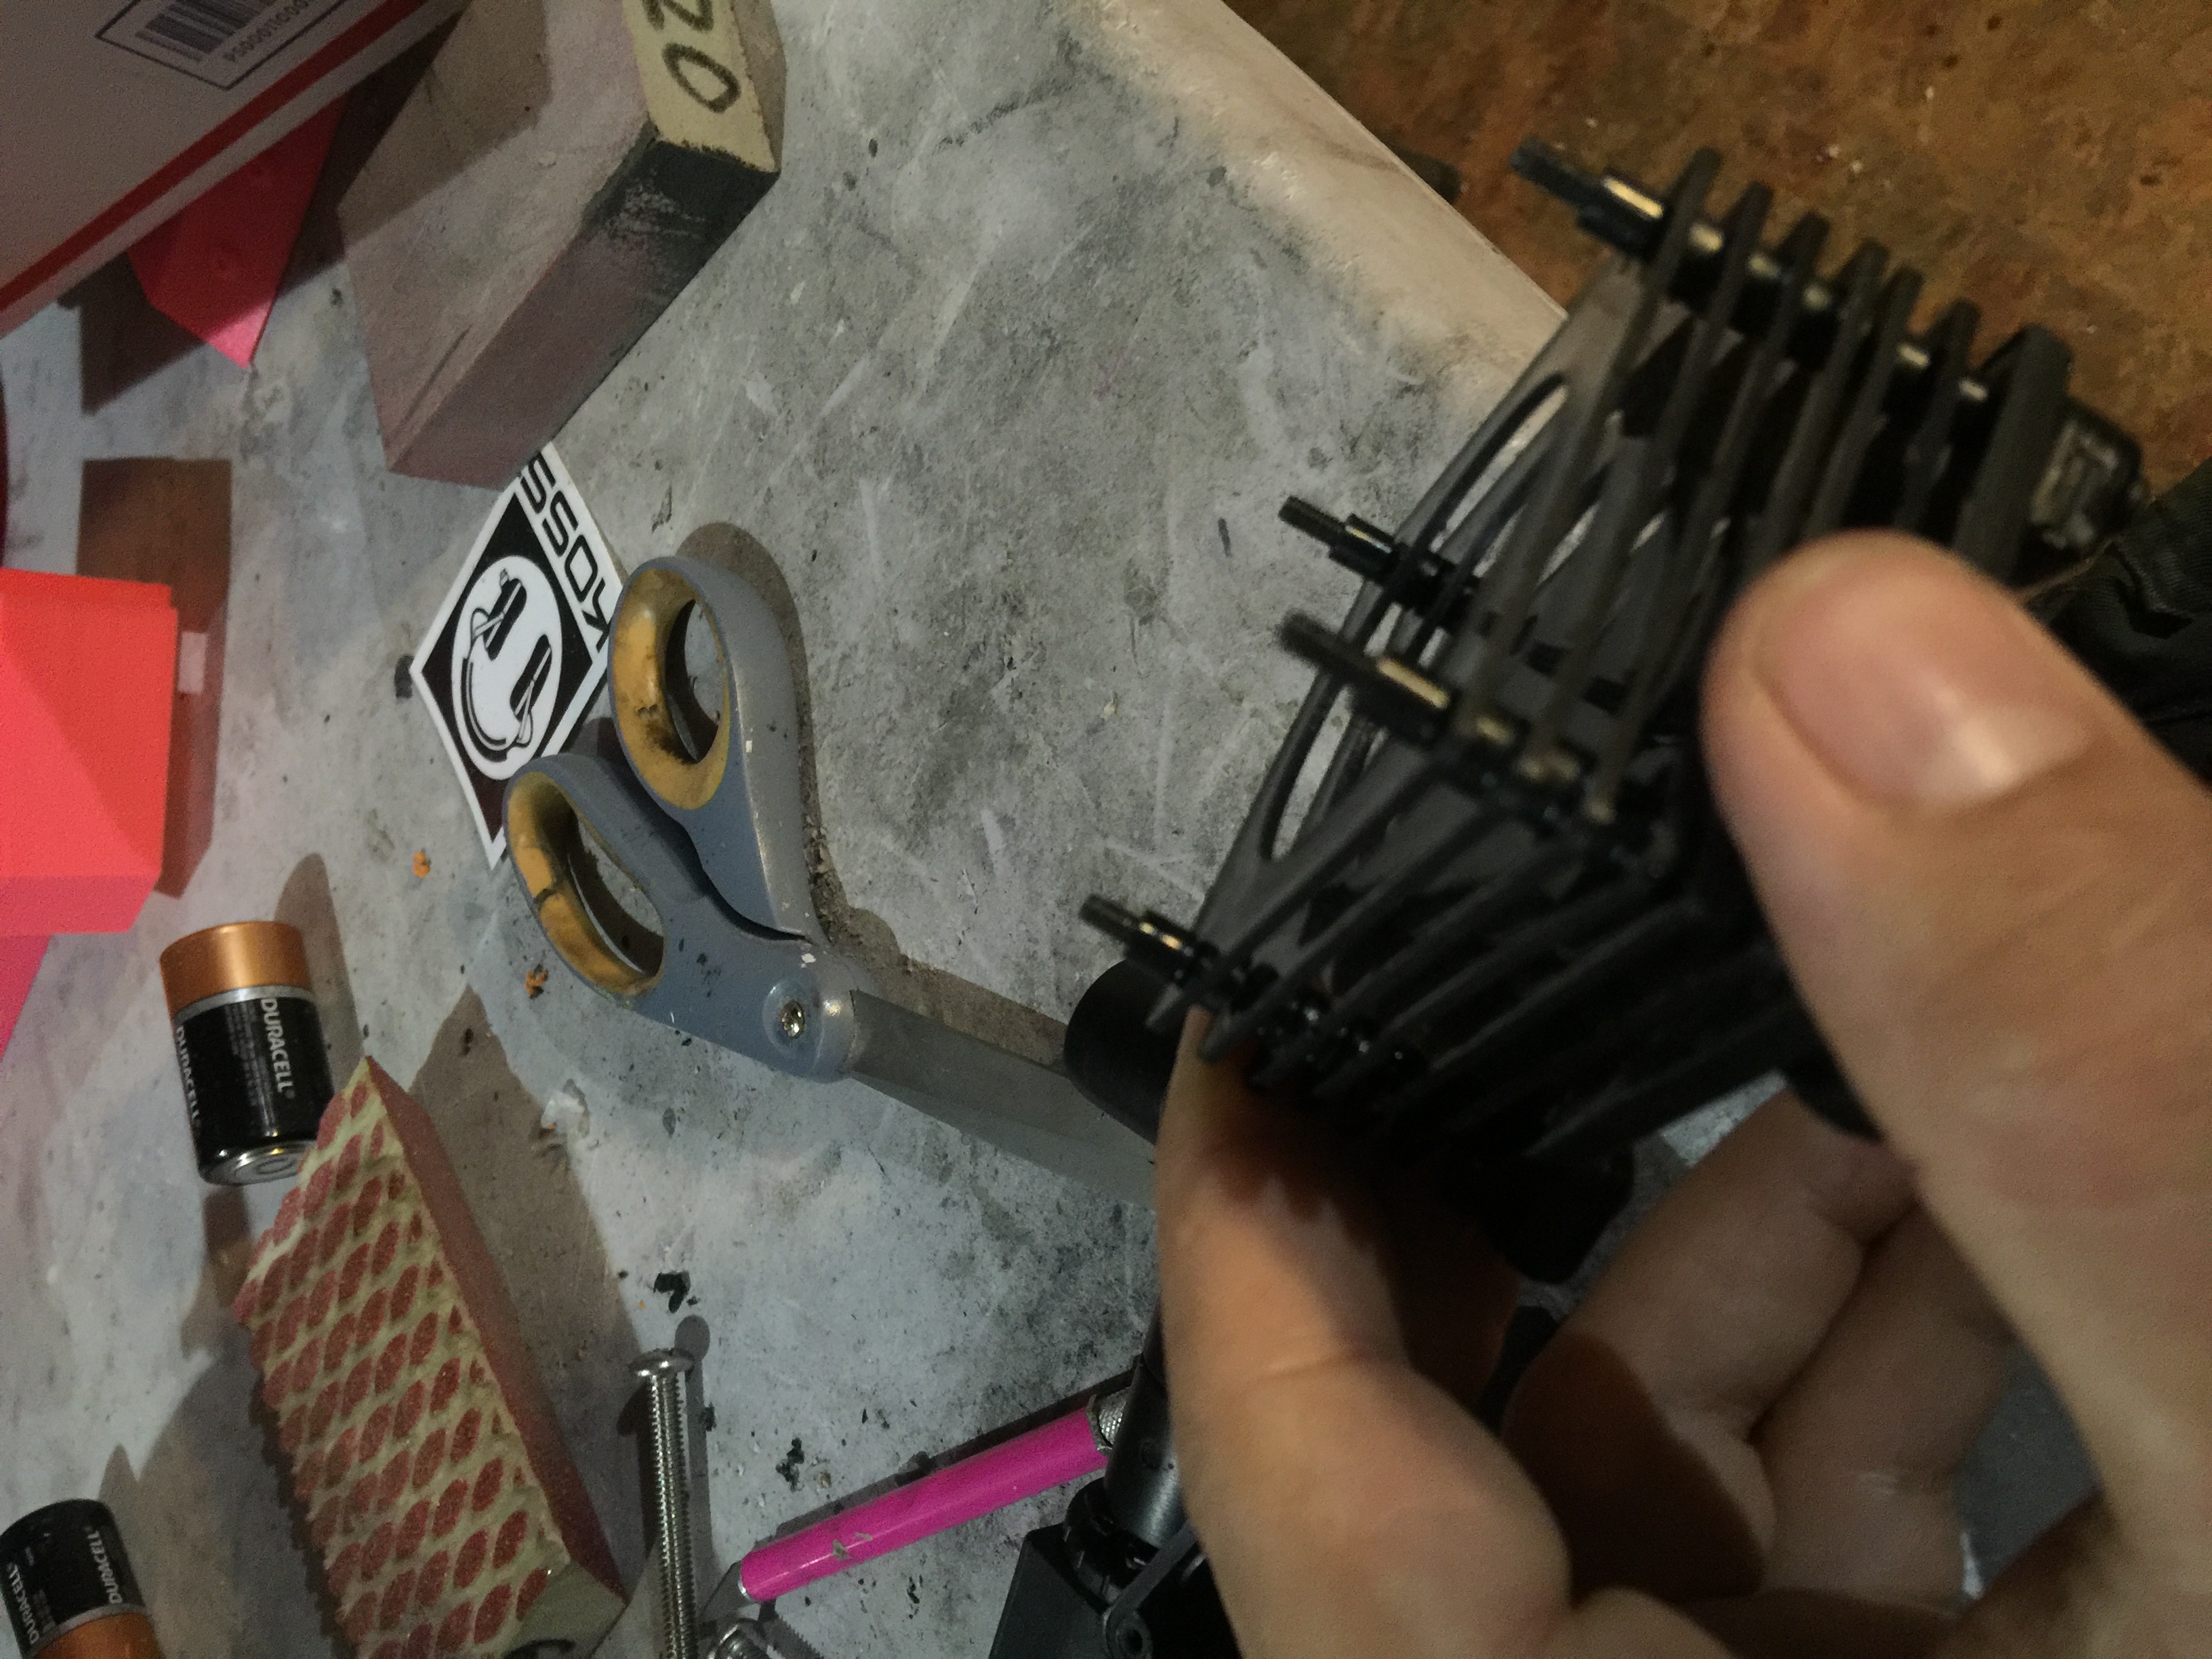
If you ever have any questions about your item, or if a part should break, feel free to drop us a line.
And be sure to join up with your fellow Marines at www.colonialmarines.info and http://forum.alienslegacy.com/
And don’t forget to “Like” our page on Facebook! https://www.facebook.com/SpatcaveStudios
Shoulder Lamp Kit Instructions
Shoulder Lamp Kit
Supplies Needed:
Sandpaper
Sandable Pimer
Matte Clear Coat
Drill and Drill Bits
OD Green Spray Paint
Black Paint
Allen Keys
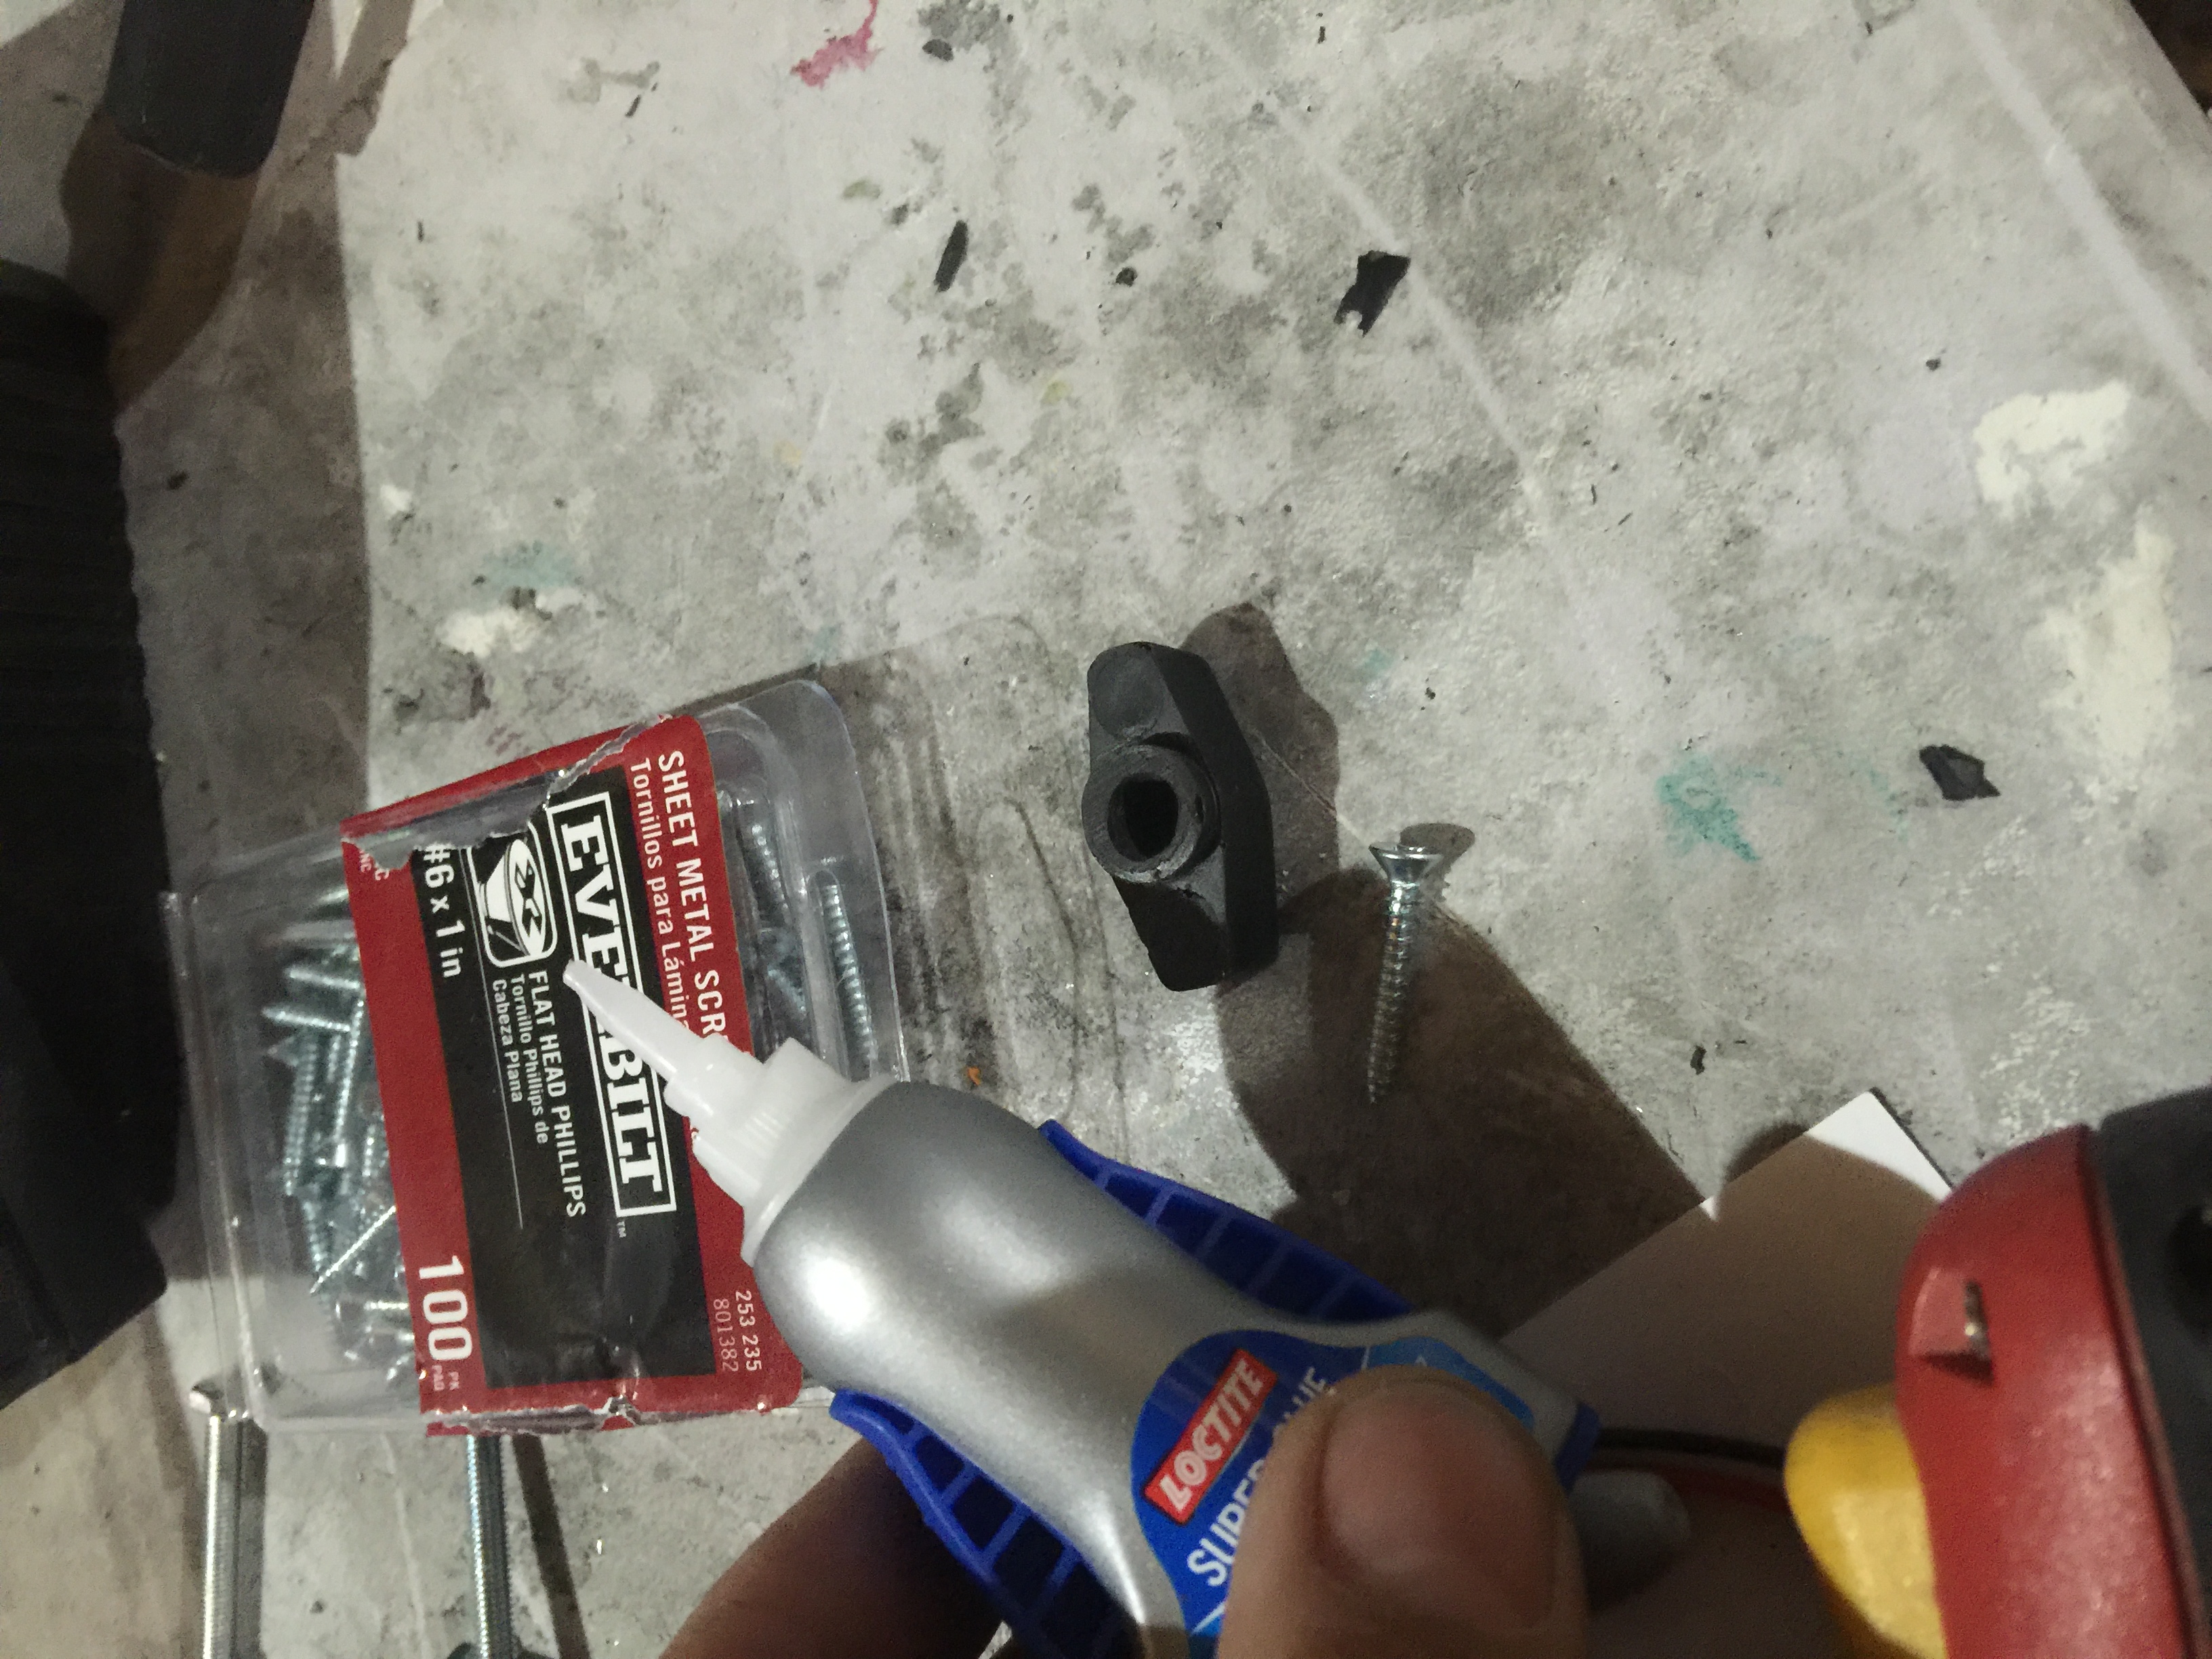
Super Glue
Remember, only paint or sand resin outdoors, or in a well ventilated room while wearing goggles and a mask.
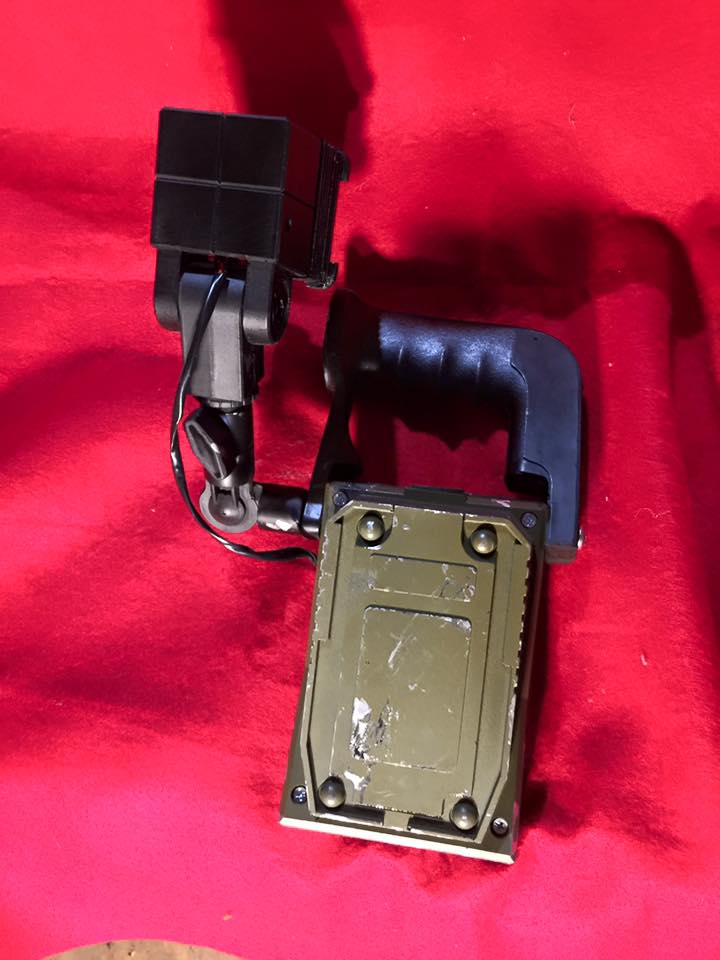
The kit includes – Outer Body, Inner Body, Grip, 6x Vents, Front Plate, Switch, Front Vent, 4x Vent Caps, Lamp Head, Lamp Arm, Knob, 4x spacers and bag of screws.
Lamp Kit
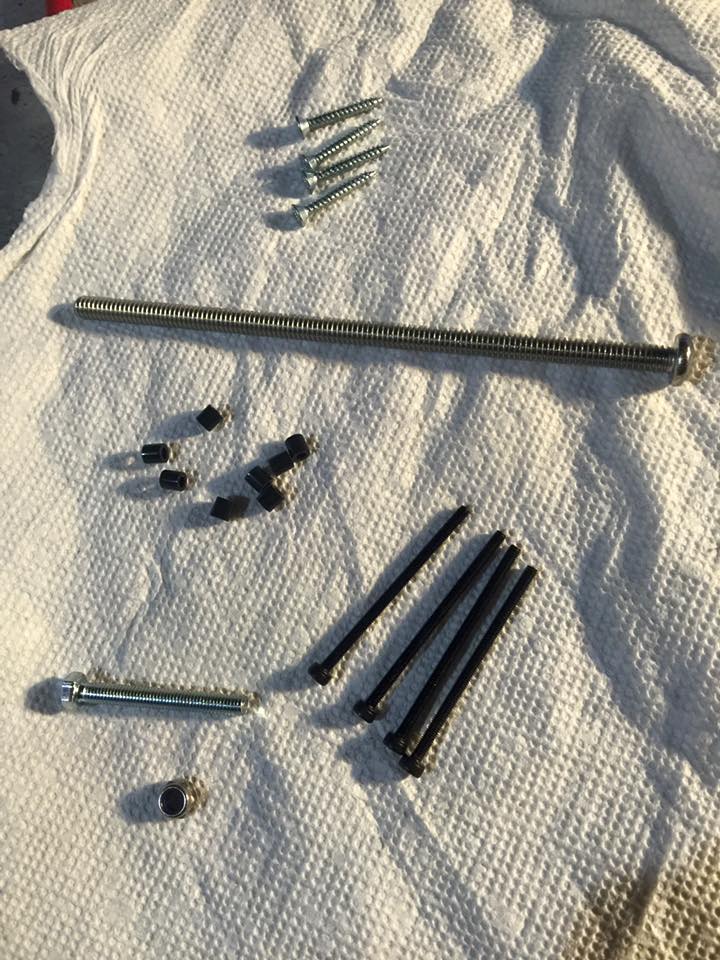
Included Screws
1: Wash all resin parts in warm, soapy water and allow to air-dry. Washing the parts remove any mold release left on the parts and will help the paint stick better.
2: Lightly sand all resin parts to remove any seam lines. If needed, fill any air bubbles or imperfections in the kit with hobby putty, allow to dry, and sand smooth.
3: Trim any flash from the parts. Be careful when doing this so you don’t damage the part.
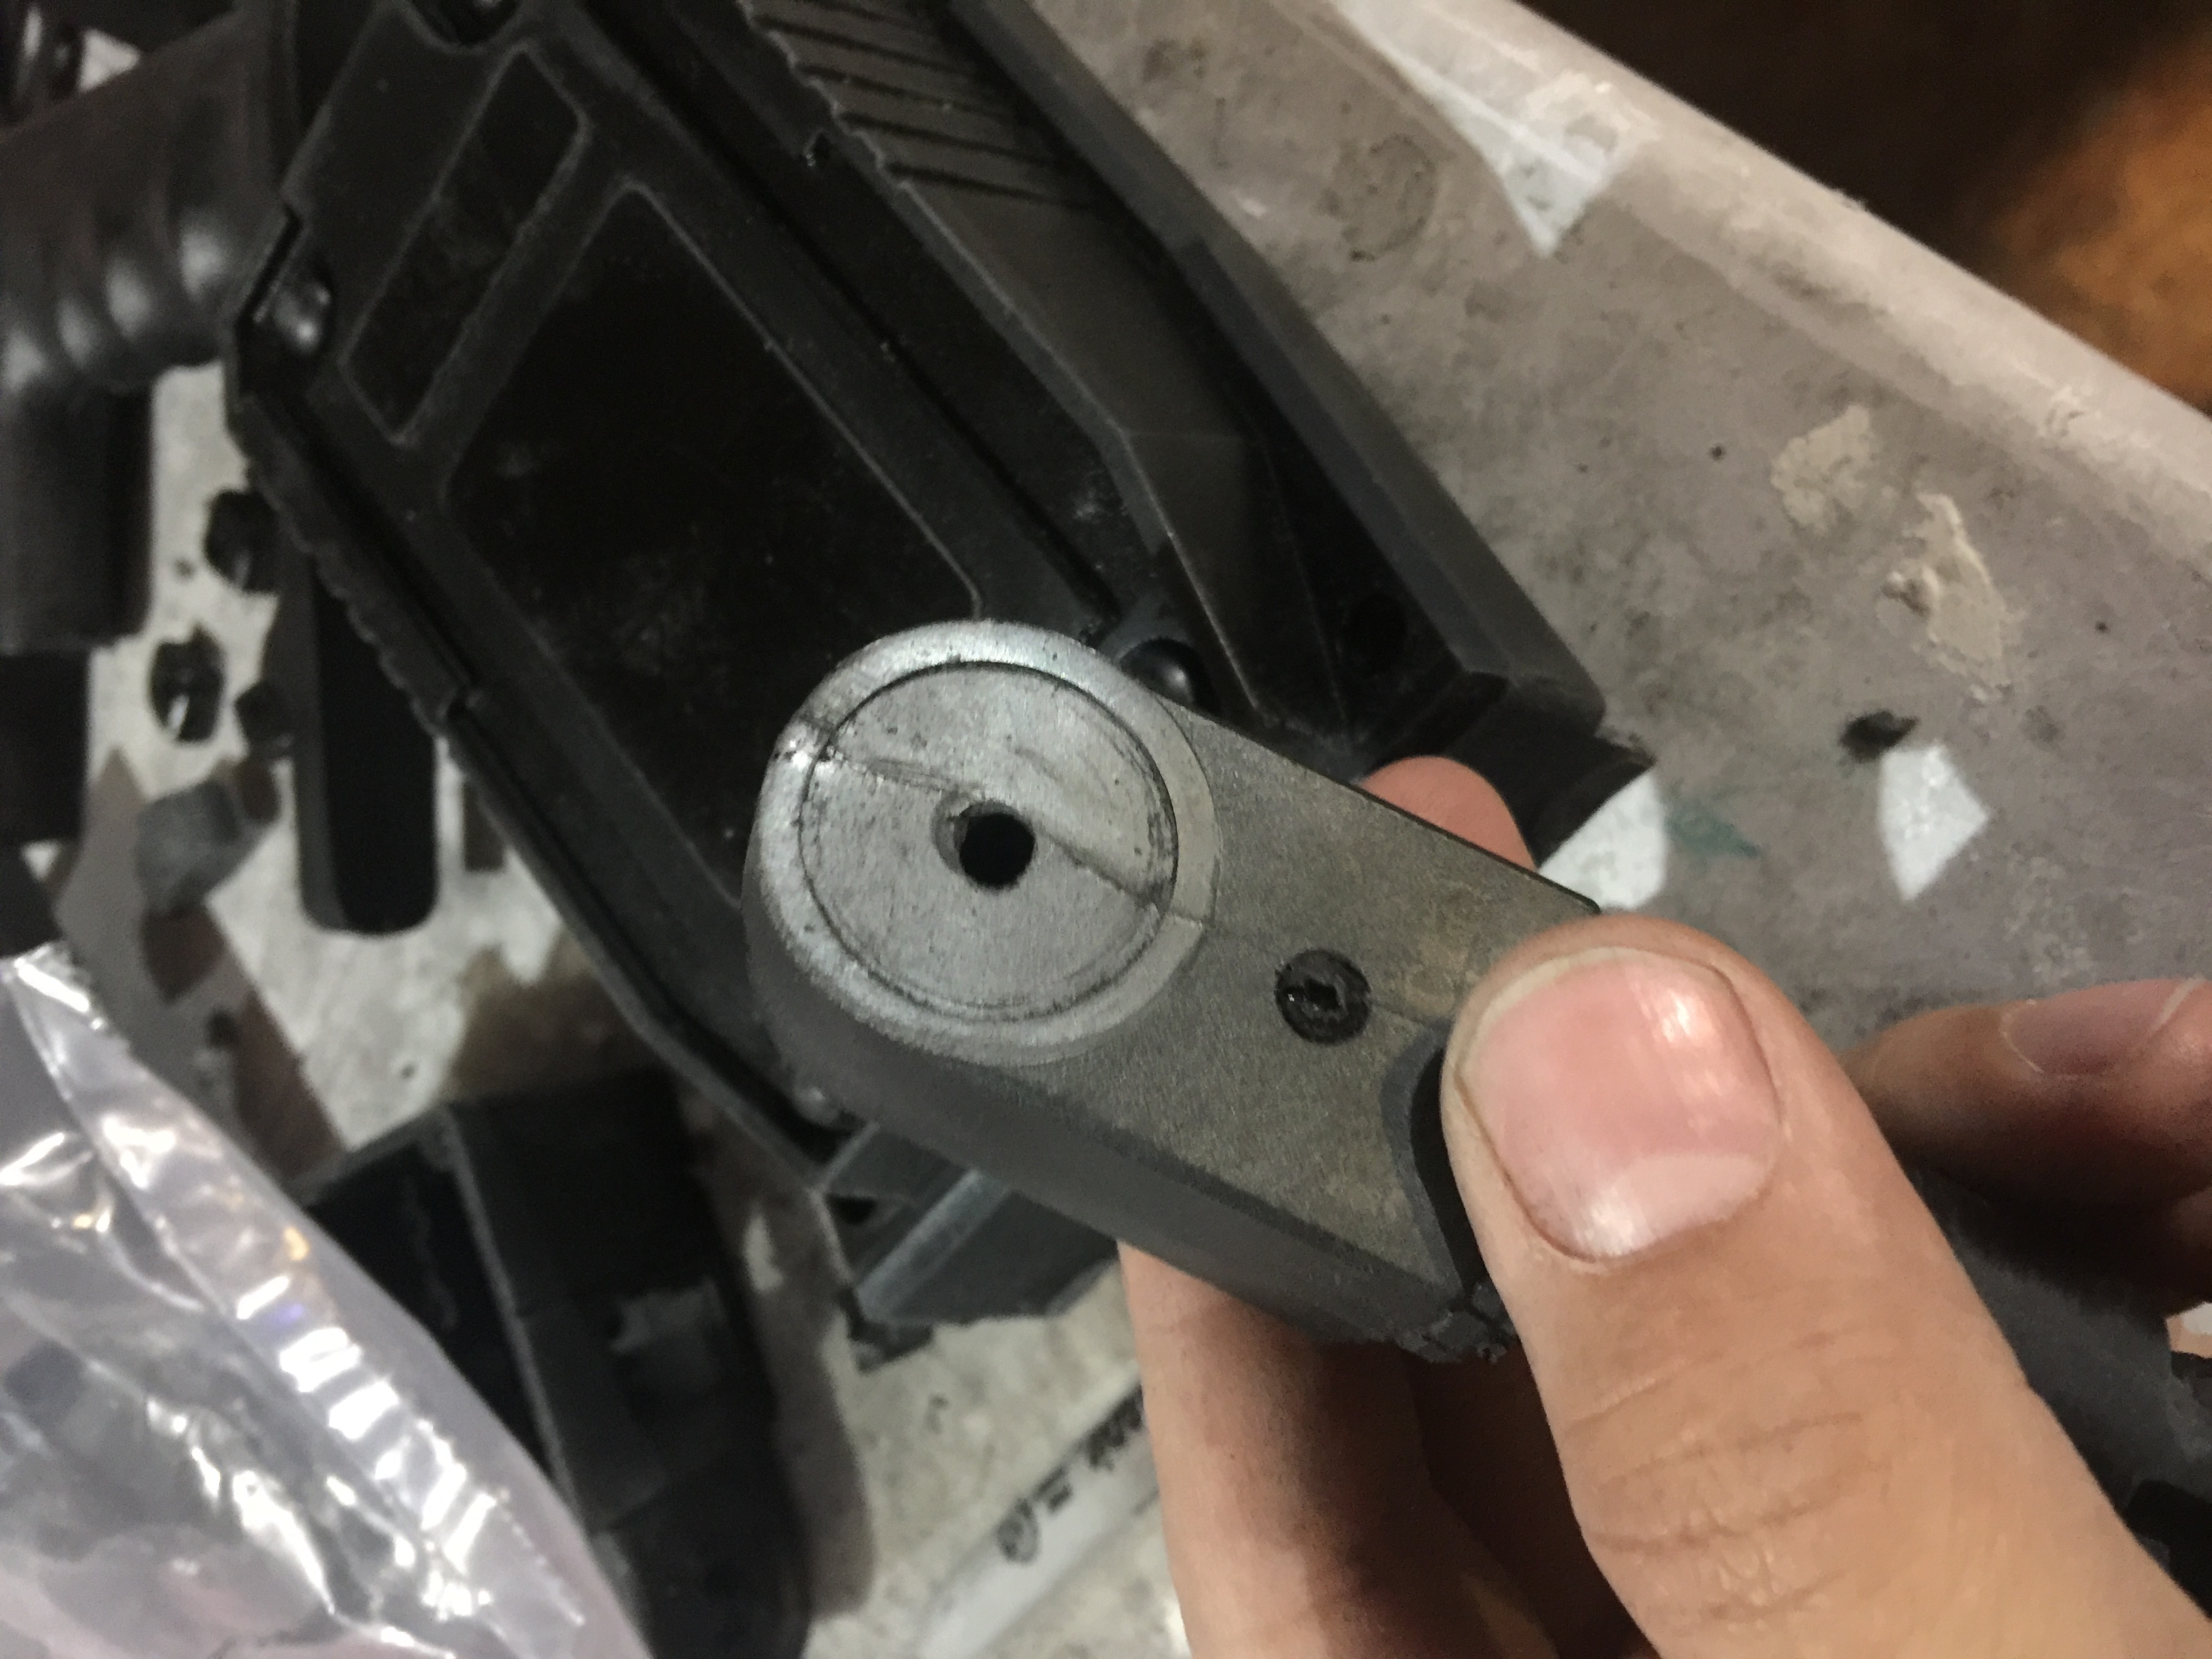
4: Pre-drill the hole at the top of the Lamp Arm where it will connect to the Lamp Head. Use a 11/64 drill bit. It will be small enough that it will allow the bolt to be snug and keep the head stiff. Drill it from one side first then the other so they meet in the middle evenly.

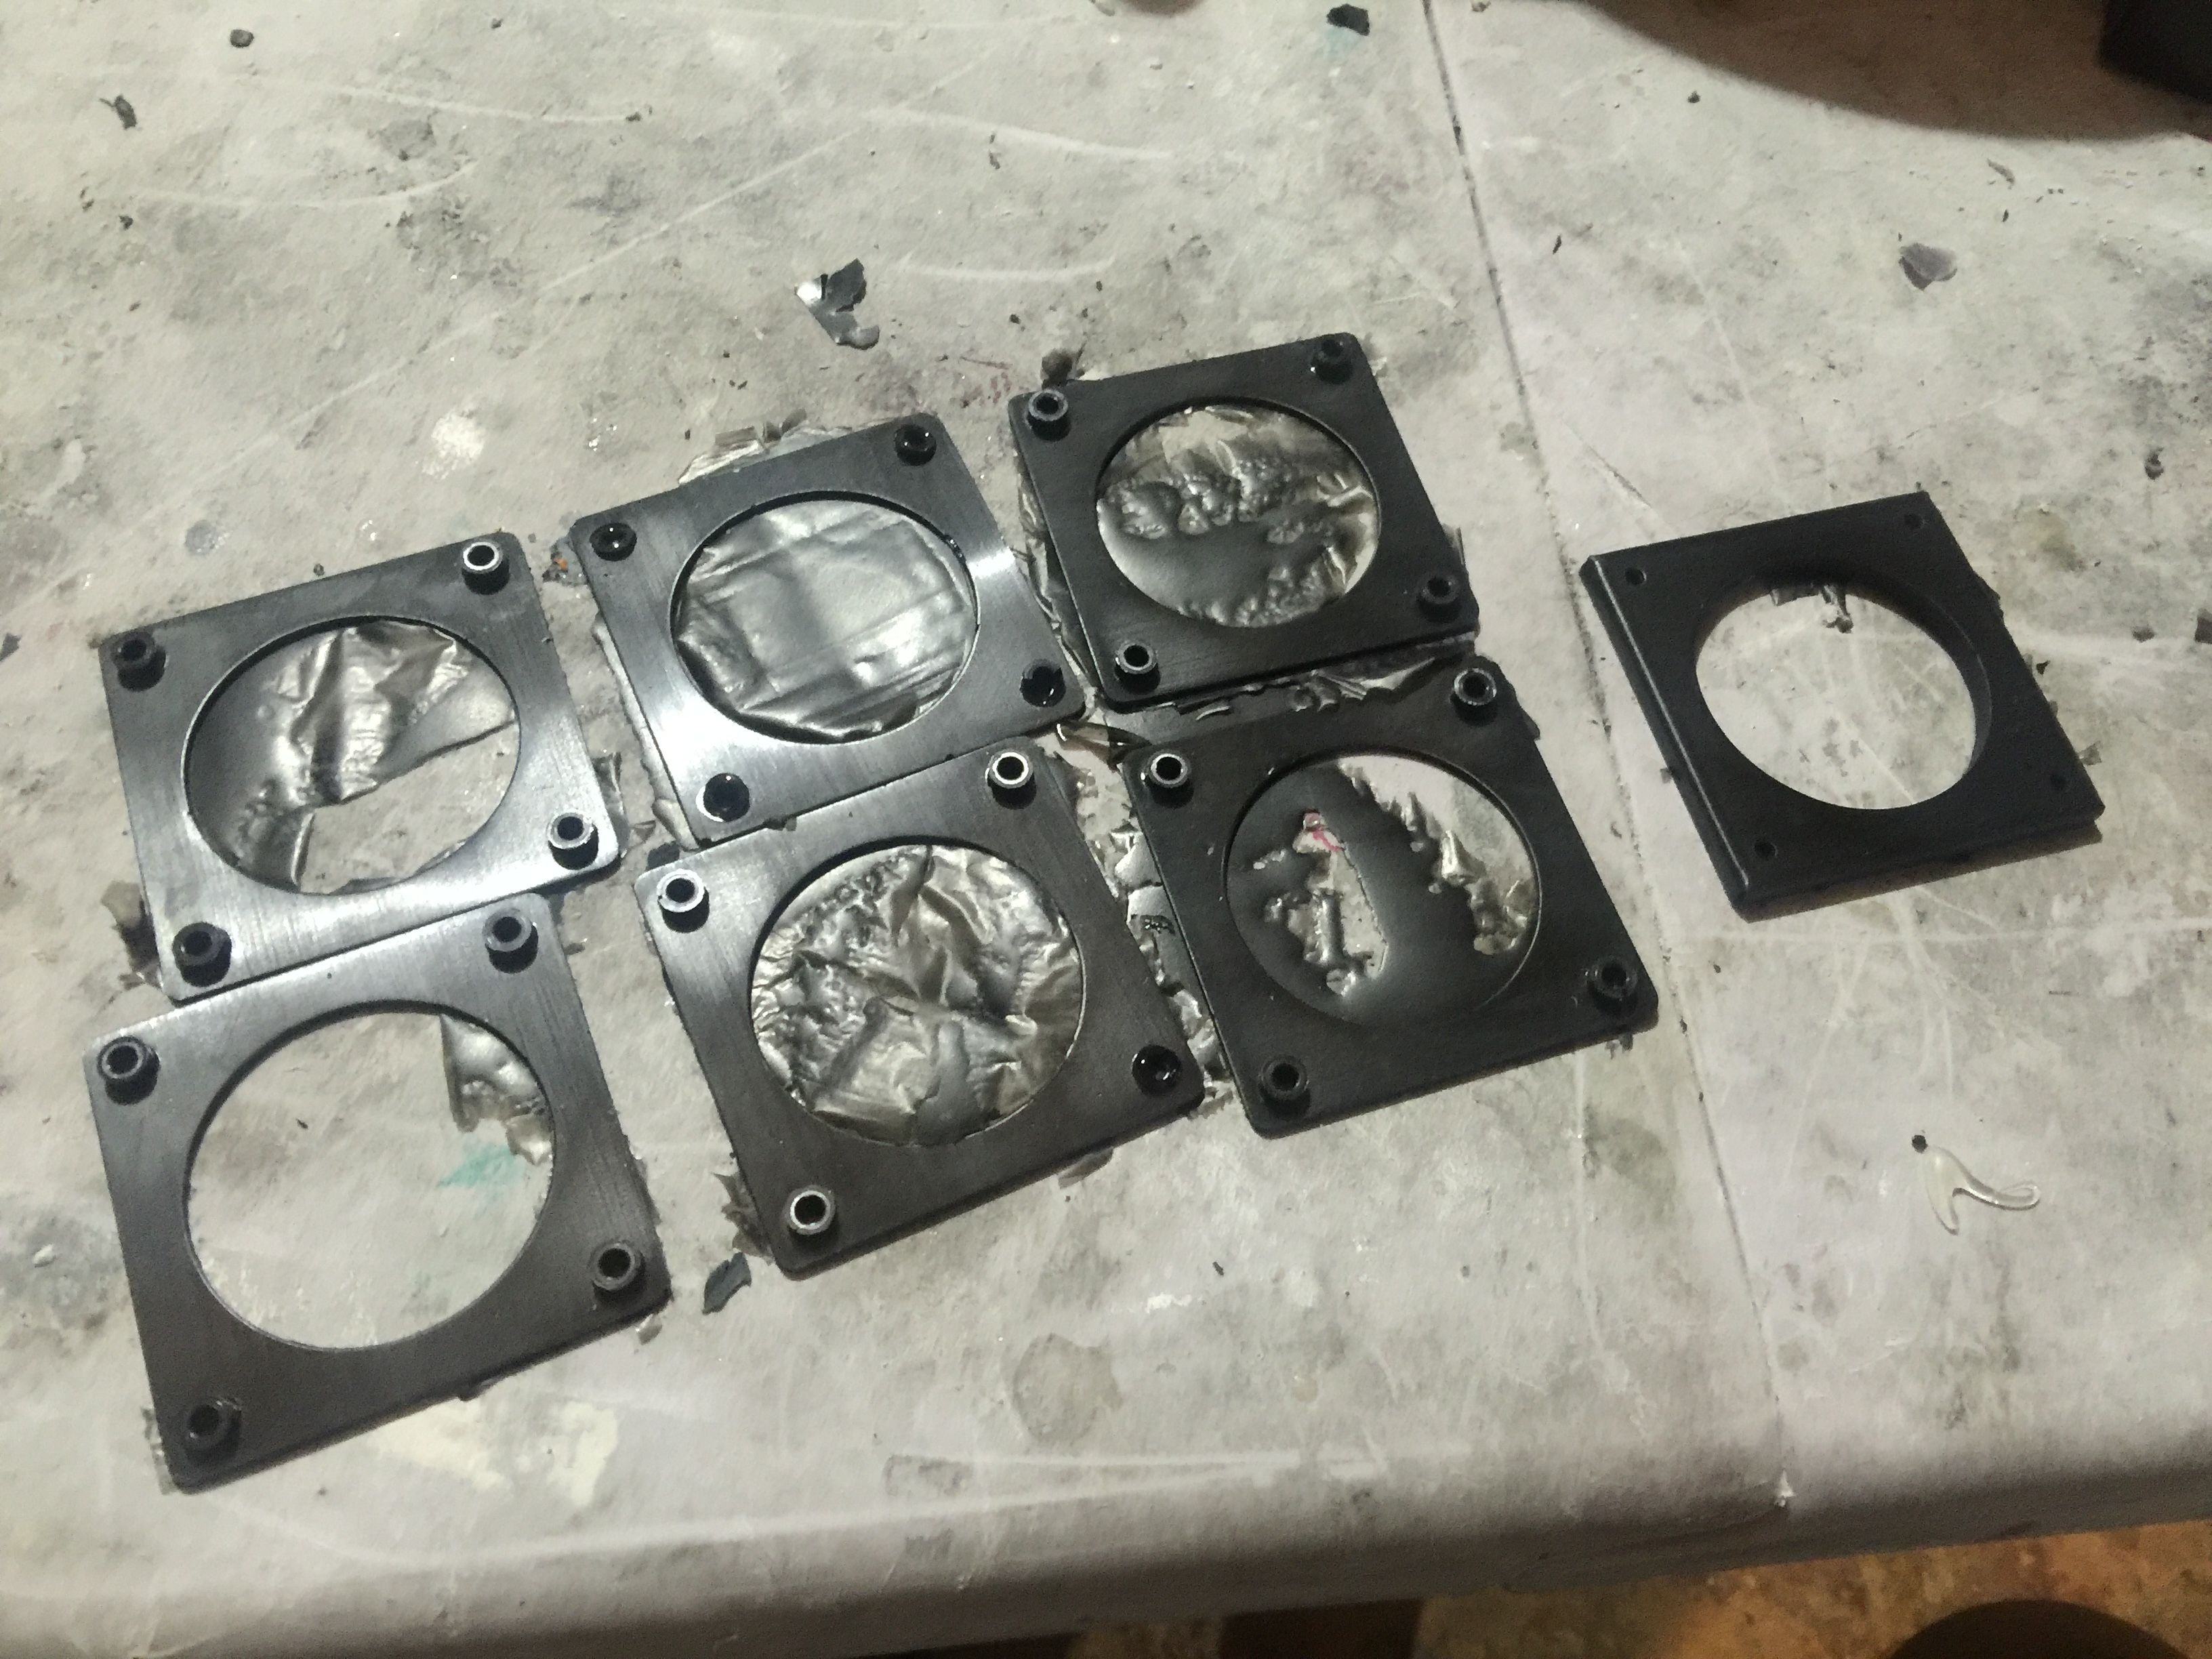
5: Drill a 1/8” hole in each of the 4 corners of the Outer Body where the molded holes are.
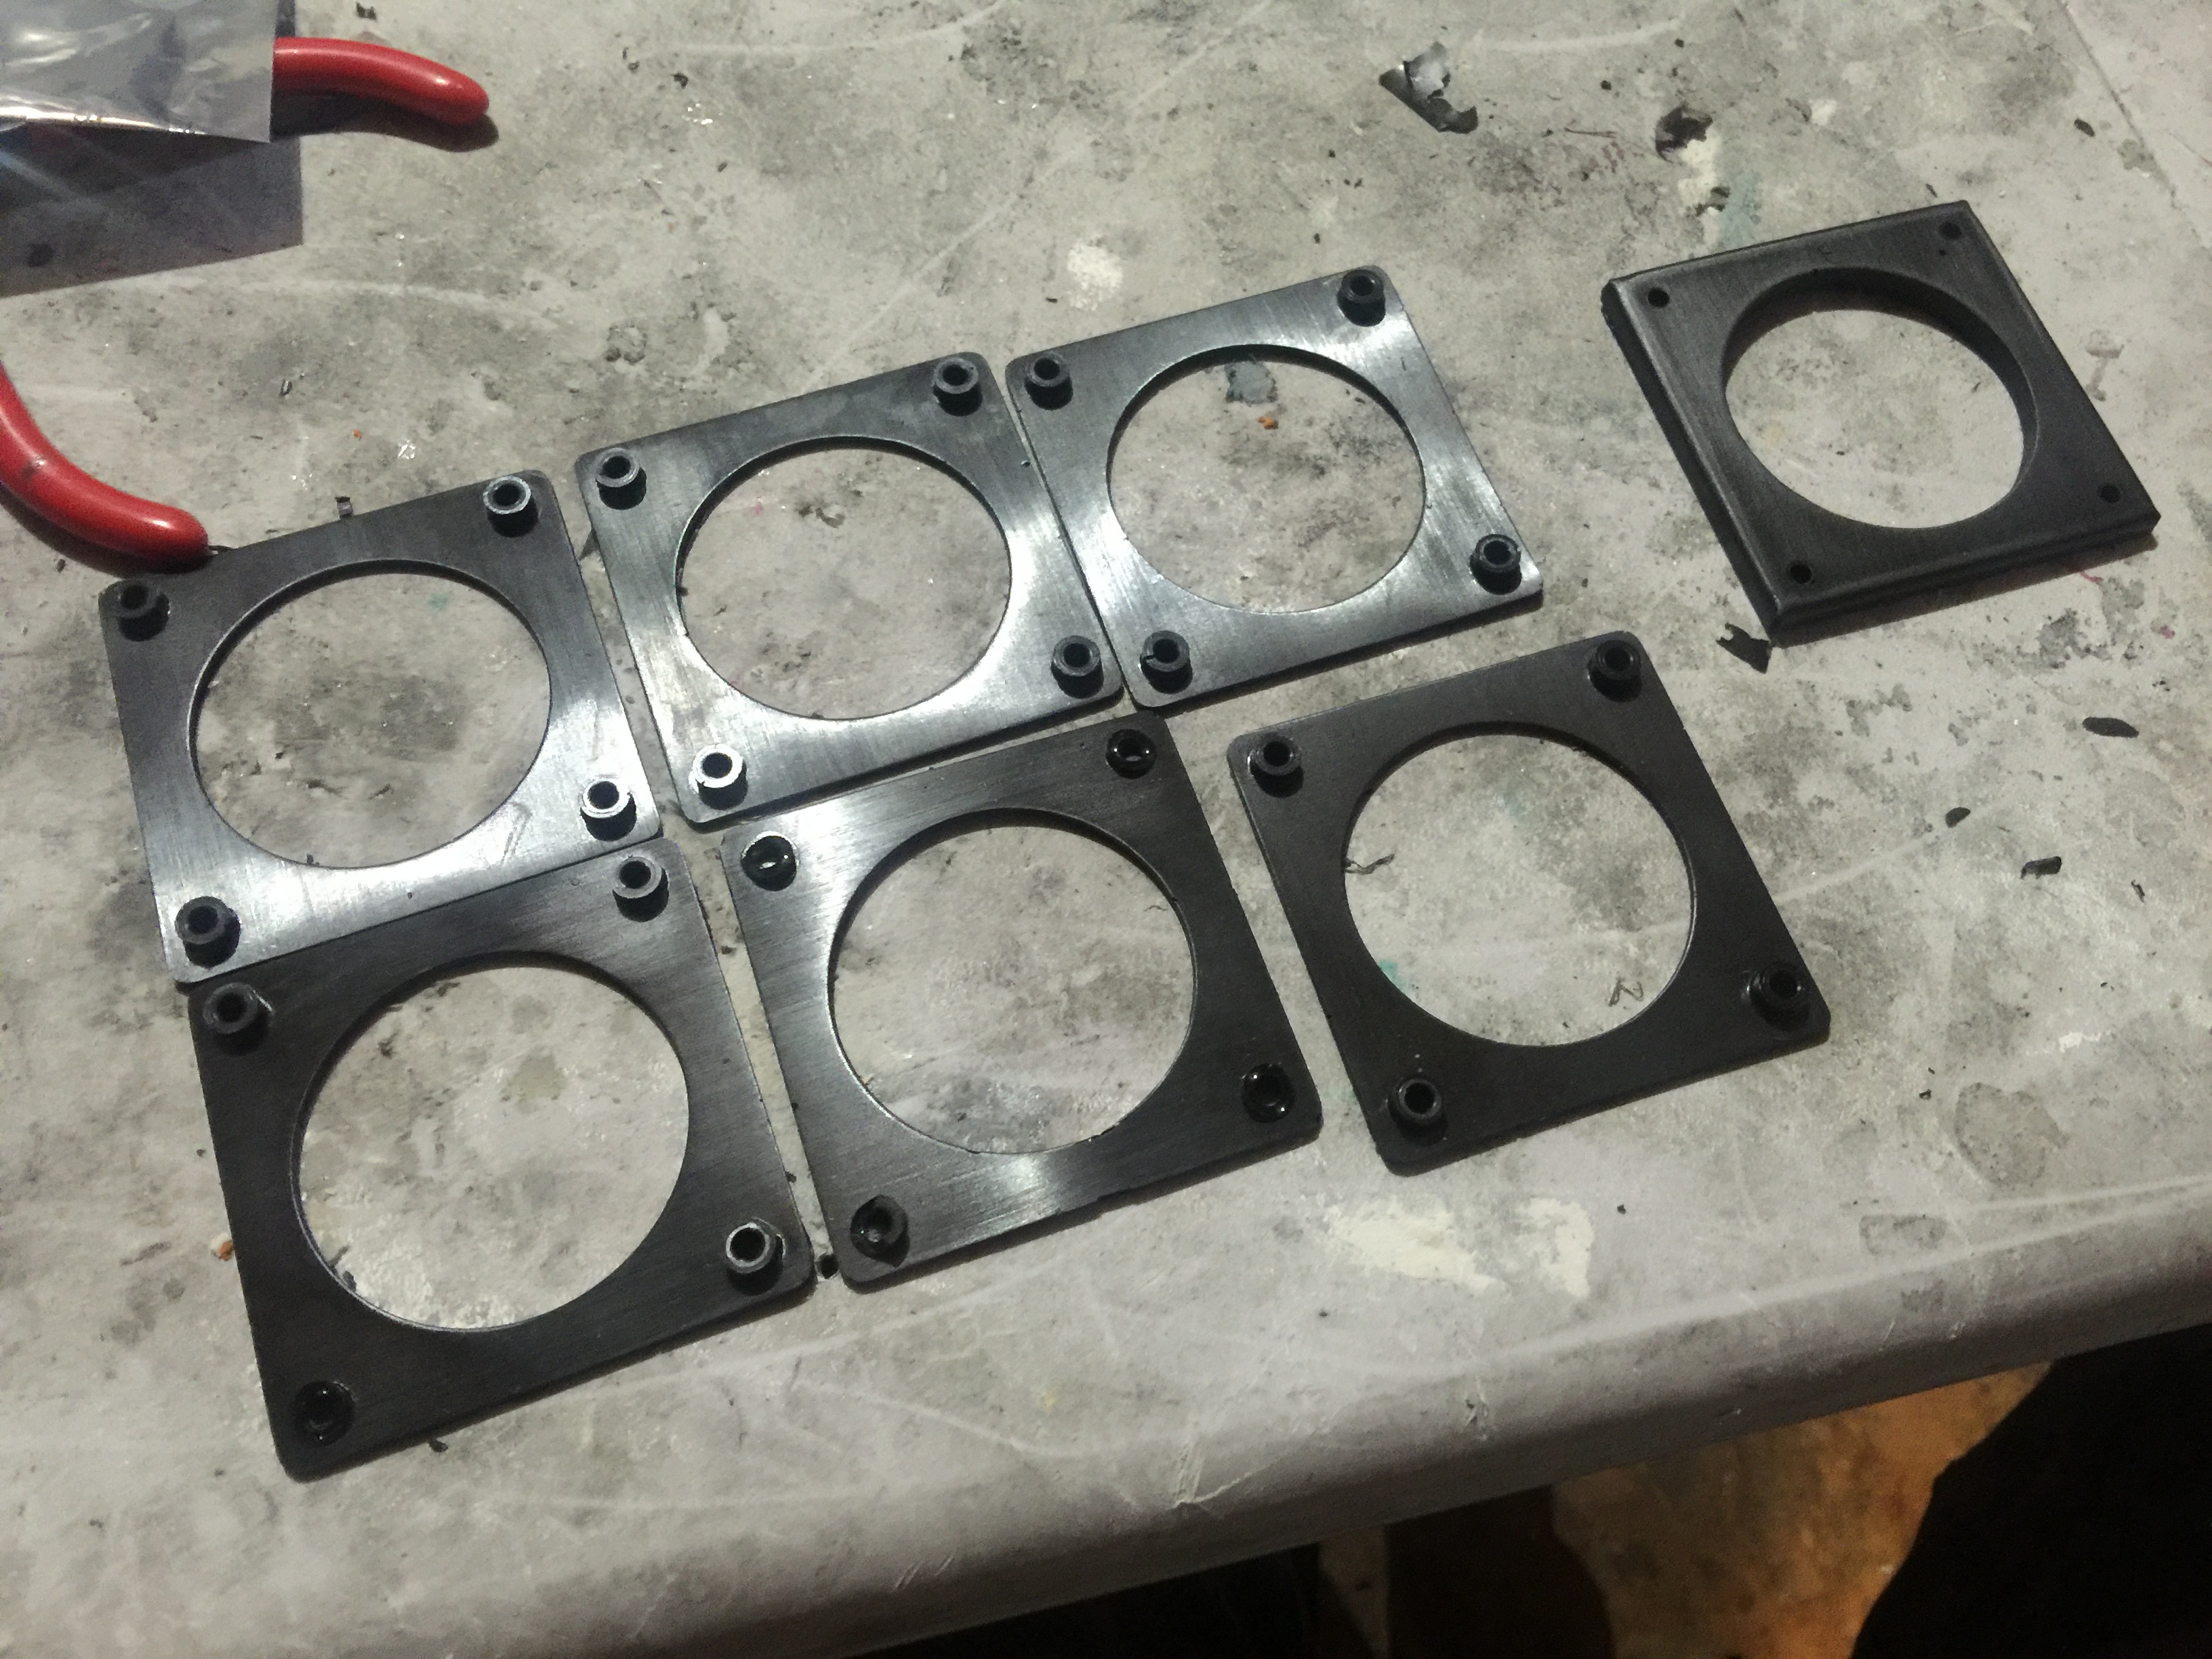
6: Clean up the holes in all the Vent parts. If the holes are closed, open them with a 7/64” bit. Drill 4 7/64” holes in the corners of the opening of the Lamp Head.

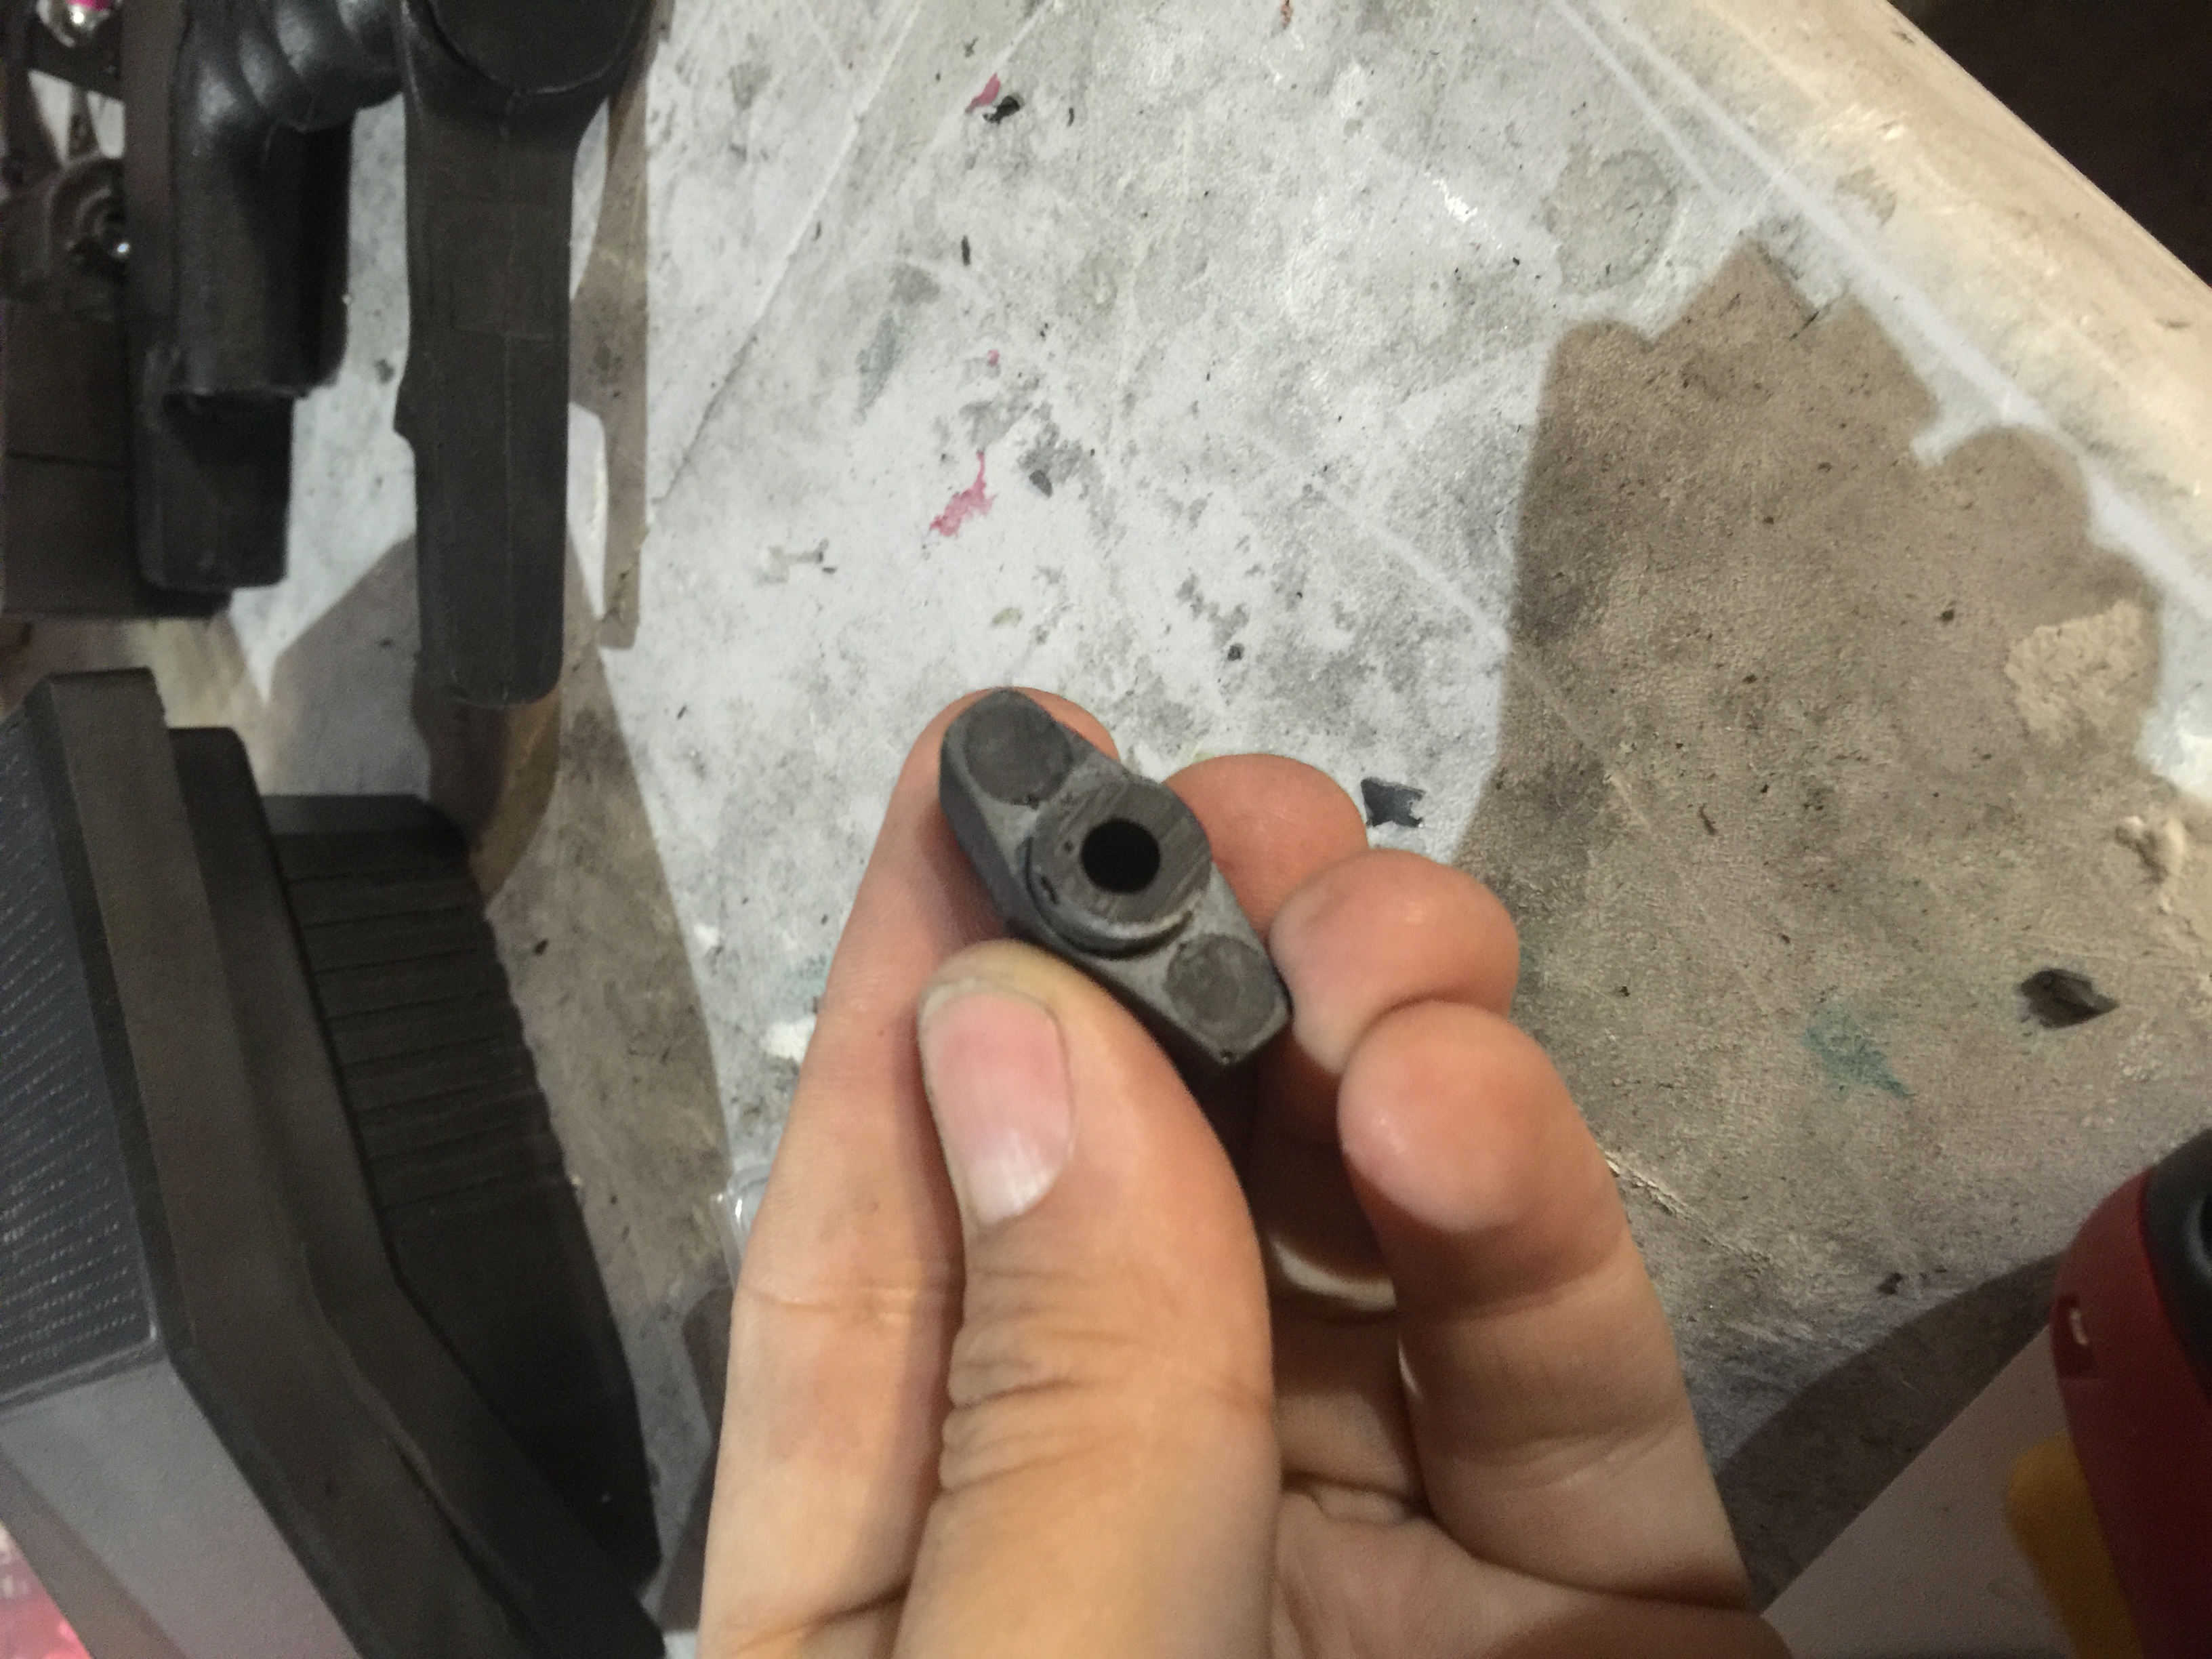
7: For the Knob, you can just glue it in place, but if you plan to wear it as part of a costume, I suggest at least drilling a small hole and gluing in a piece of wire, or at best, drilling a hole and gluing in a screw for it to attach to the Lamp Arm.

8: Drill a 15/64” hole in each side of the Handle arms. Align the Handle on the body. Remember that the Handle will be angled forward, towards the armor, and the holes for the bolt need to not hit the screws holding the 2 halves together, and need to be centered on the Outer Body half. The holes should be just a hair under the screws that hold the halves together. Use a 15/64” bit for this as well. Drill a 15/64” hole in the Lamp Arm where it will connect to the Lamp.


9: Drill a 1/8” hole in the marked spot on the Lamp Arm. Screw the Knob in place.


10: Prime the 2 Body halves and when dry paint them in your choice of green. I used a Dark Green primer and then topped it with OD Green Paint. Allow the paint to dry. Clear Coat the Lamp Body halves and allow to dry.


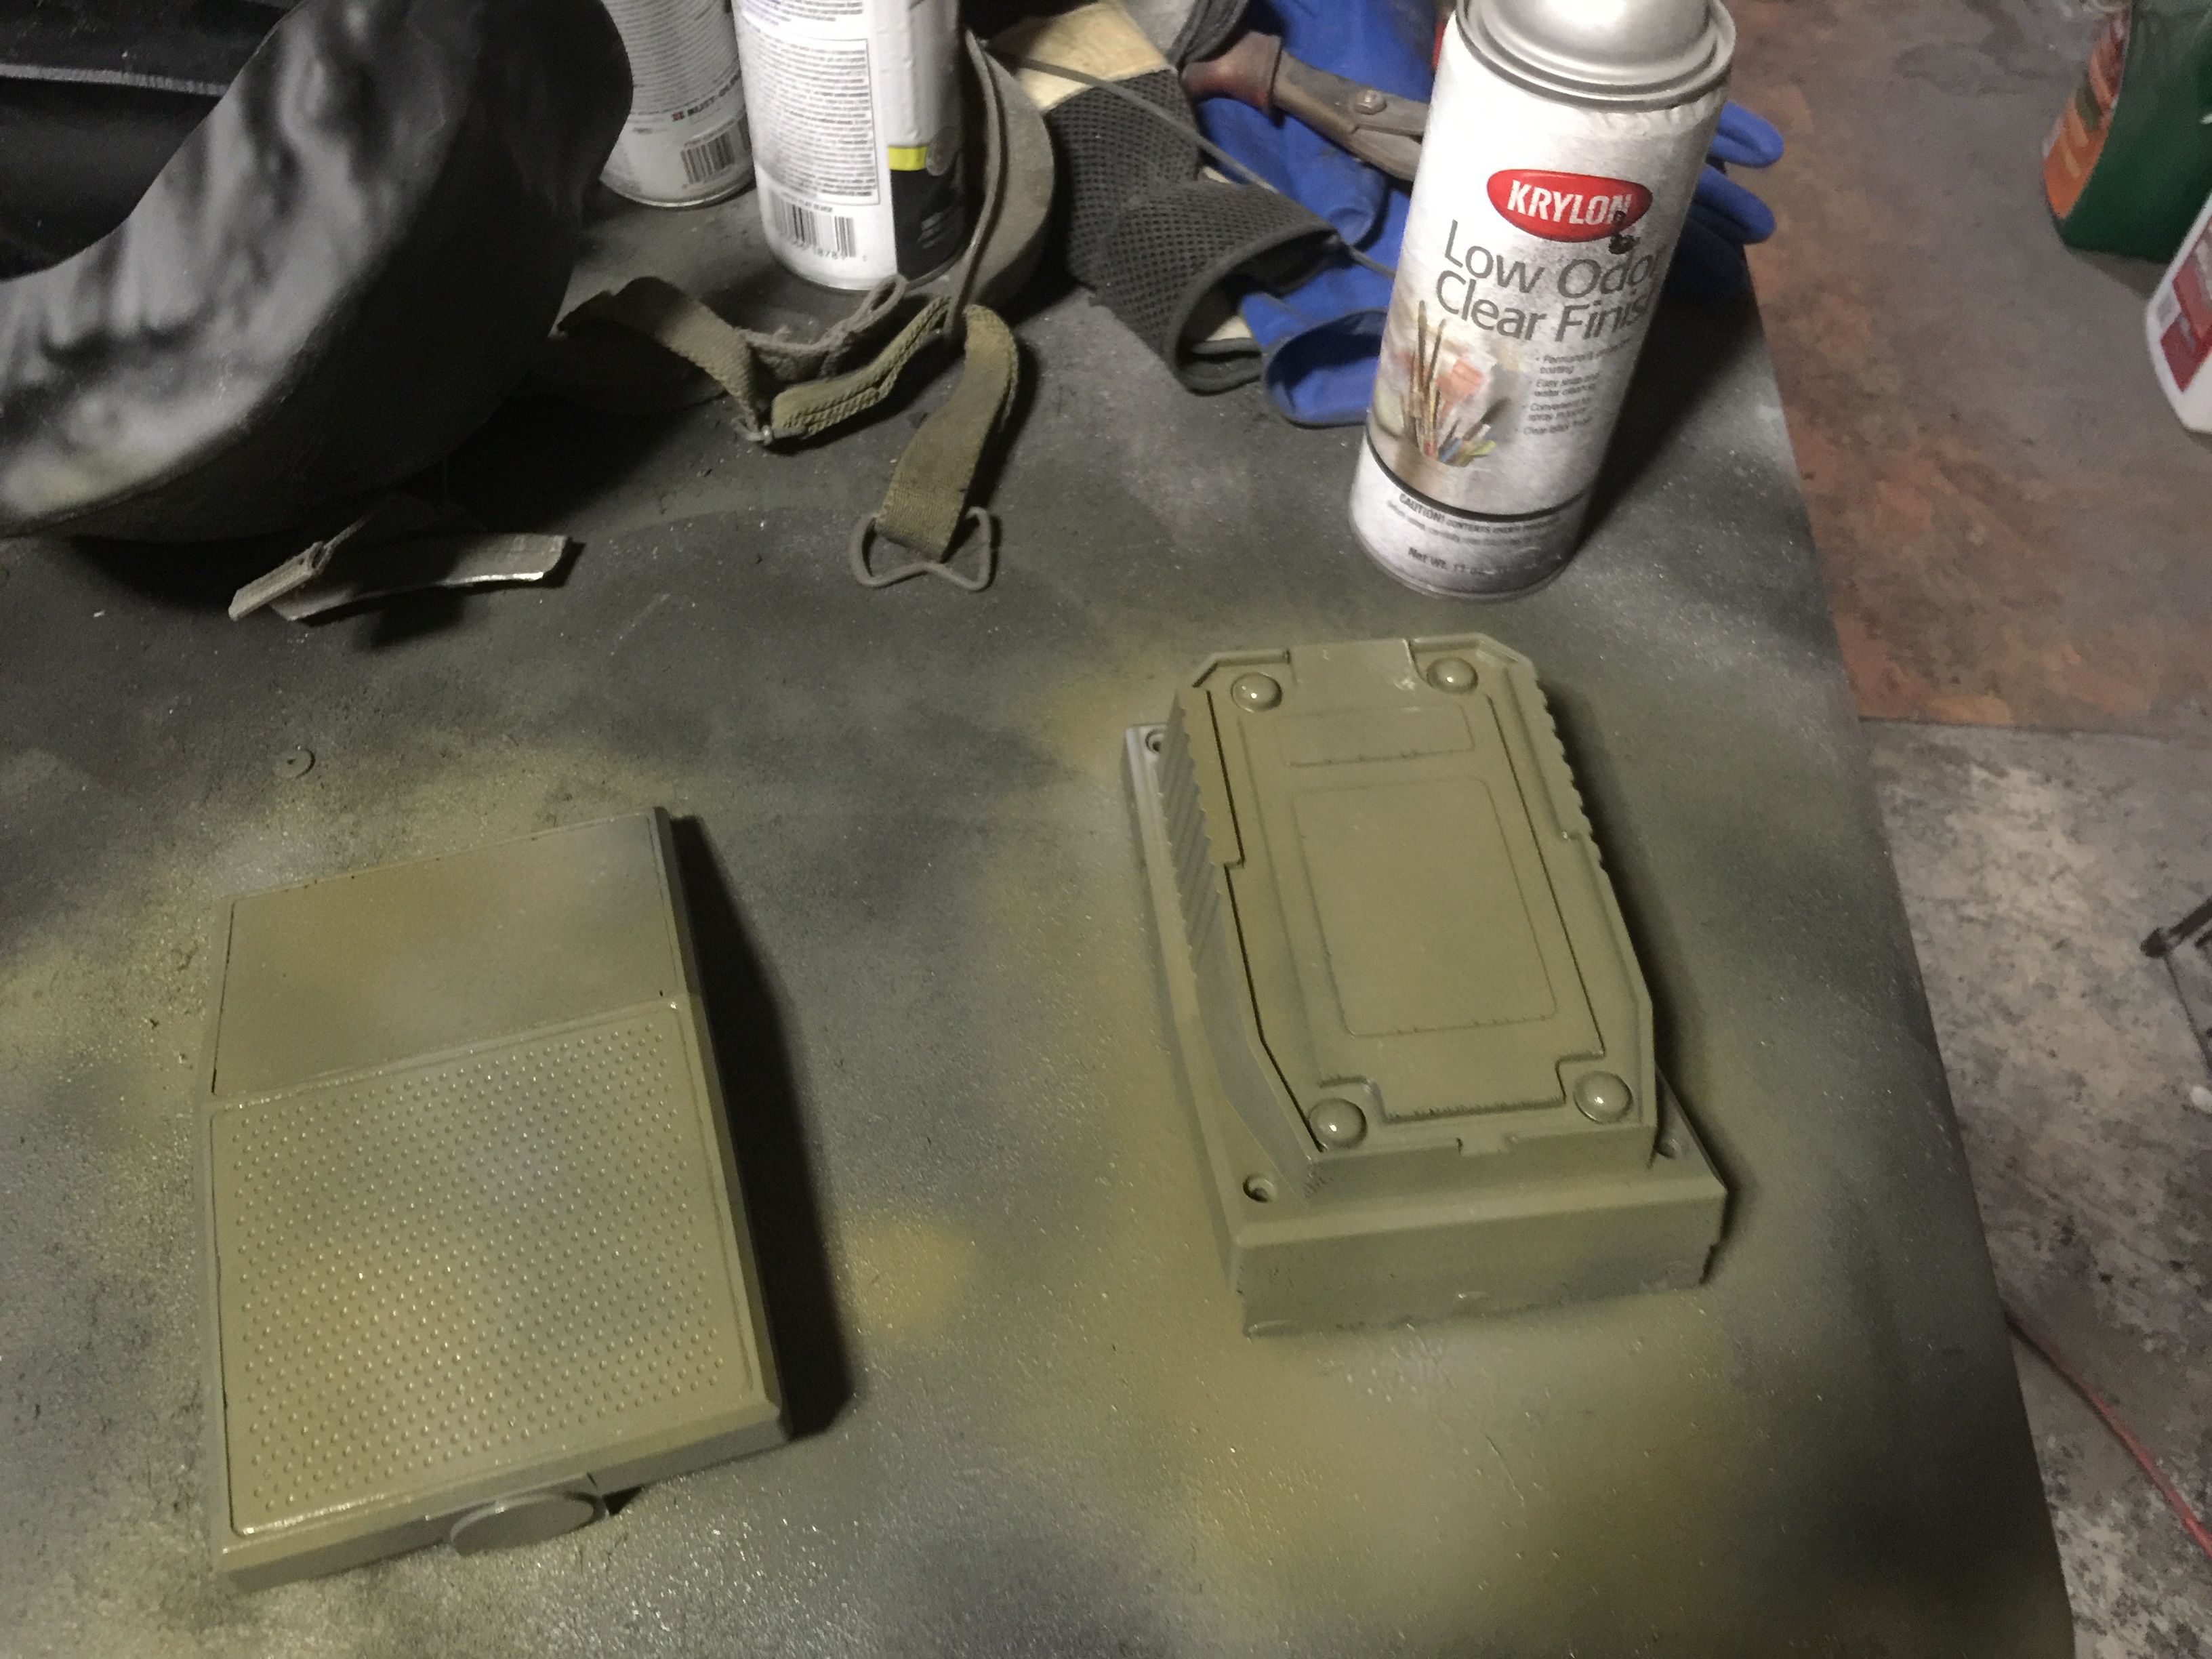
11: You can paint the other parts of the kit, but since they are supposed to be black anyway, and the parts are cast in black, I left them. But it’s up to you.
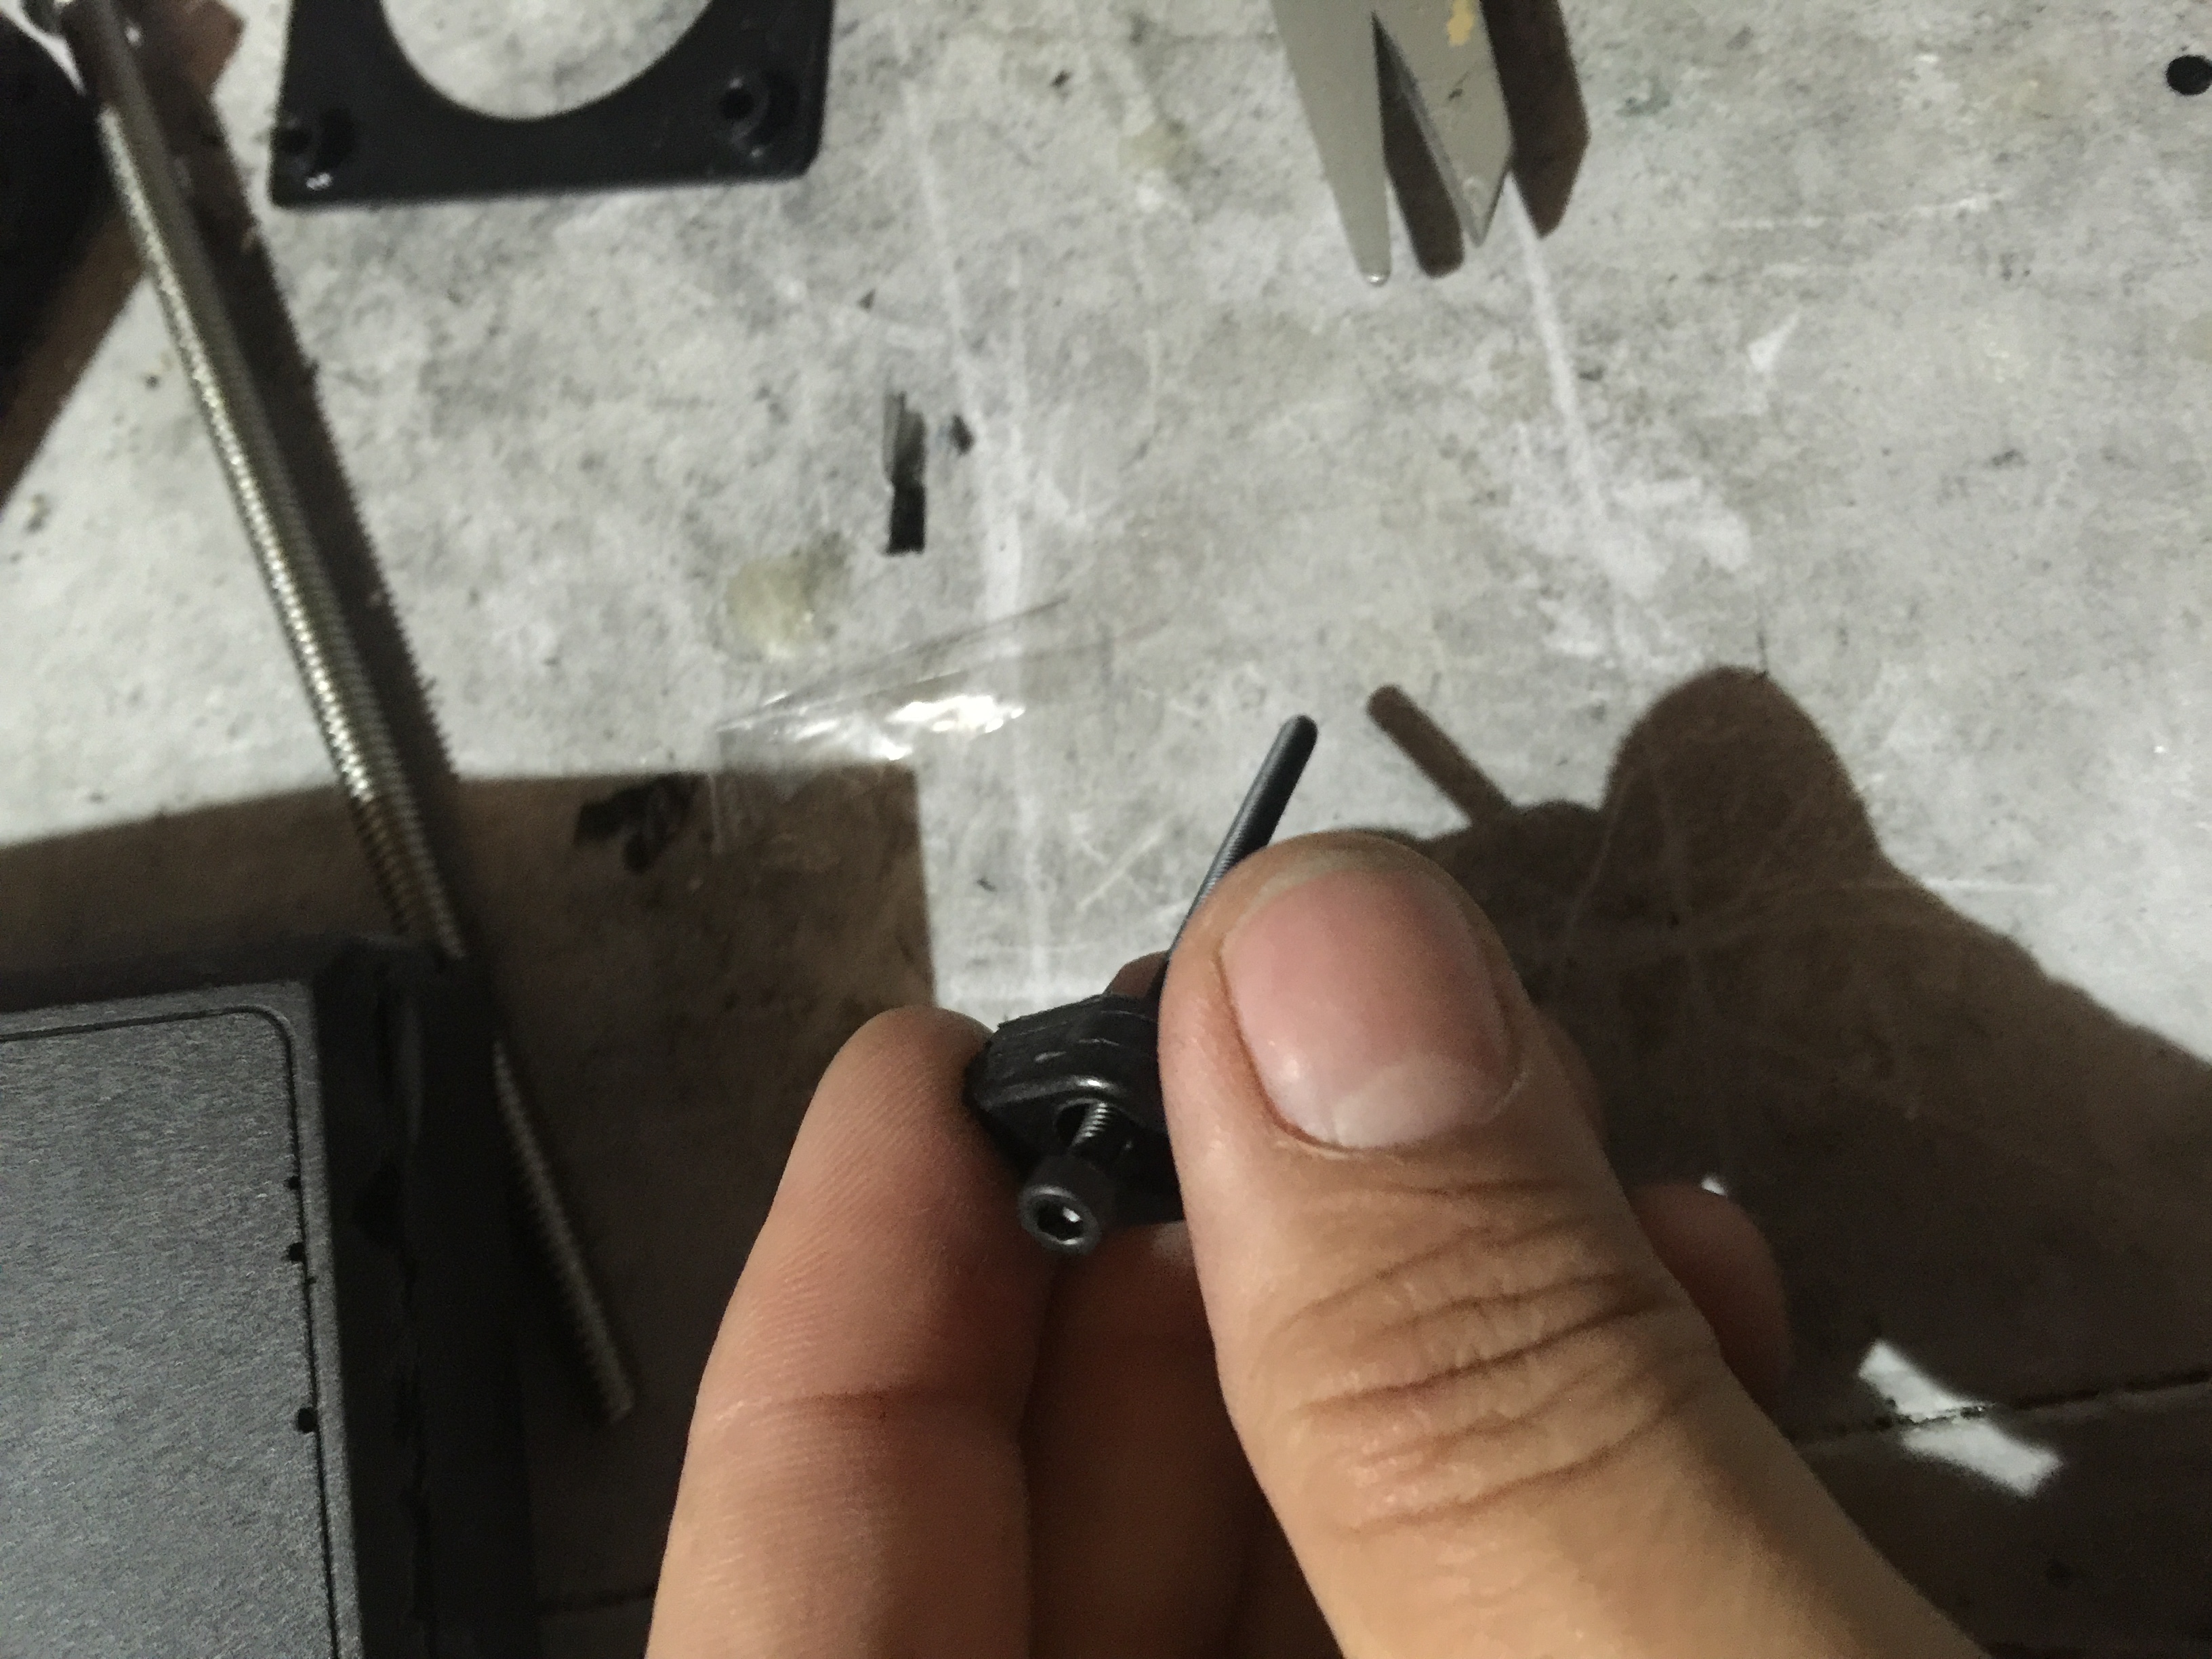
12: Insert the 4 thin bolts into the 4 Vent Caps. Do not glue it, you’ll need to tighten these screws later.
13: Next, slide the Front Vent into place on the screws. You can glue the Caps into place on the Front Vent. Just be careful not to get any glue on the screws.
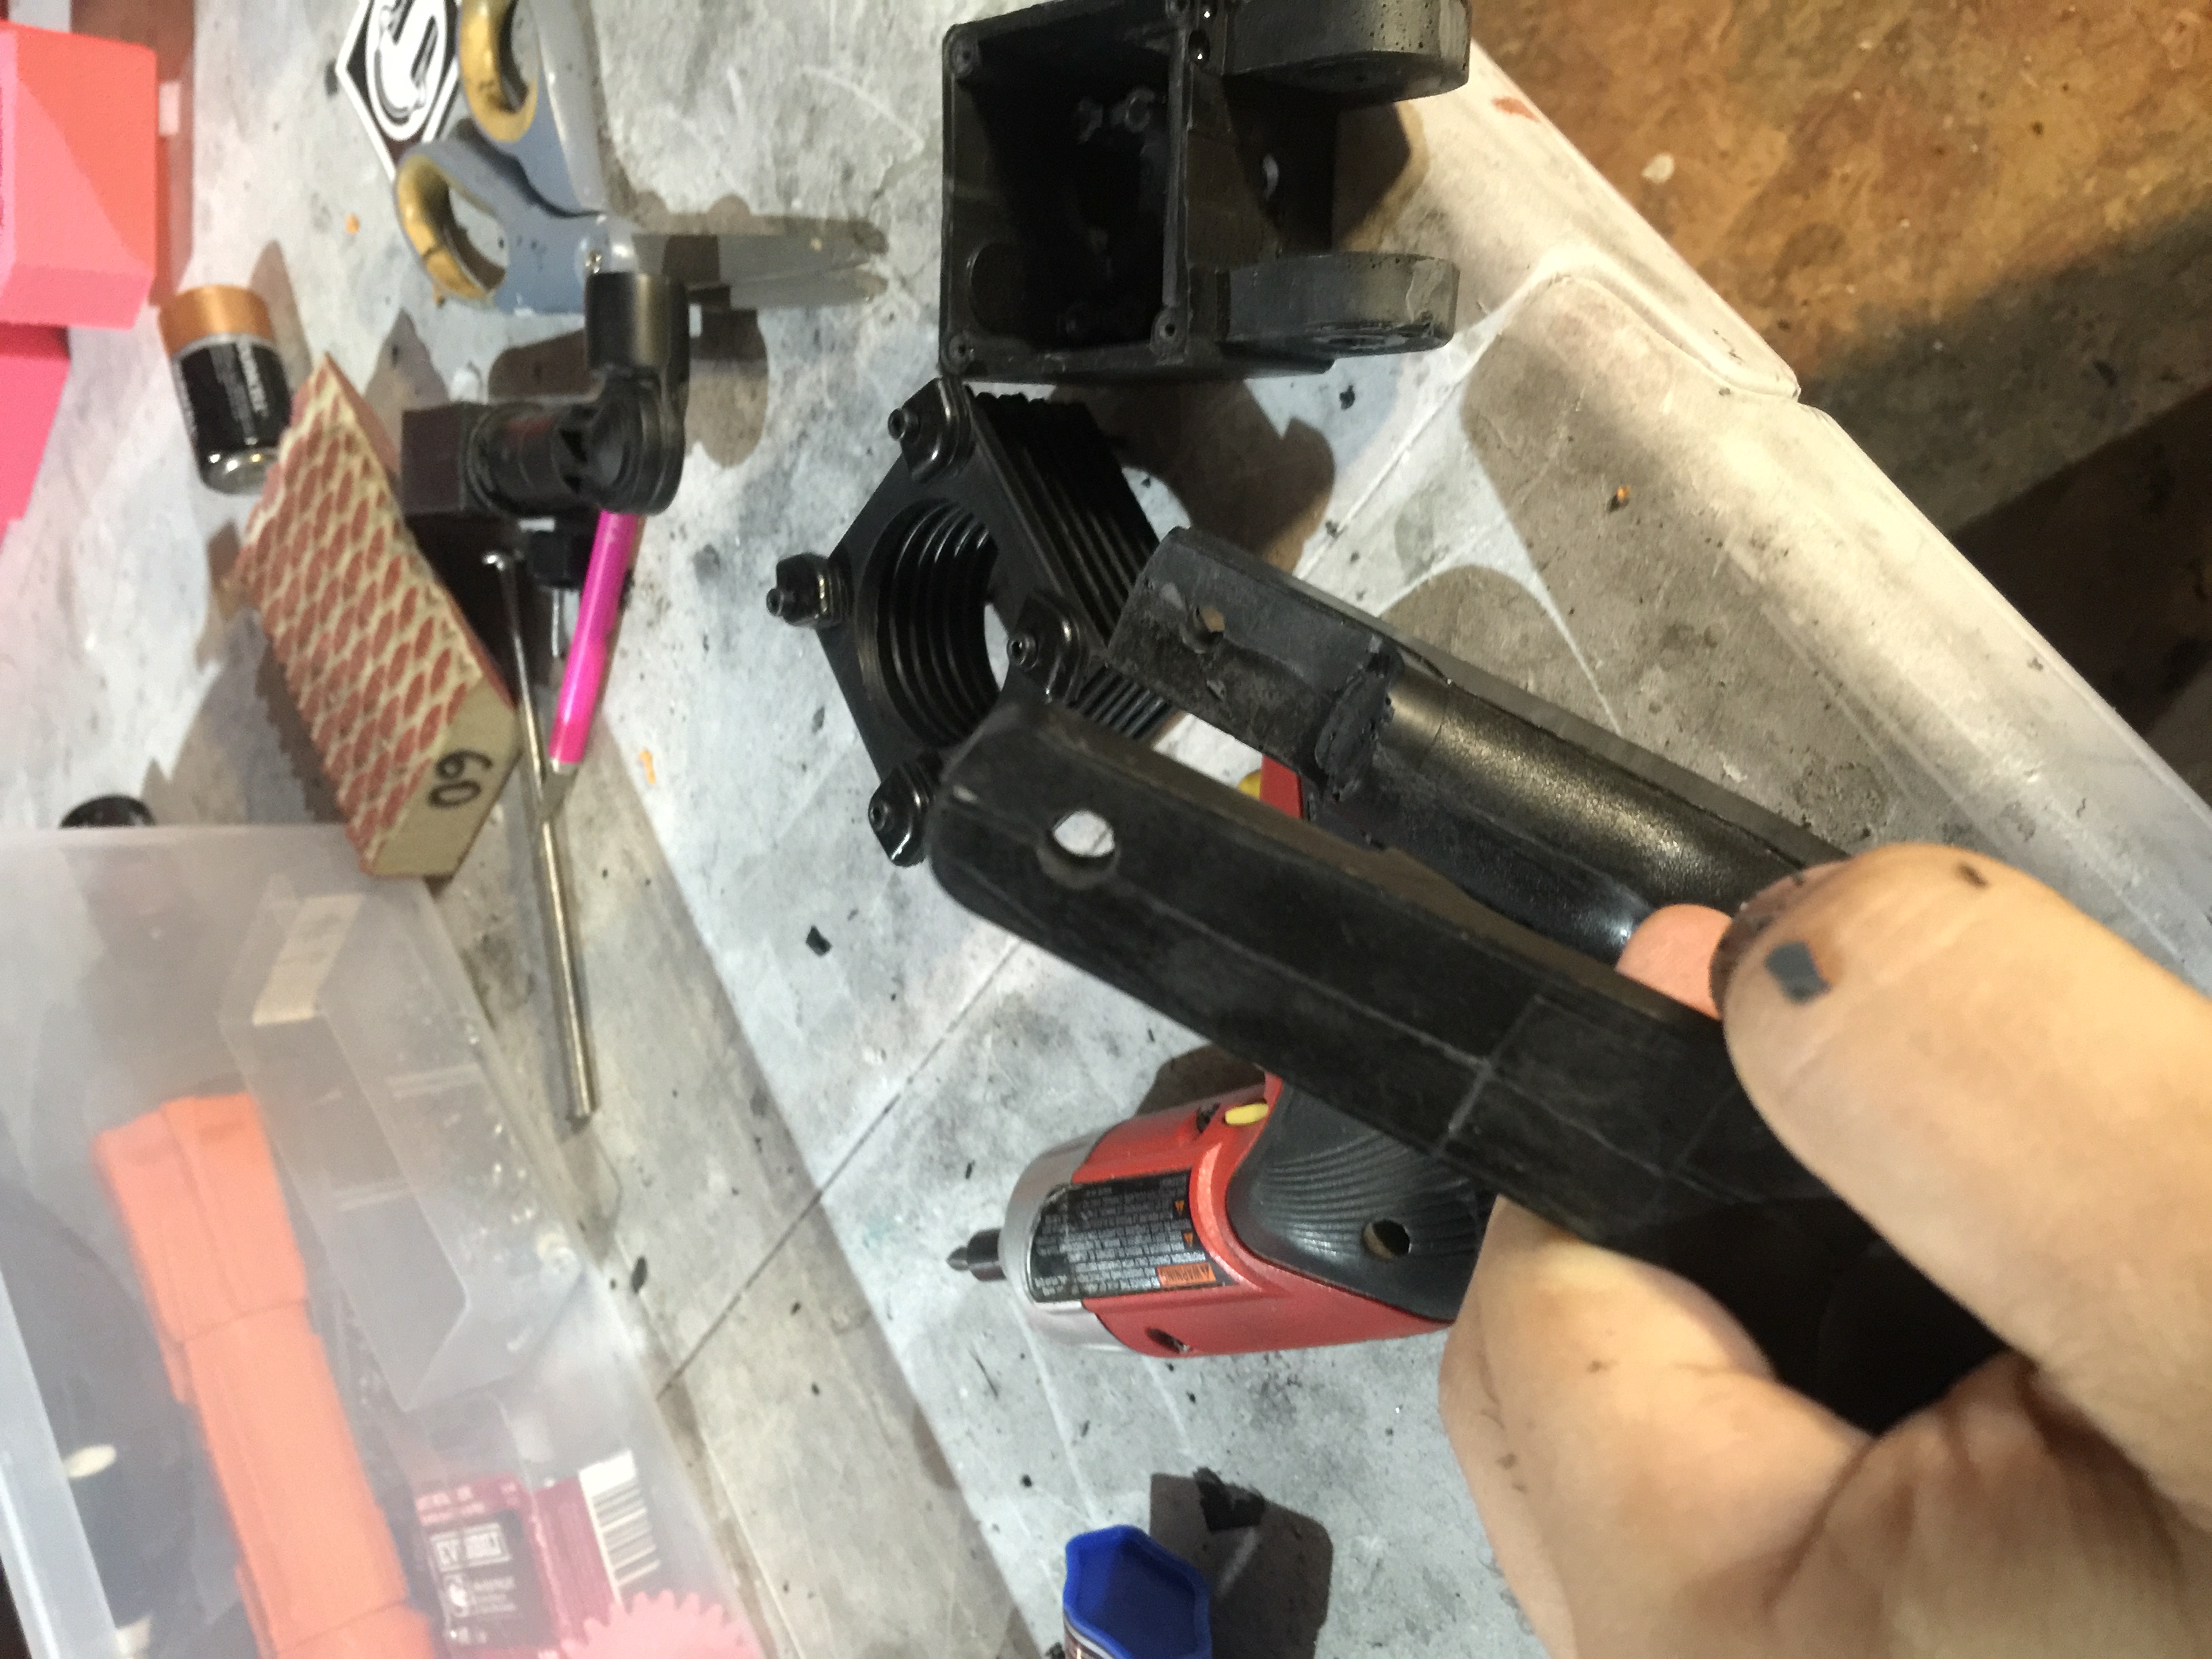
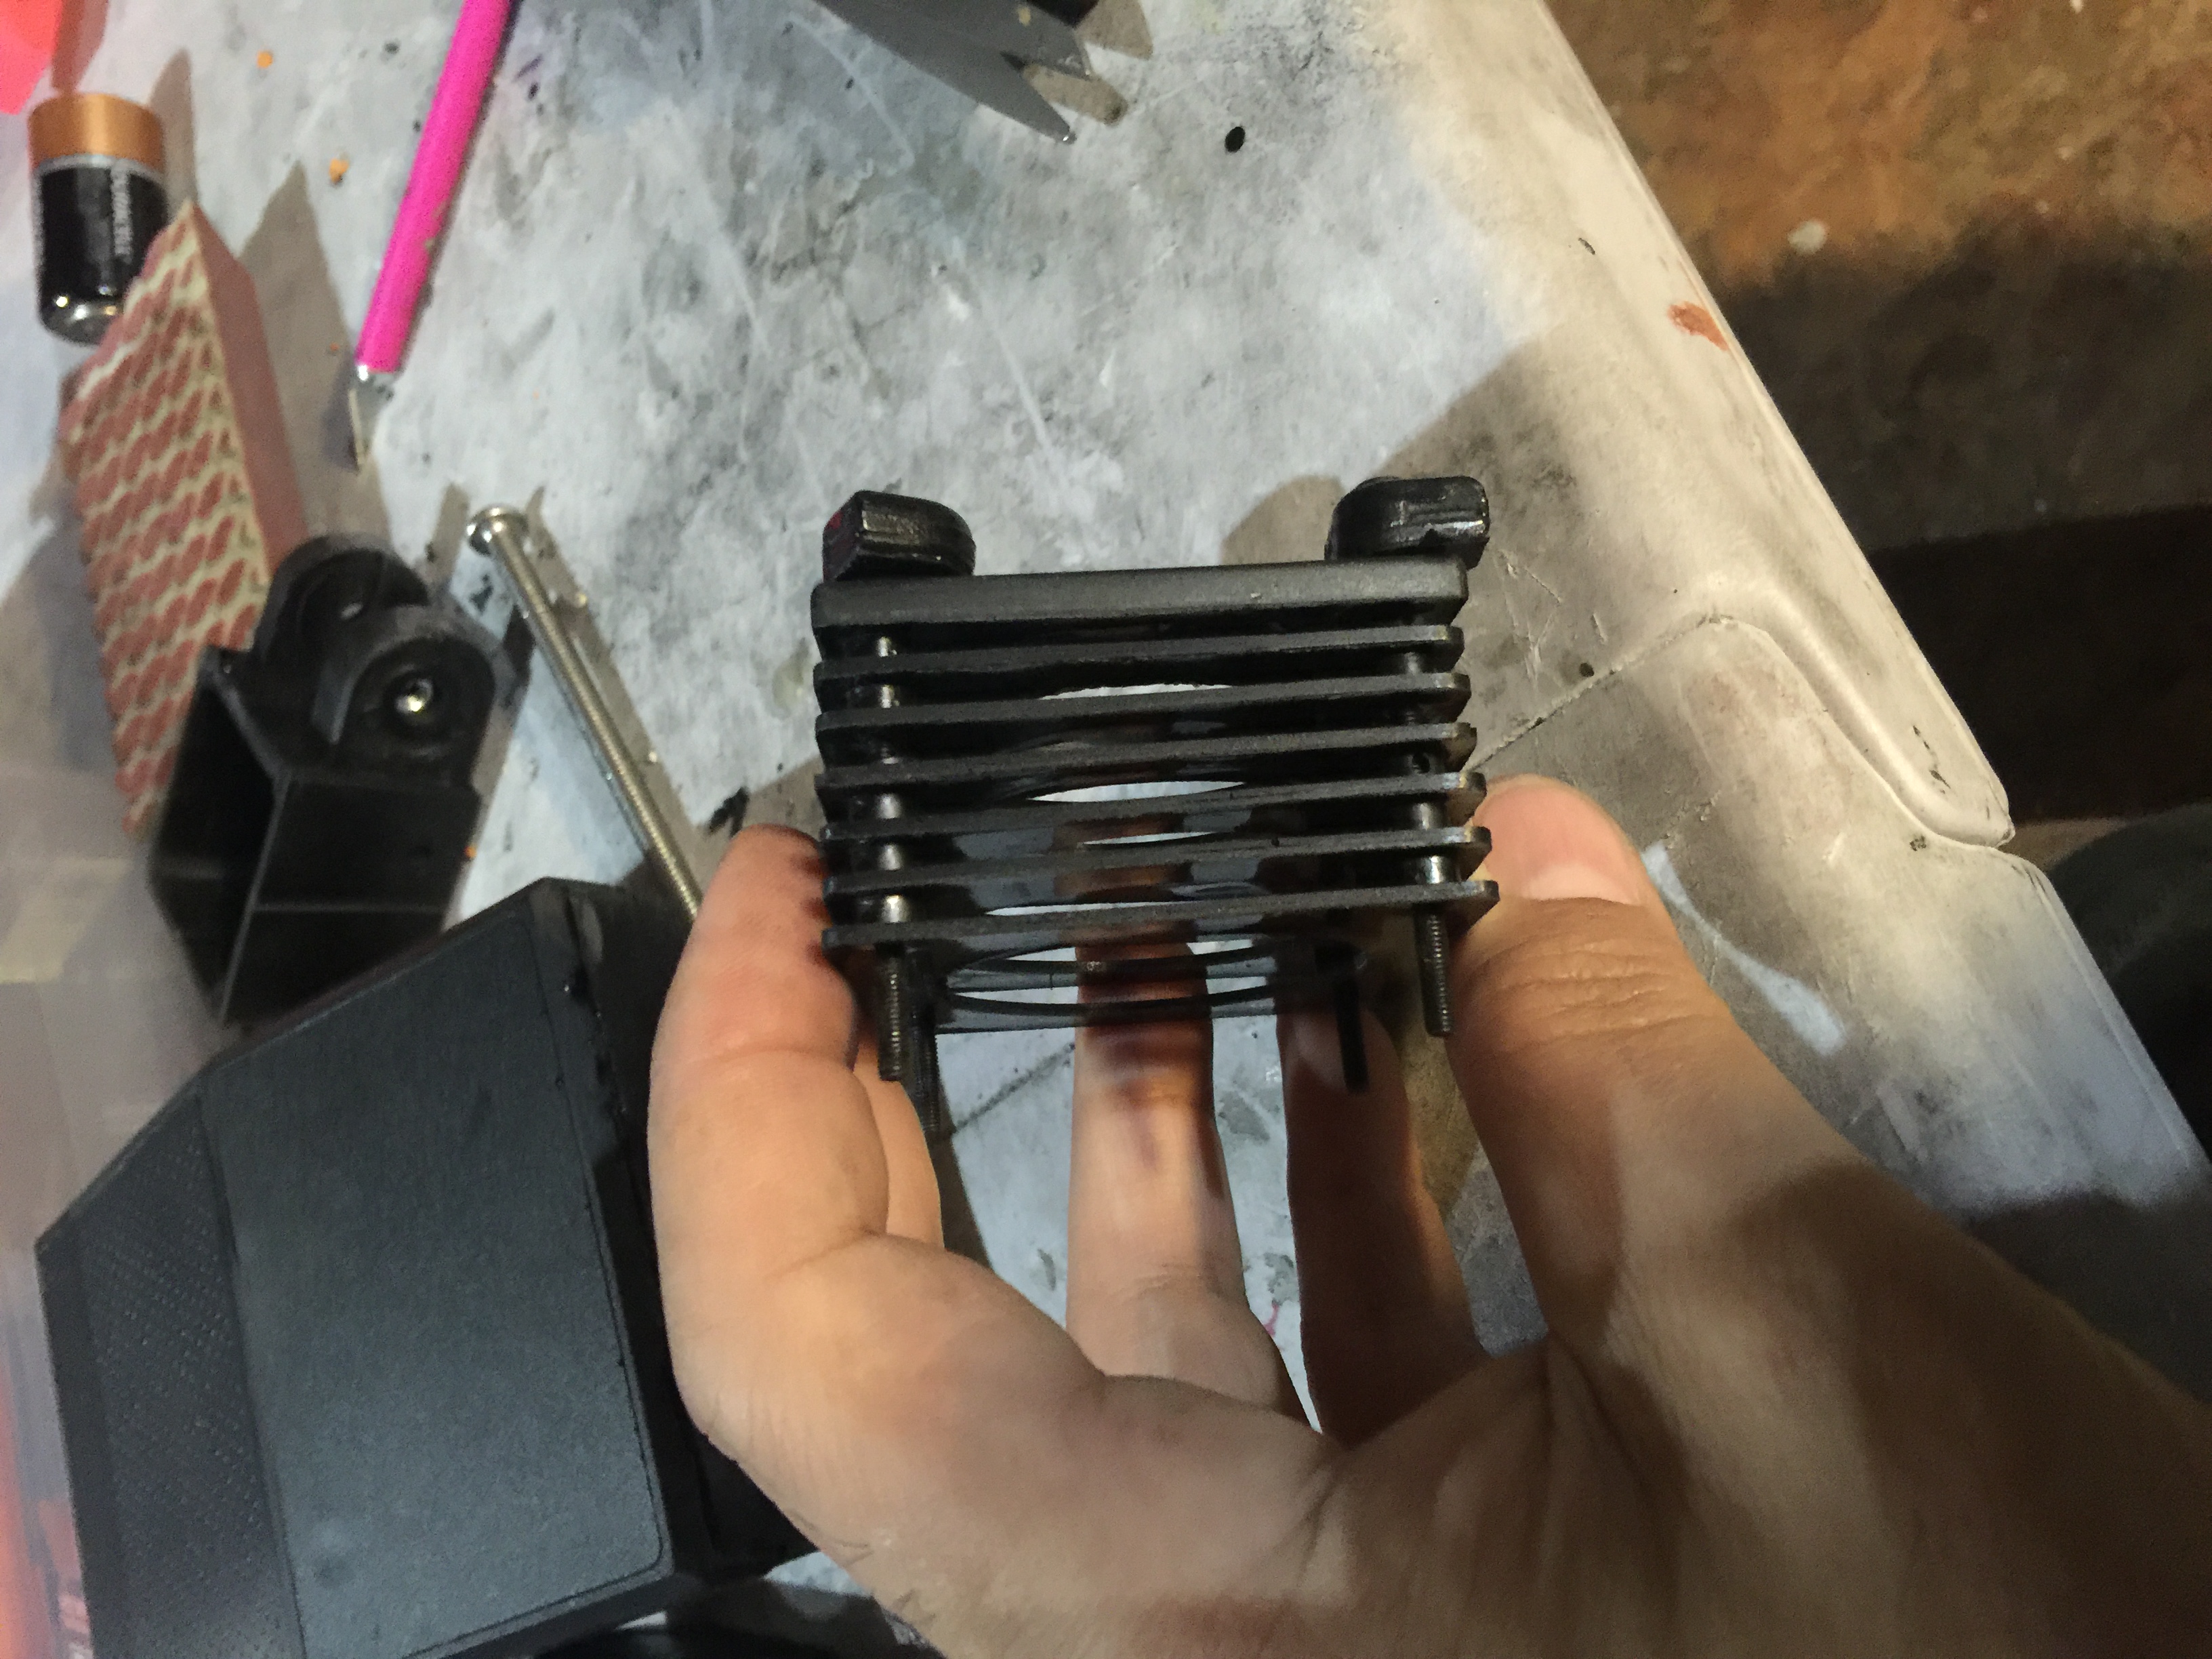
14: Now slide the 6 Vents into place. They have spacers cast into them. If any of them are missing or not perfect, use the extra spacers included in the kit. Stack them so they all face the Front Vent. Use the 4 Spacers on the bottom of the screws to create a space between the Vents and the Lamp Body.
15: Press the Switch into place. It should click in, but may need some wiggling to get it flat.
16: Align and screw the Vent unit in place on the Lamp Head. Tighten the screws a little at a time, working each screw a little, then moving to the next and so on.


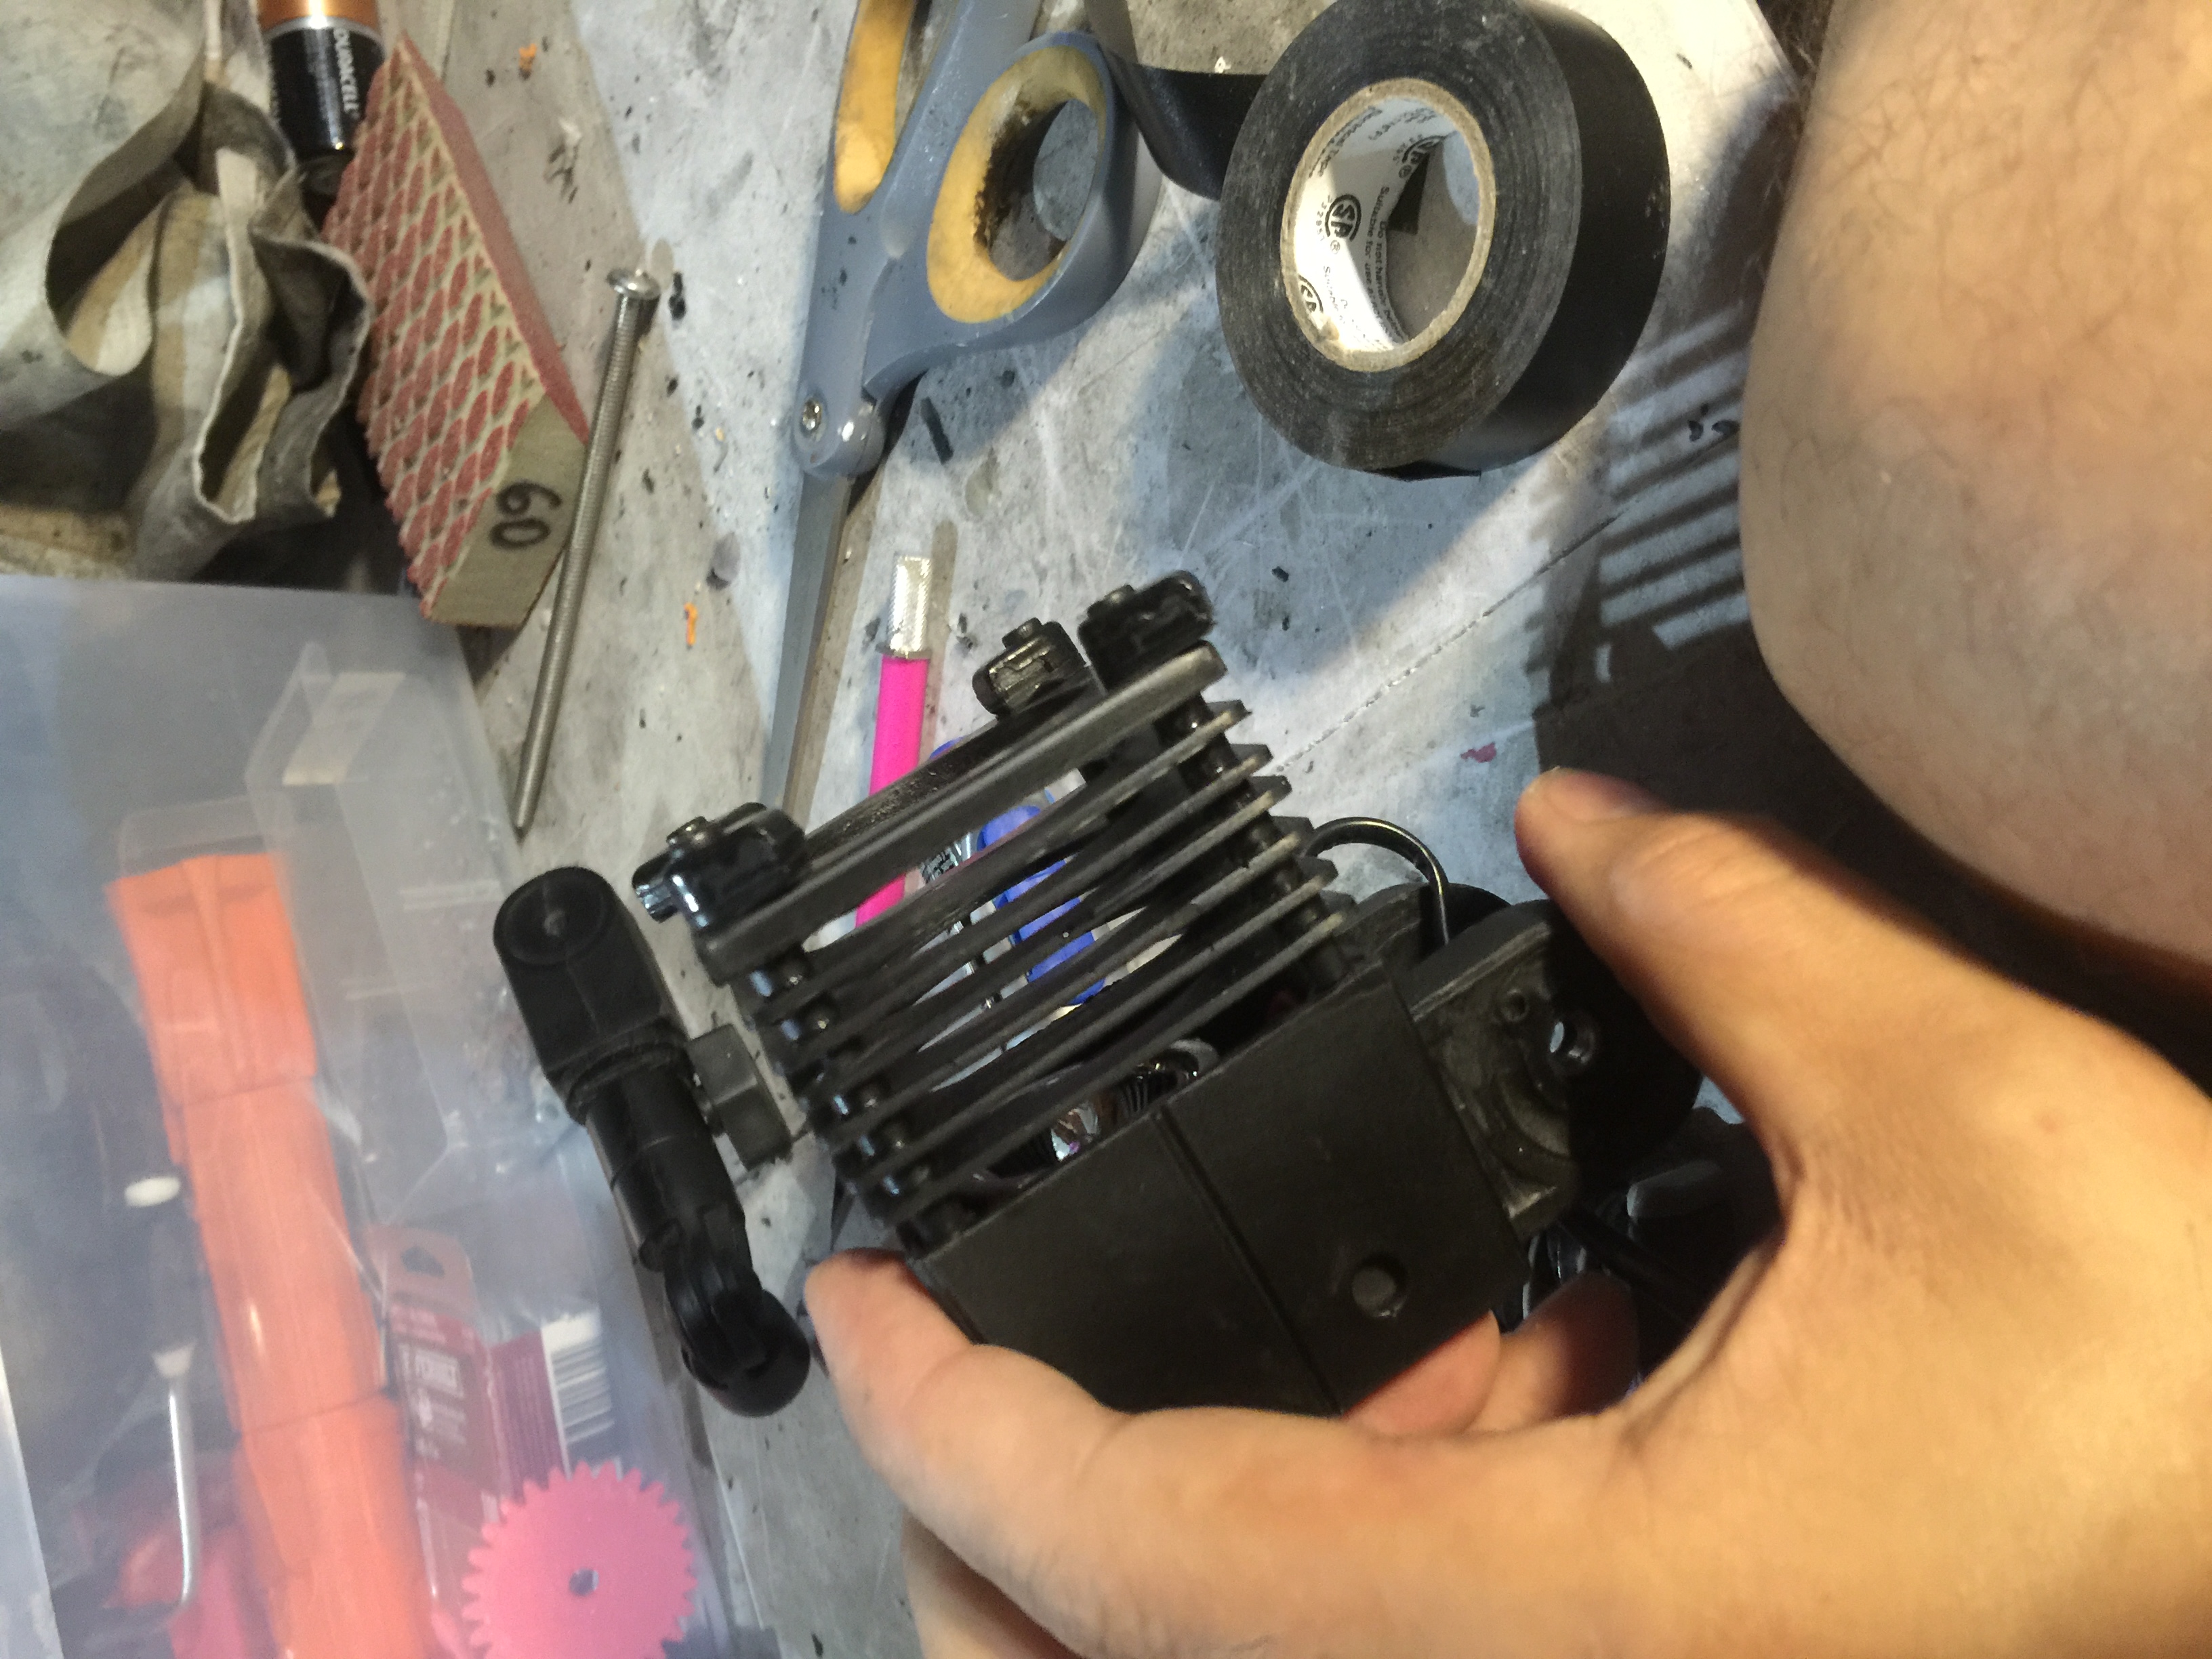
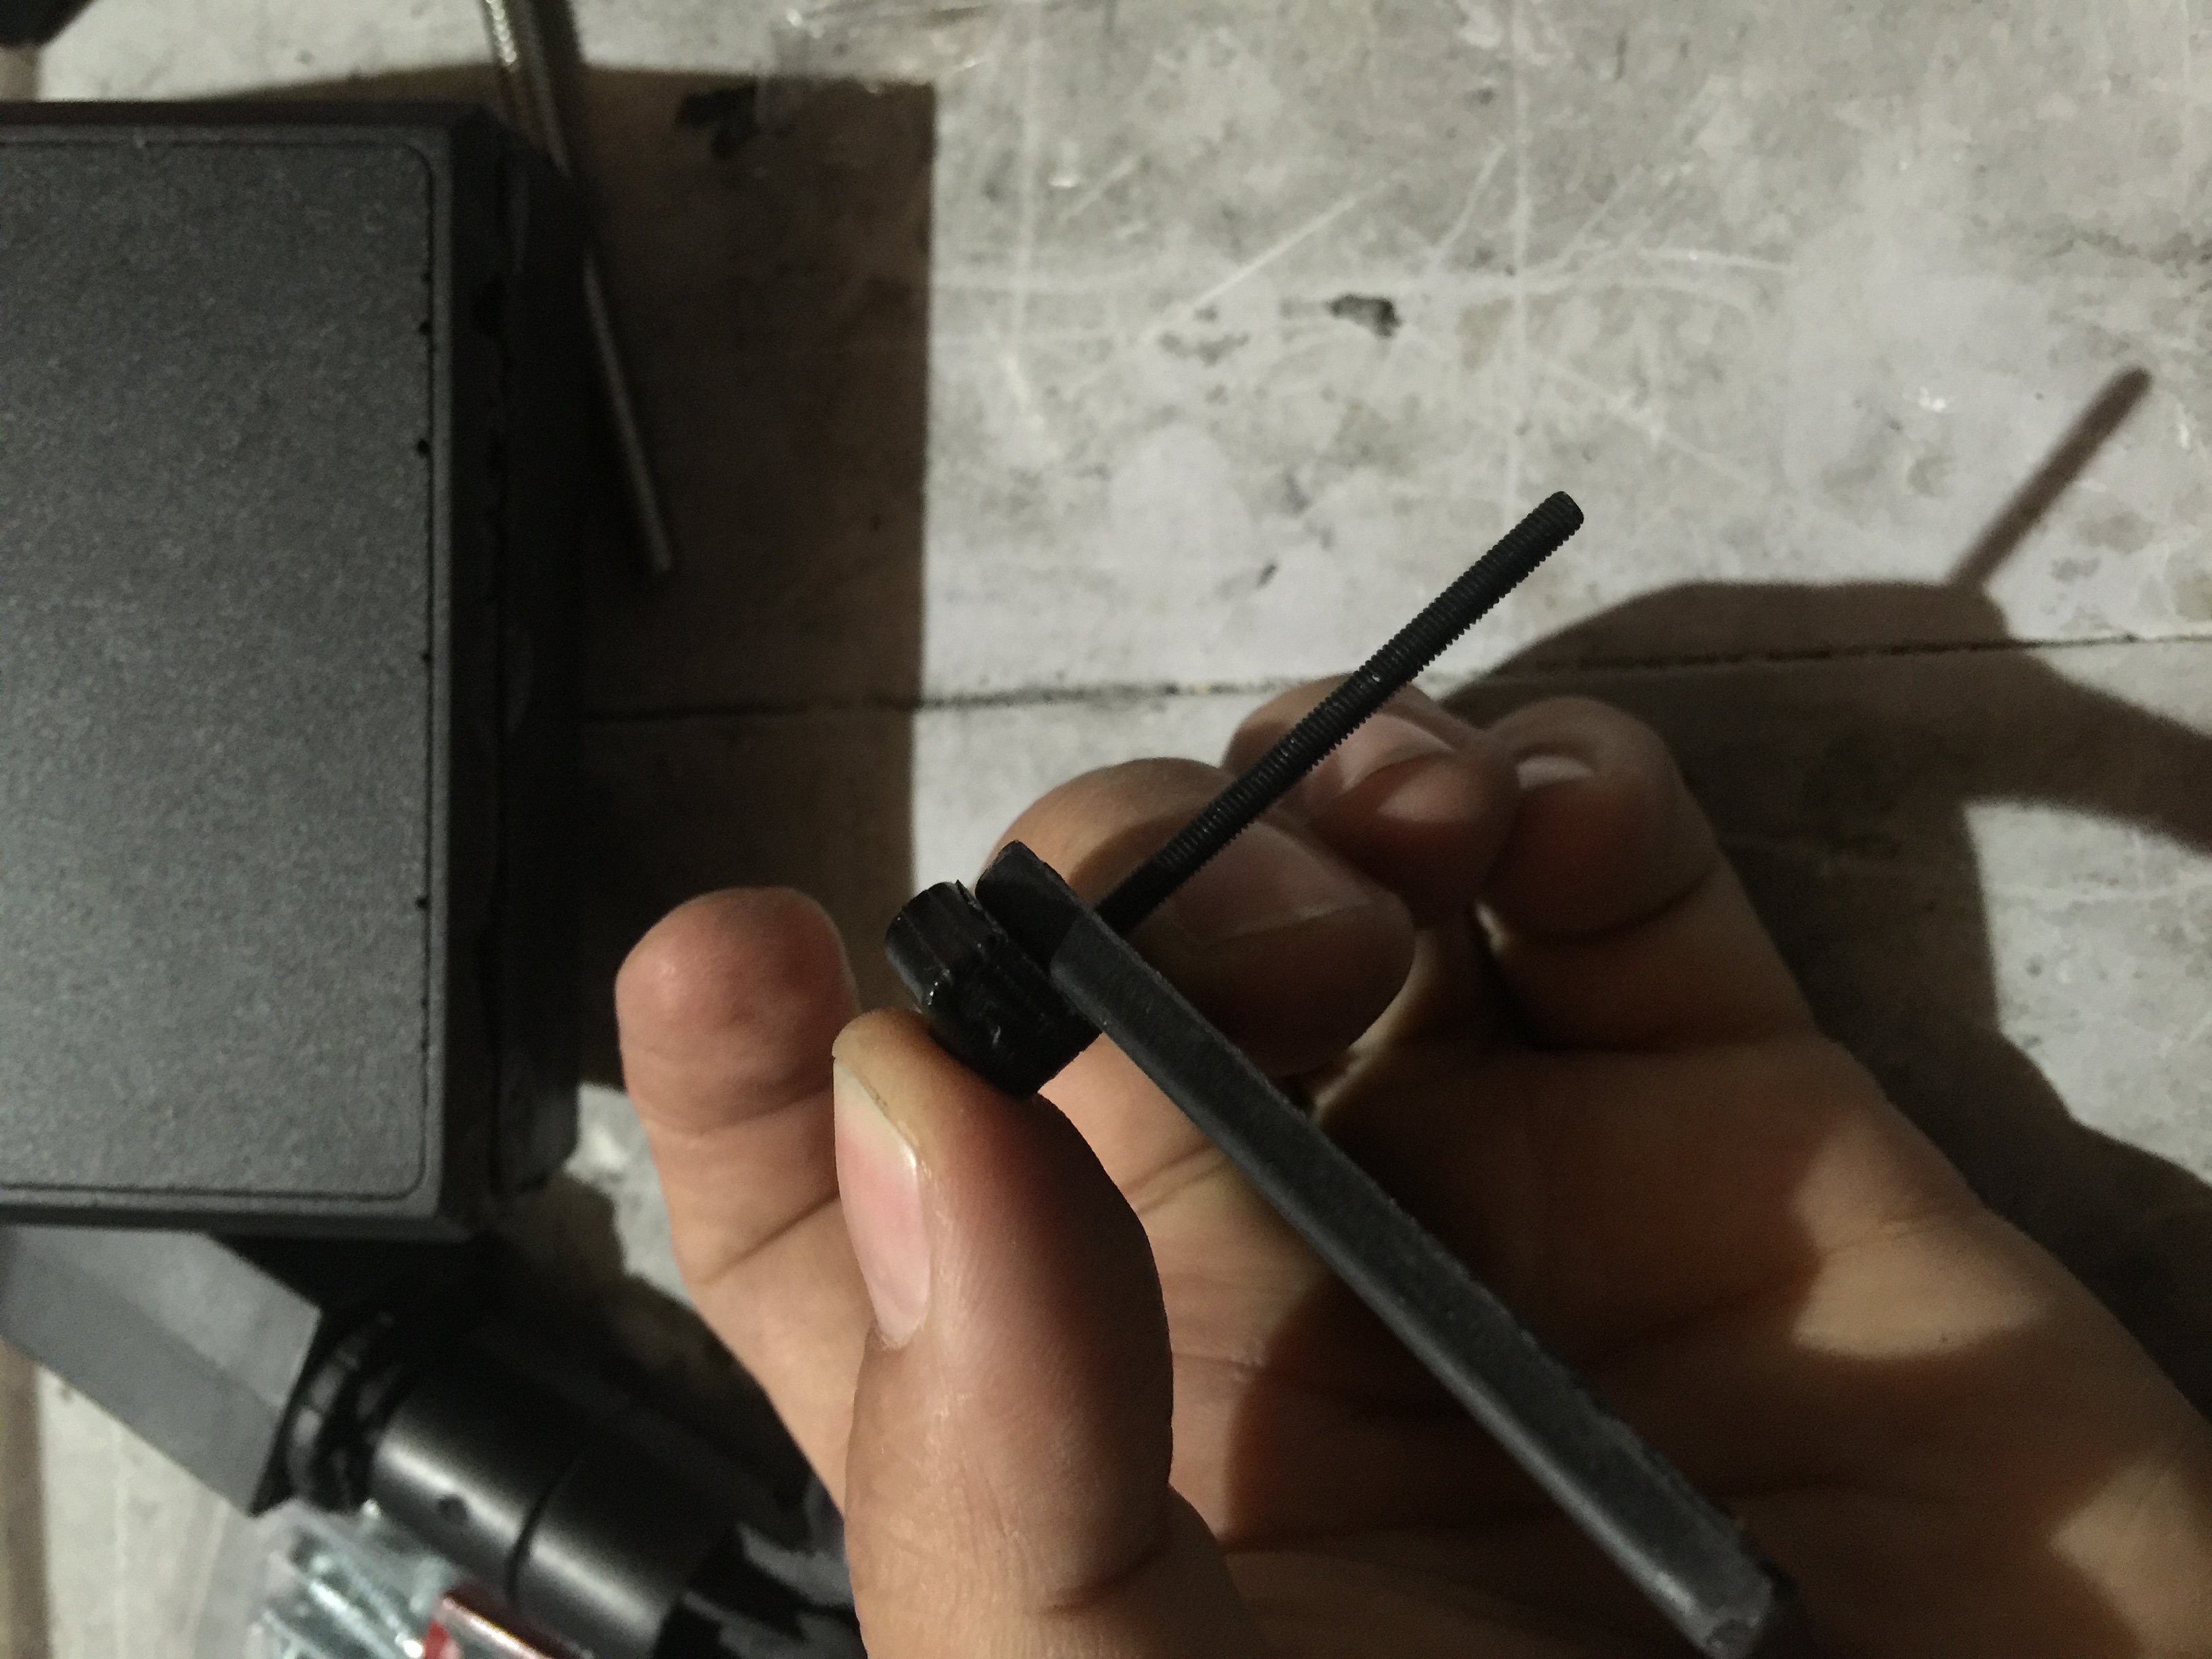
17: Thread the 6” bolt into the Lamp Arm. It should start on the side away from the flat Handle bottom. Then thread it into the Lamp Body and across the lamp and out the other side. Then back into the other side of the Handle and then screw the Lamp Arm onto the bolt.
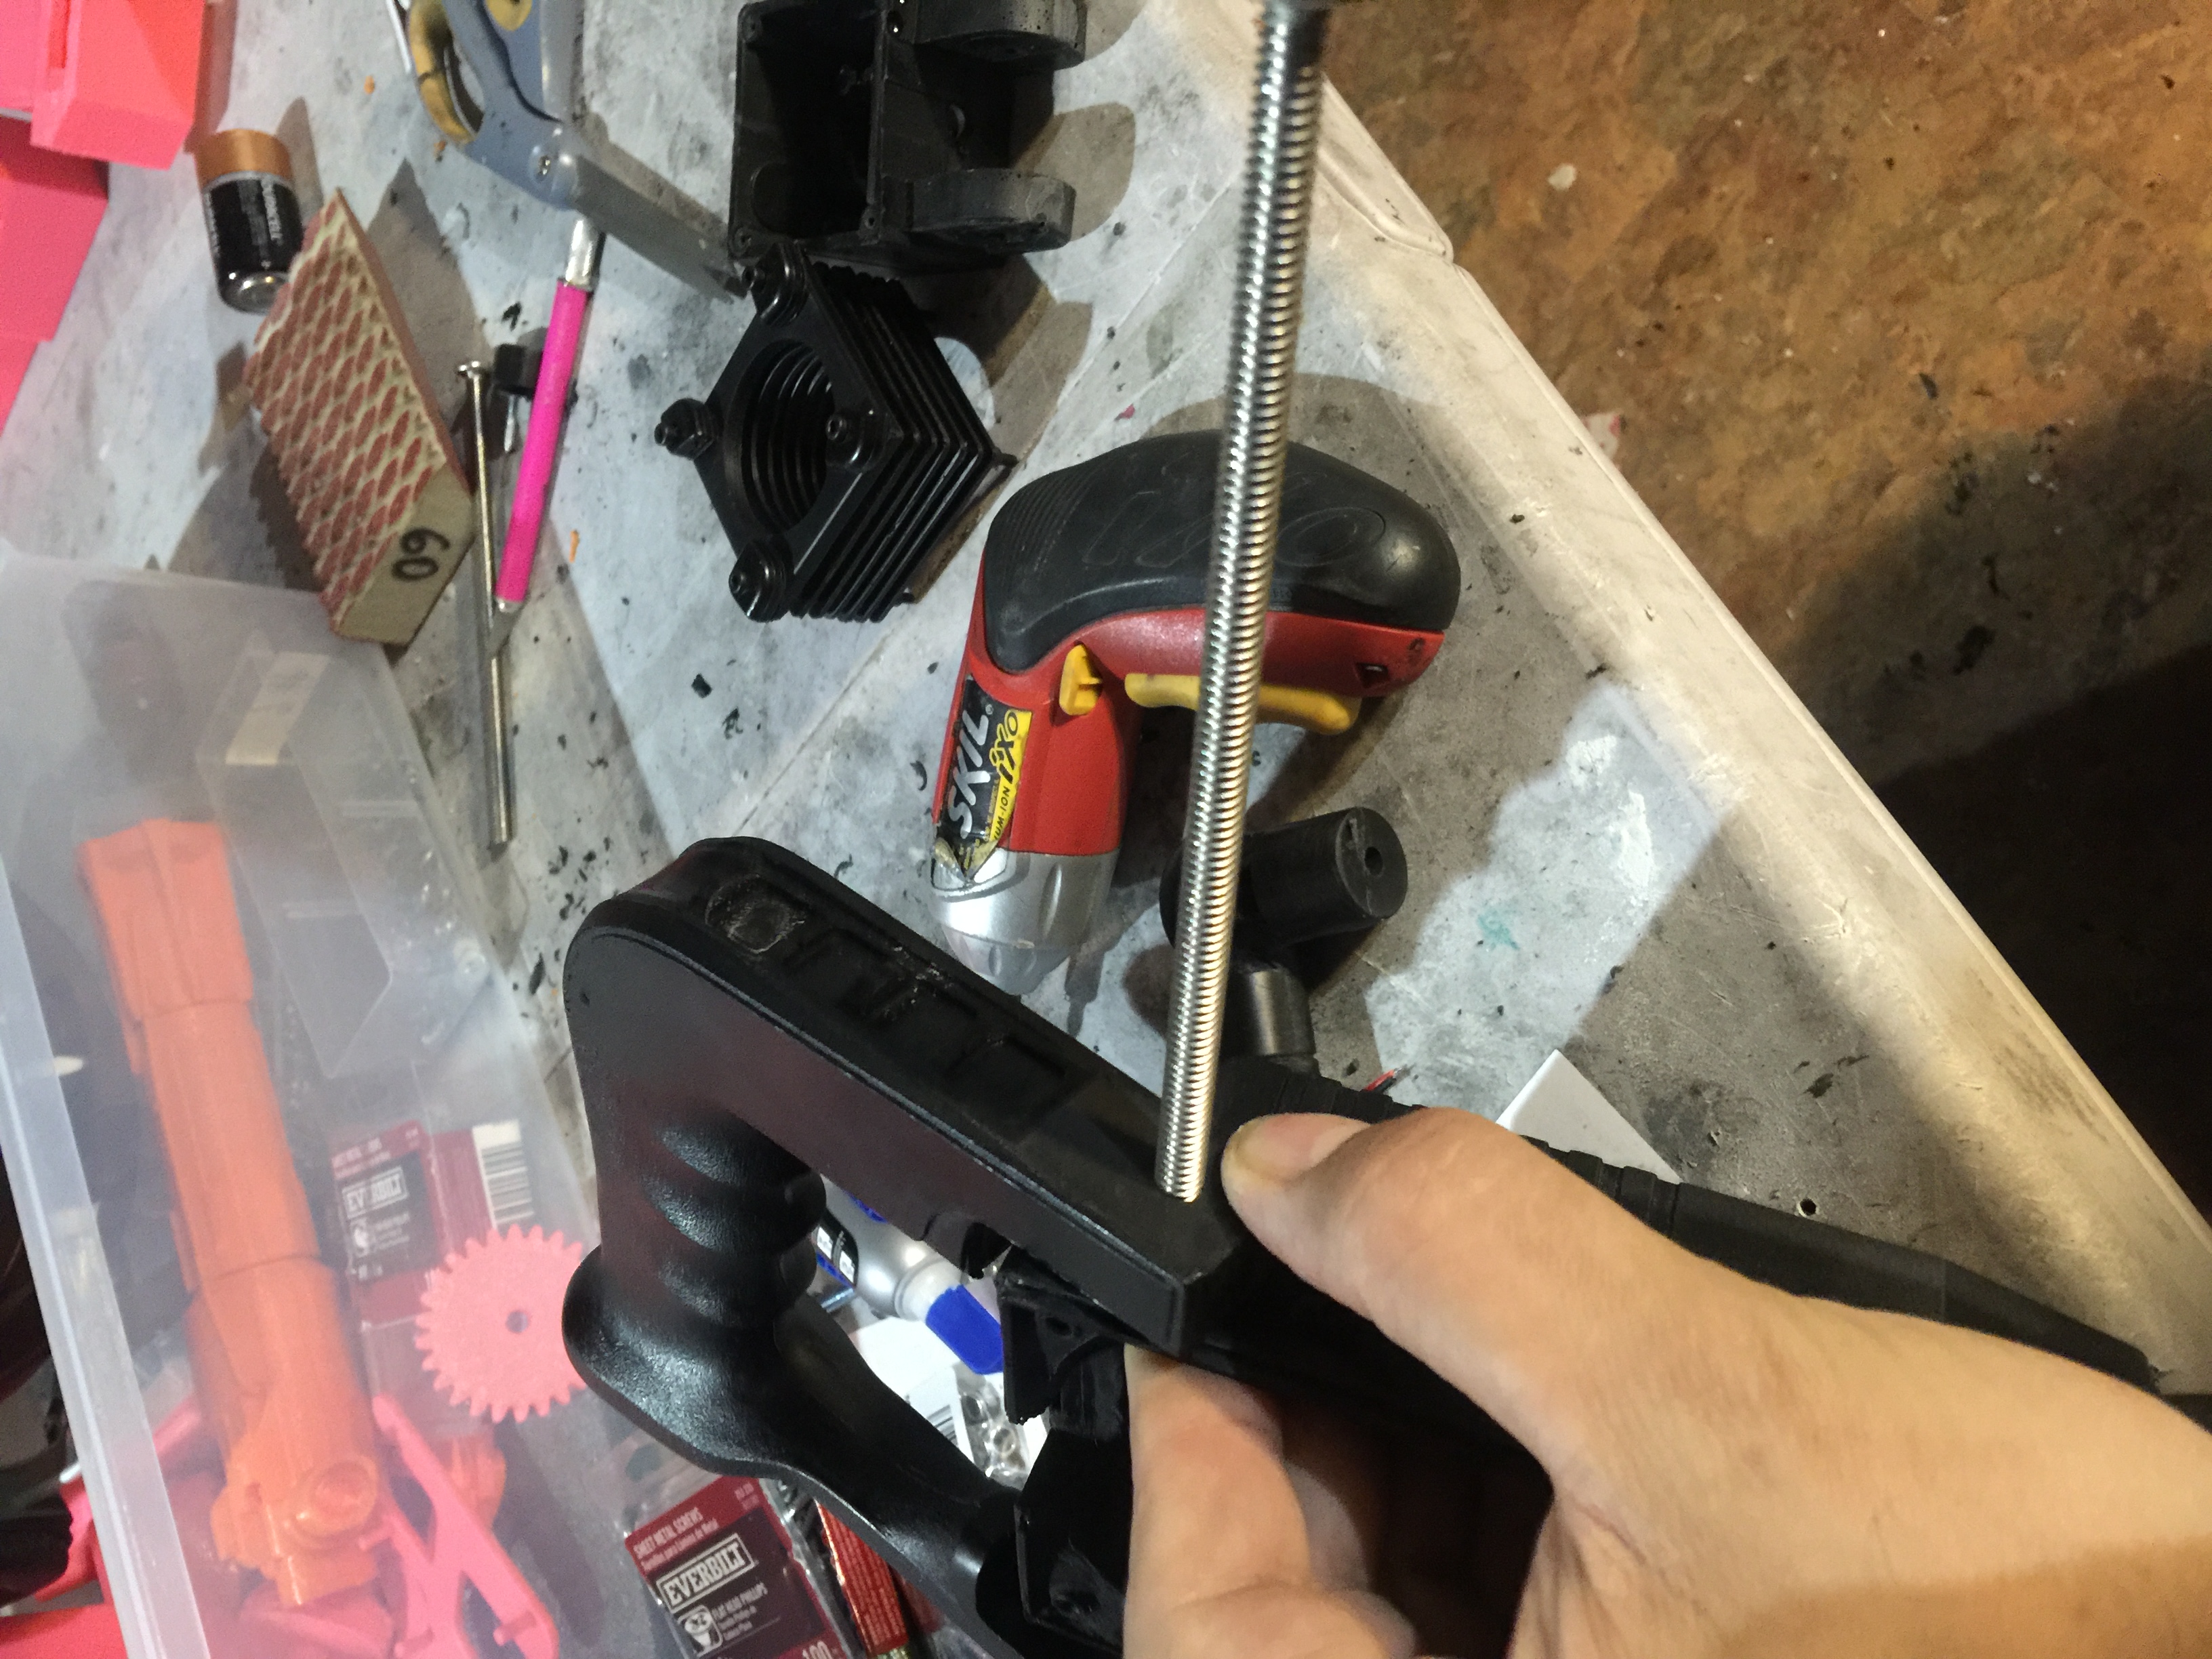

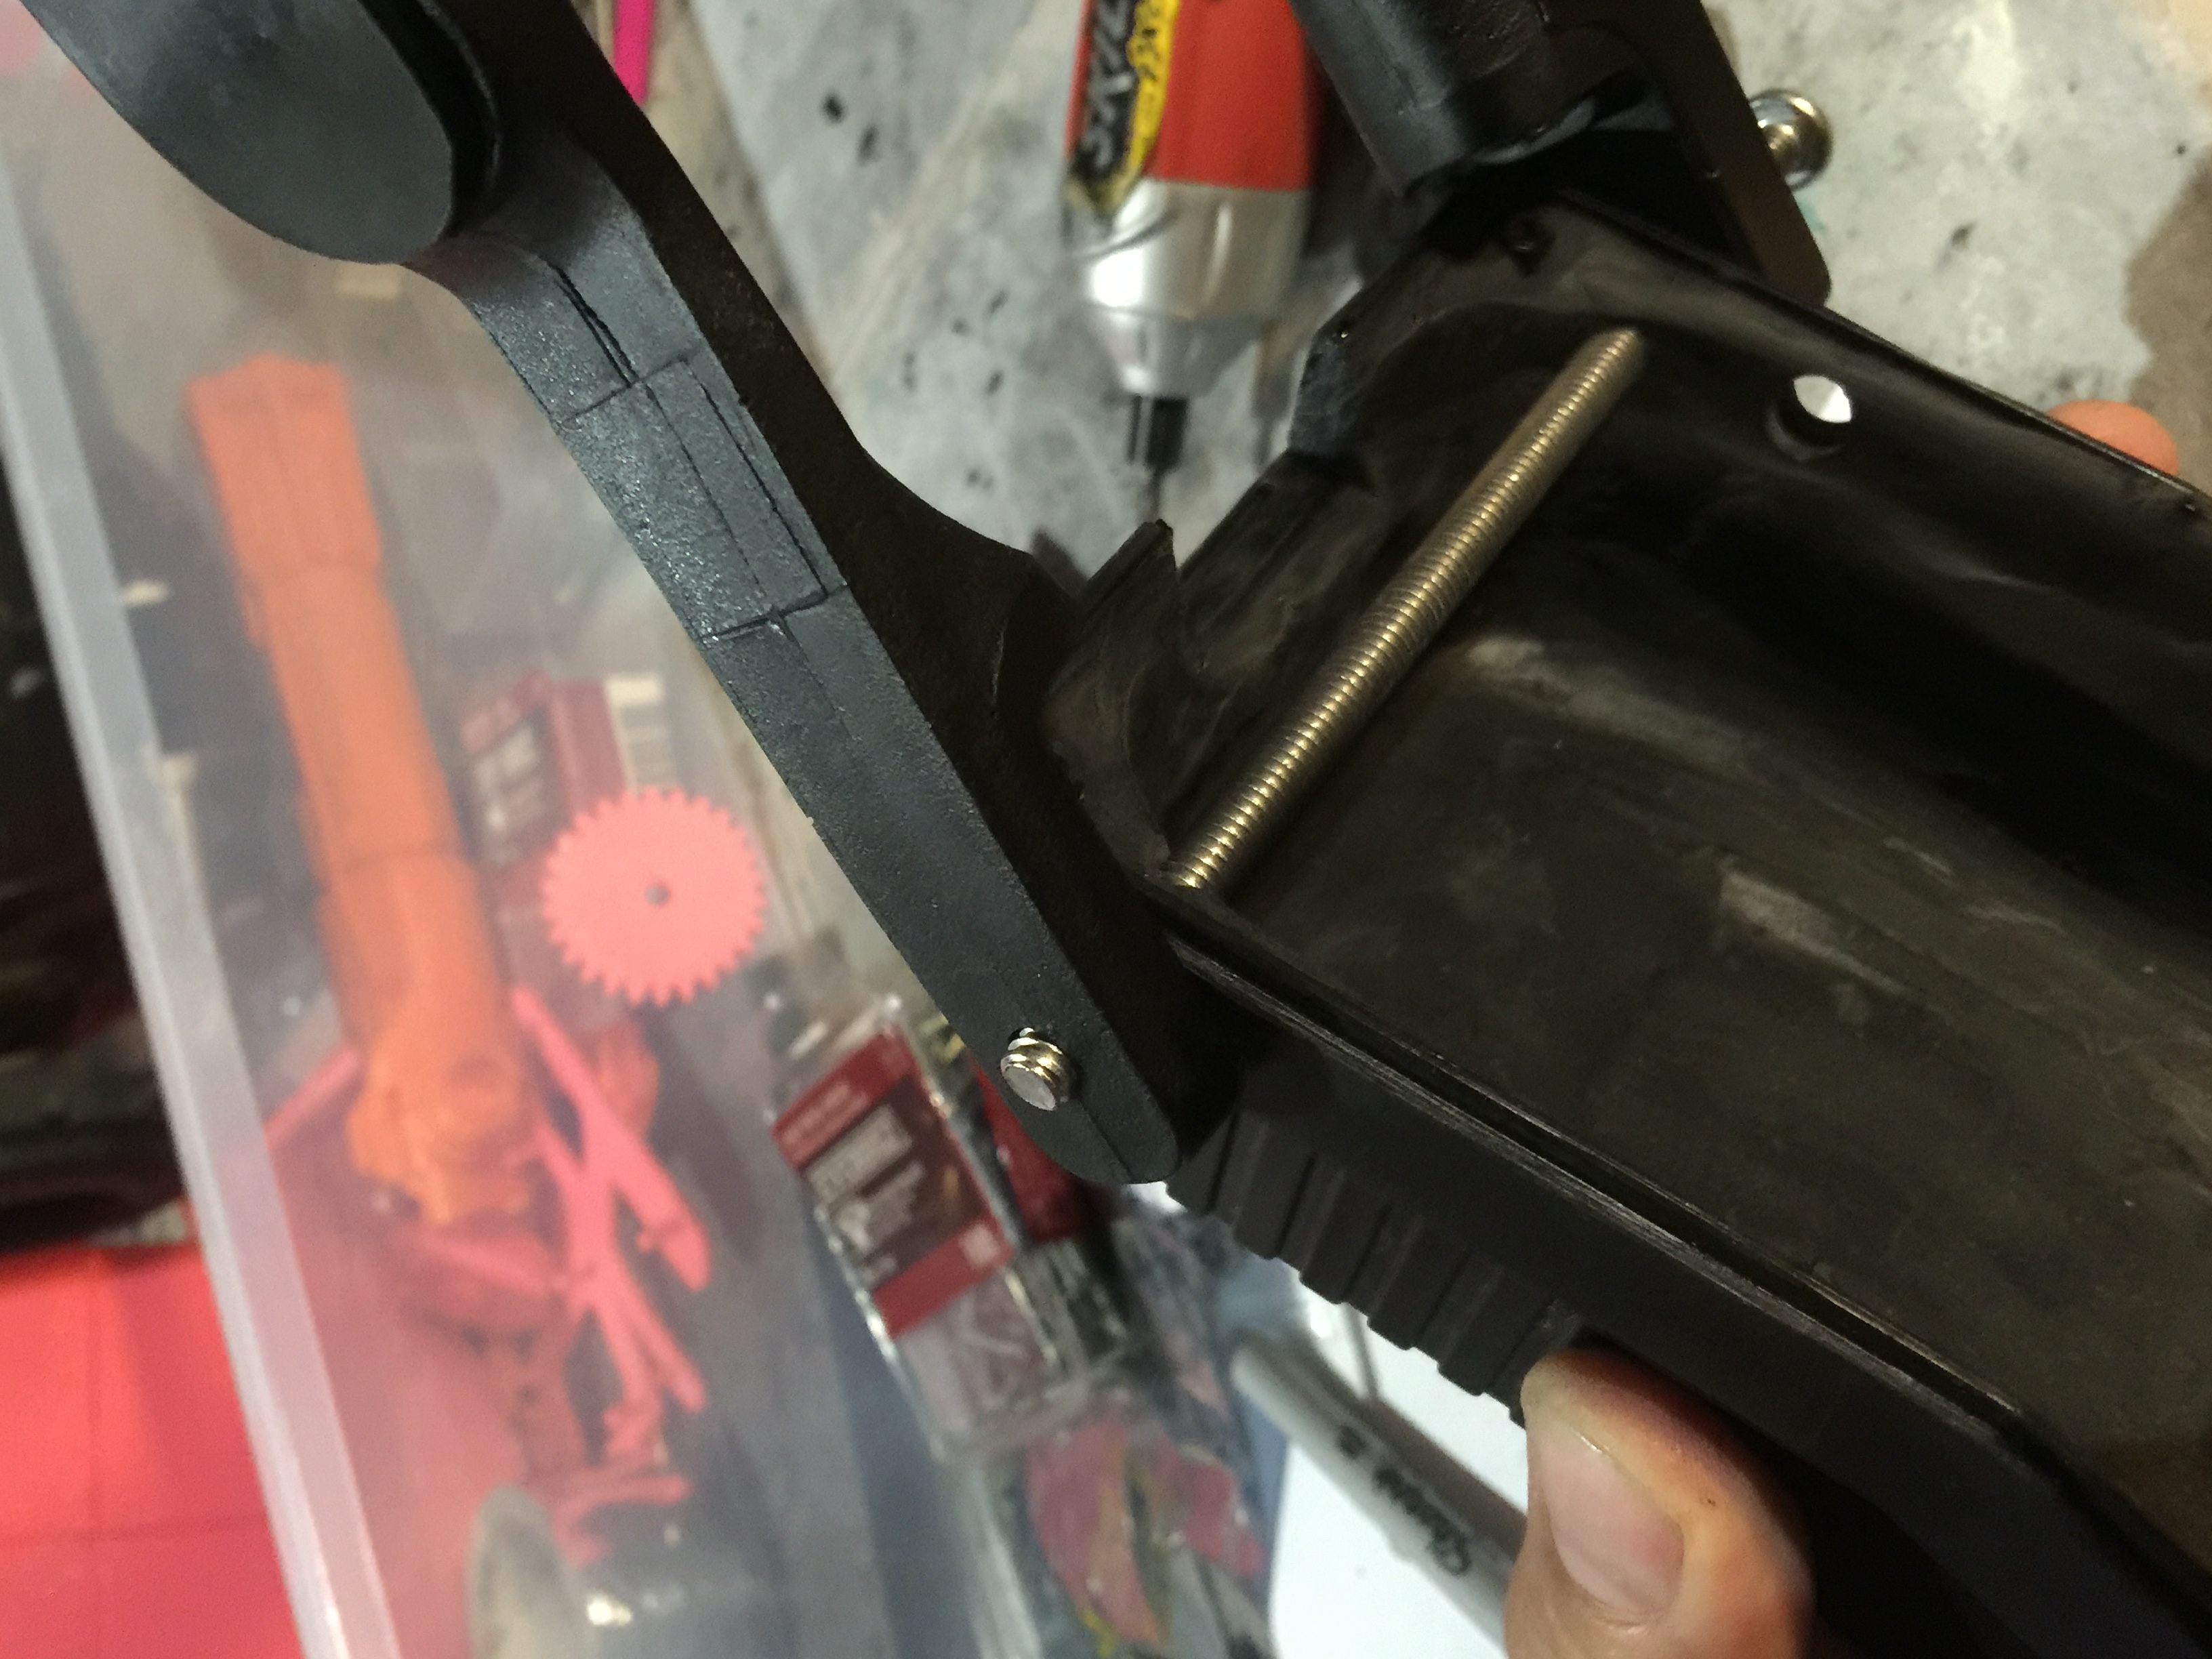
18: Screw the bolt through the arms of the Lamp Head and into the top of the Lamp Arm all the way through and into the included nut. Don’t over tighten it. Tighten it enough that the lamp will stay in place.

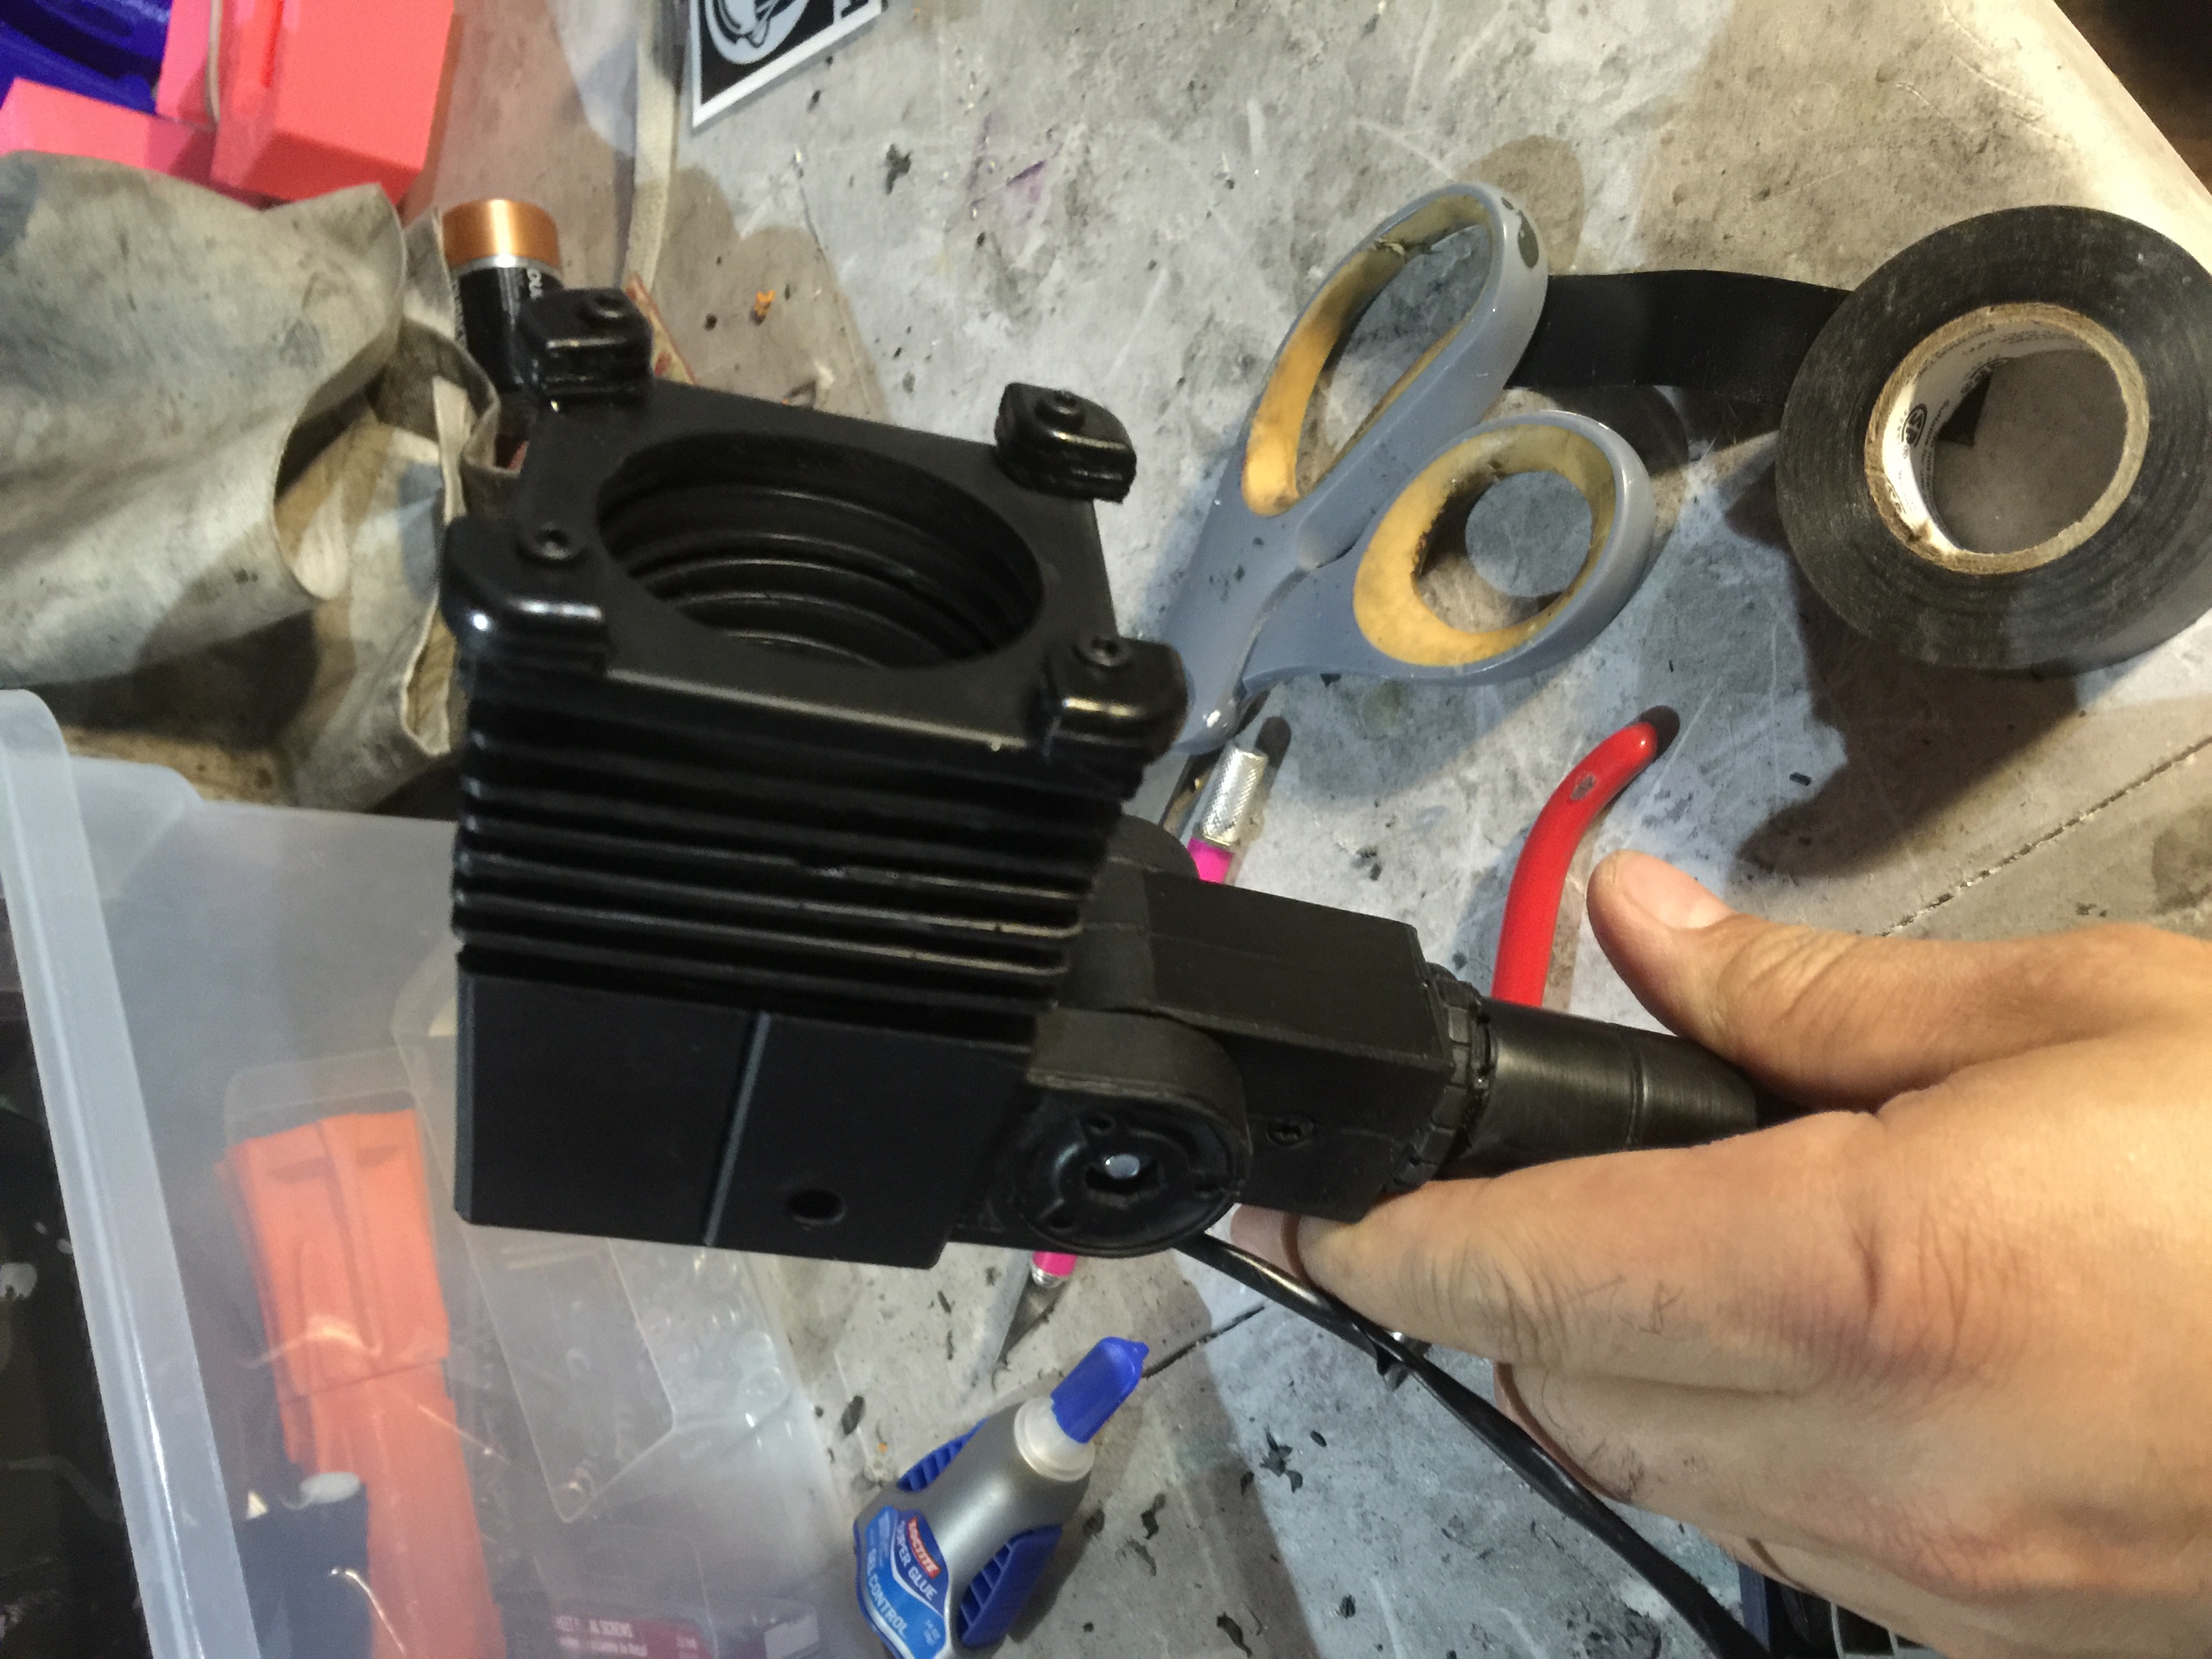
19: Seal up the Lamp Body with the 4 included screws.

20: You can weather the kit if you want. But it’s up to you.

Otherwise, you’re all done! Enjoy!
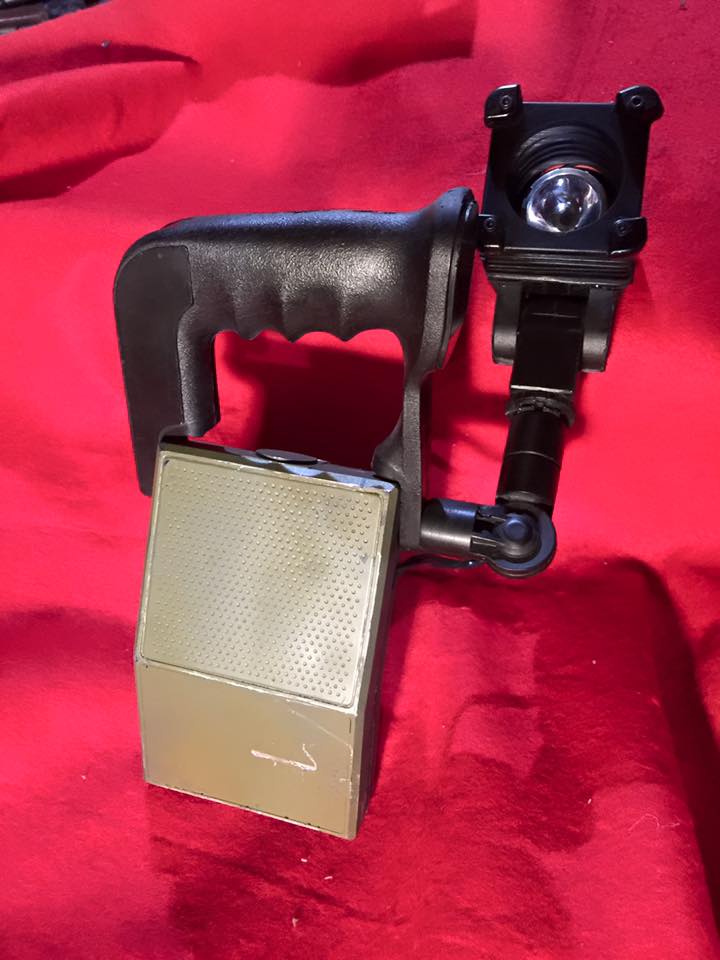
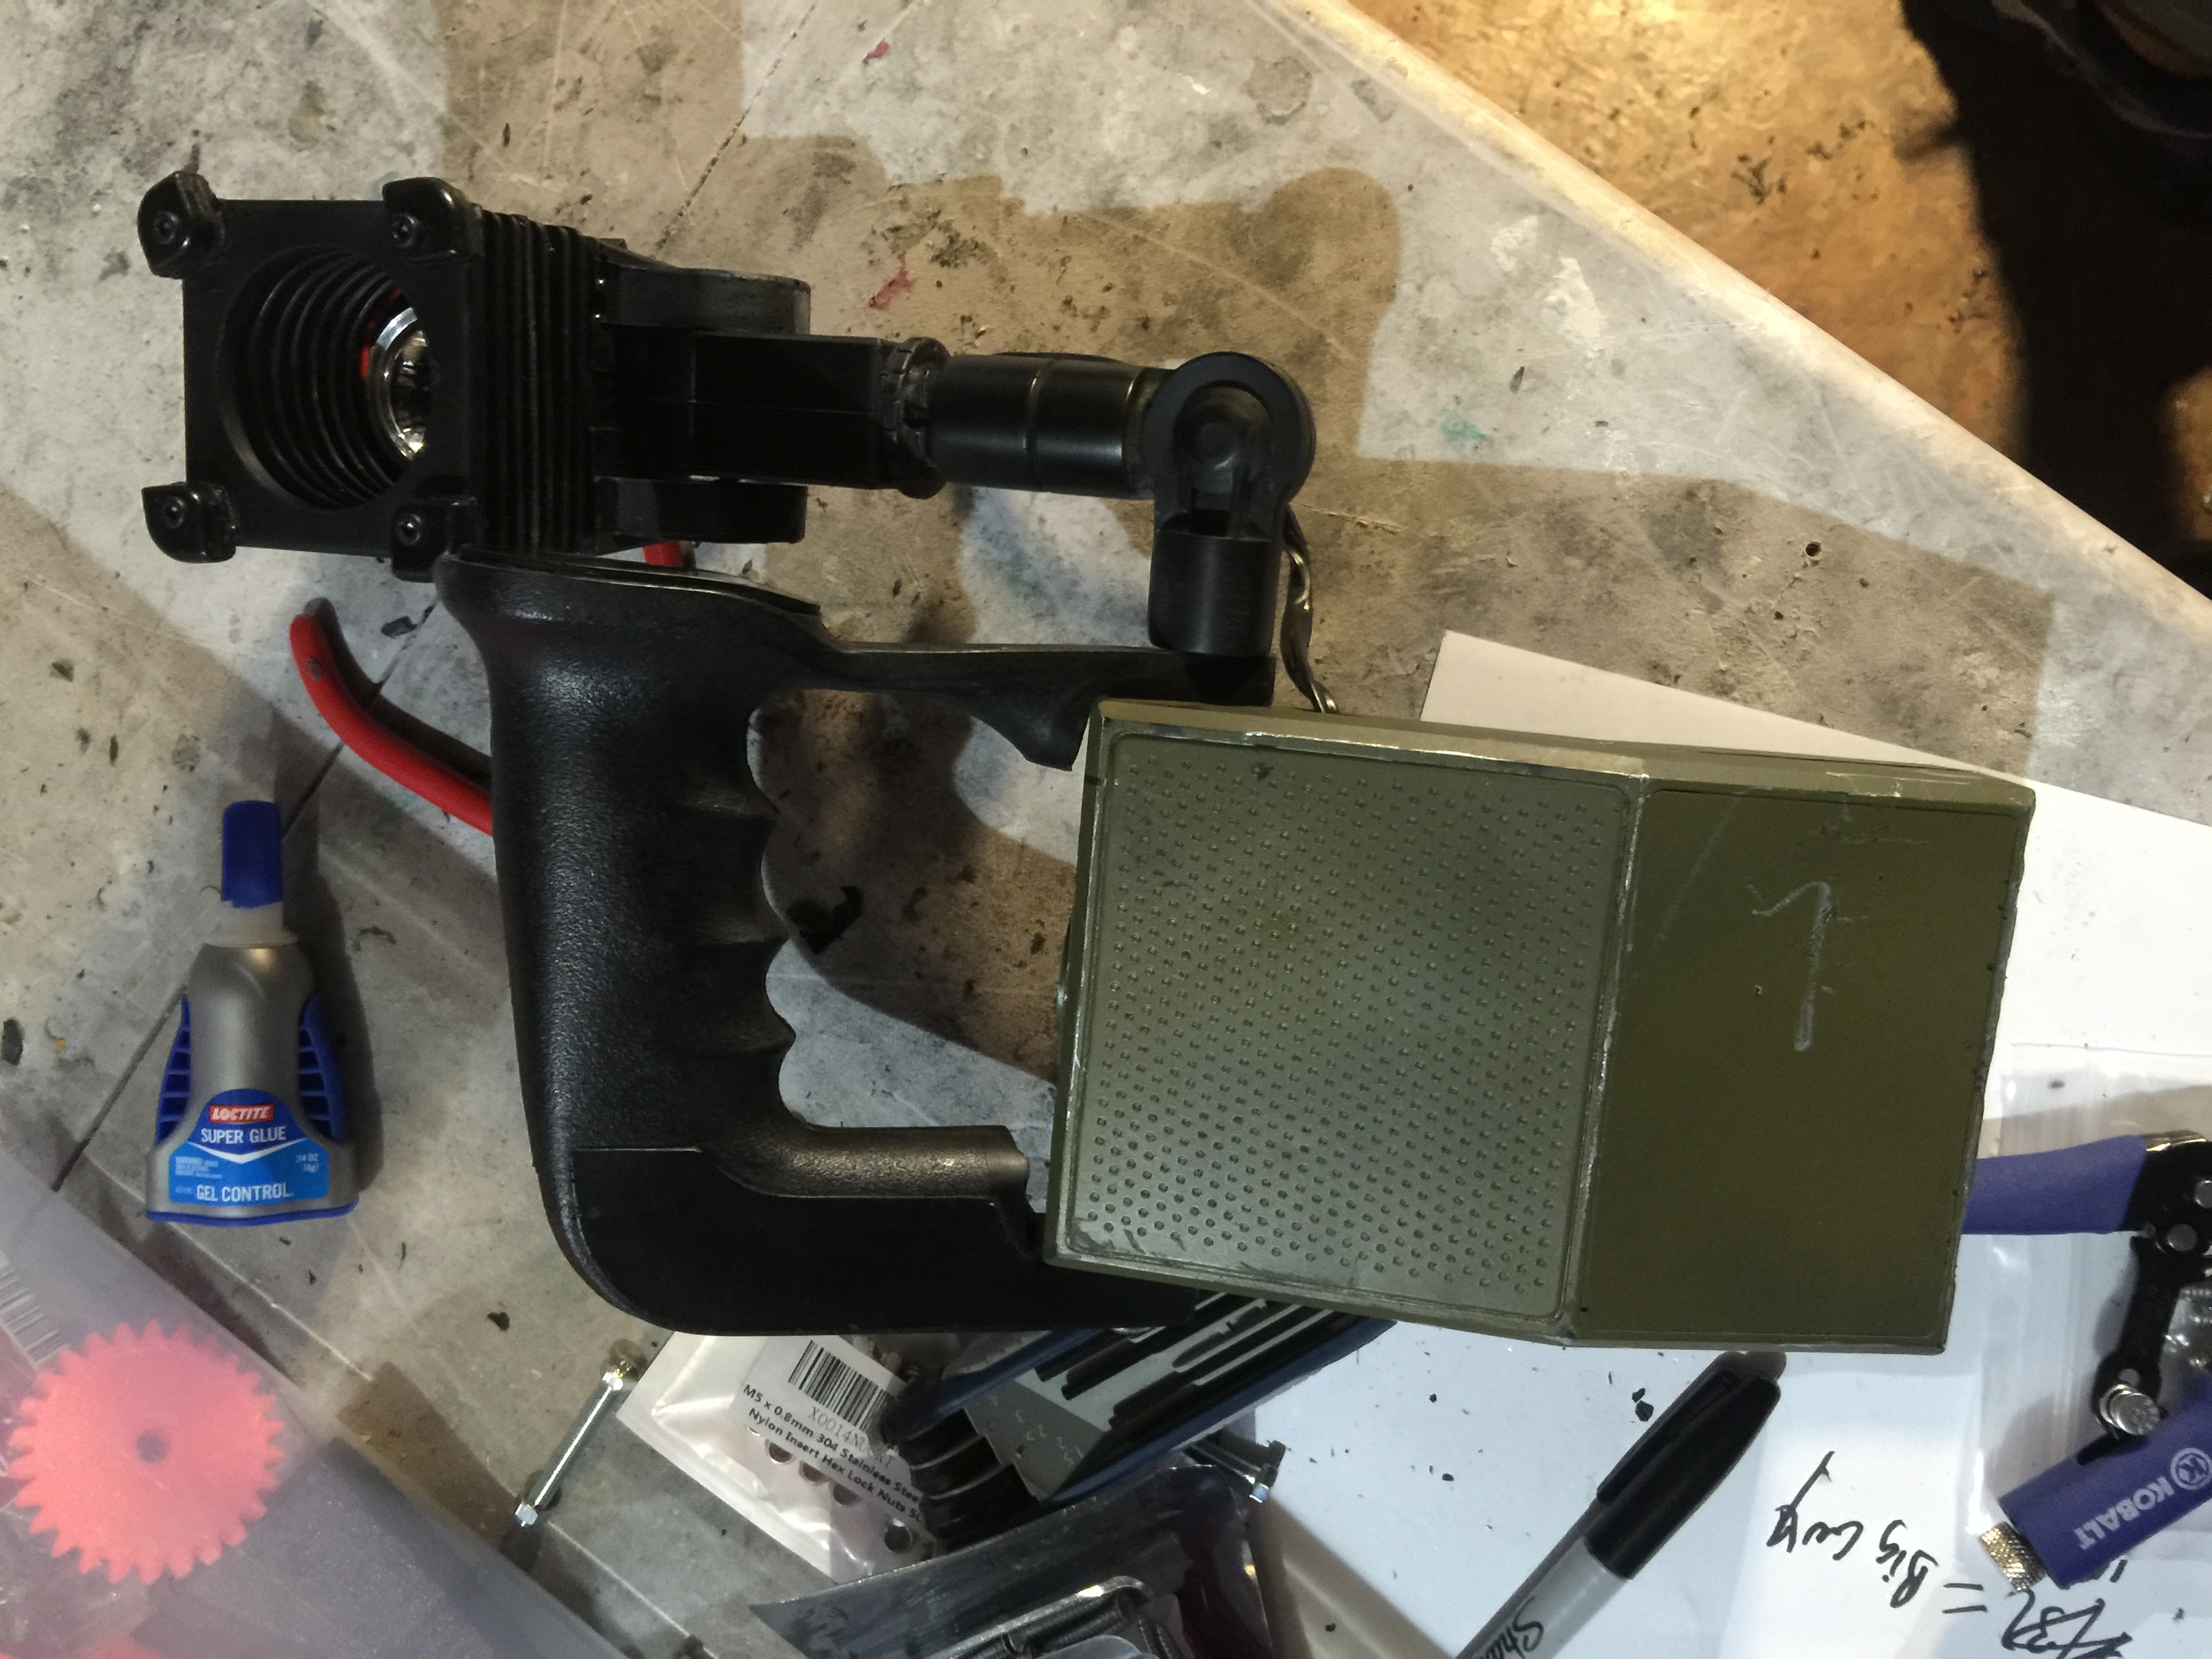
Completed Lamp 1
Completed Lamp 2
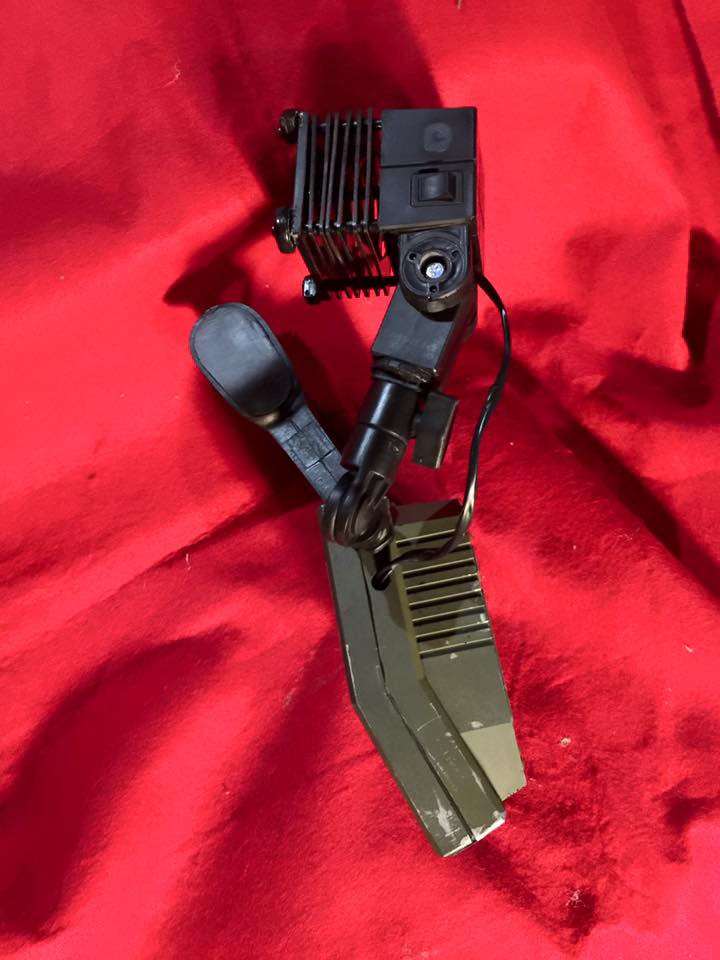
Completed Lamp 3
Don’t forget to also check out the optional Lamp Lighting Kit:
Lighting Kit
And the Armor Attachment Kit (coming soon).
If you ever have any questions about your item, or if a part should break, feel free to drop us a line.
And be sure to join up with your fellow Marines at www.colonialmarines.info and http://forum.alienslegacy.com/
And don’t forget to “Like” our page on Facebook! https://www.facebook.com/SpatcaveStudios
Sorry I haven’t posted here a lot!
I know, I’ve been lazy!
I’ve mostly been posting on the SpatCave Studios Facebook page:
https://www.facebook.com/SpatcaveStudios
Be sure to head over and Like the page! You’ll see lots of reviews, updates, previews of upcoming events and projects, and other people asking questions that you might also have!
At some point I’ll find a way to merge the two….
-Spat
Back Up And Running!!
We are officially back up and running making armor! Sorry about the delay, and thanks for your patience!!
-Spat
The SpatCave is MOVING!!!
That’s right, SpatCave Studios is packing up and leaving New York! We’ll be setting up shop in Atlanta, Georgia in the next 2 weeks and will be back to popping out costumes and props as soon as we can! All costume and prop weapon rentals will now be only for local Georgia renters now.
There may be a slight delay at first on armor orders, keeping them at about the 12 month wait time. But once we’re up and running we hope to get that wait time shortened very quickly!
Thank you for your patience!
-Spat
New Spulse Review!
Here’s another review we just got in!
Have just about finished my Spulse kit and thought would share a pic and some thoughts , we all know Spat’s work is high quality and after assembling this kit it’s safe to say that his reputation is fully justified! This was my first attempt at something of this type and even for a total beginner if you watch the video tutorials you won’t go far wrong am incredibly pleased with mine.
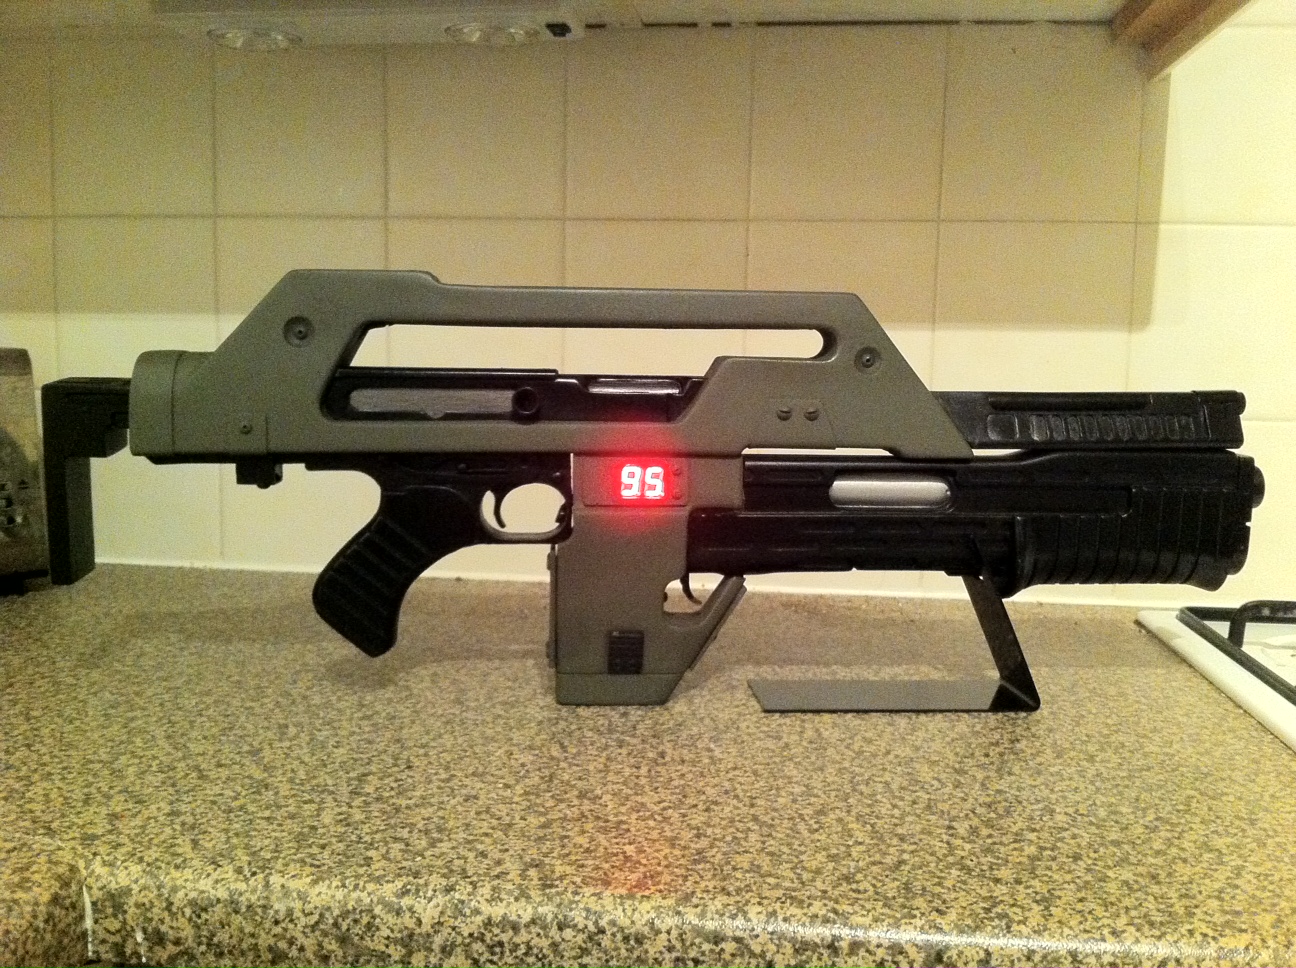
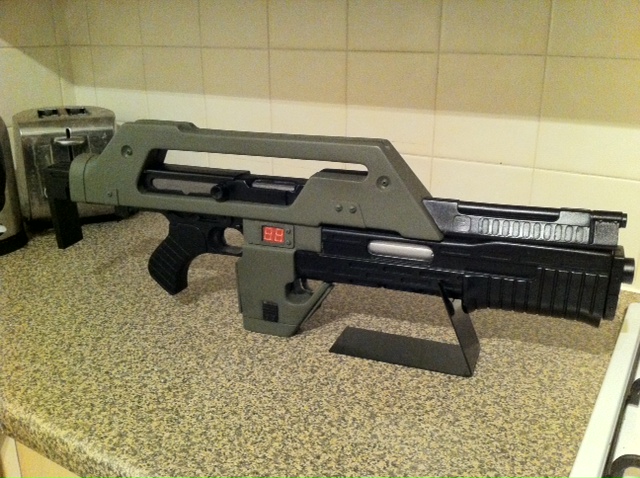
Sure we would all like to get our hands on the top end replicas you see floating around on the bay of E occasionally along with the vaguely pulse rifle shaped bits of resin but as far as I’m concerned if you want a great affordable replica then I can’t recommend the Spulse rifle highly enough!
Mike.
London
Uk
If you’d like a Spulse of your very own, check out the SpatCave Store!
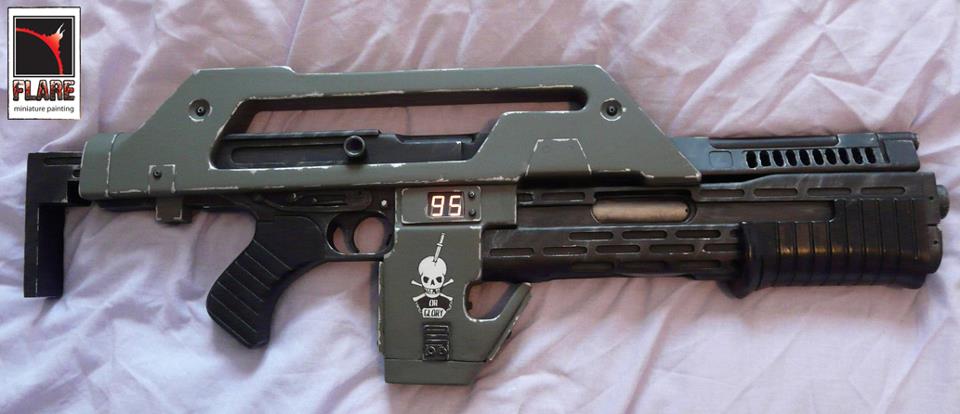
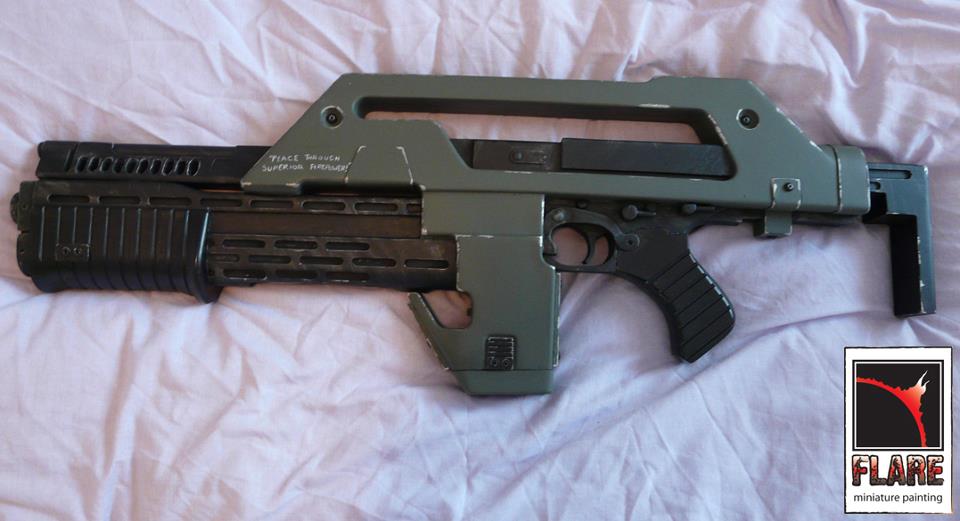
Spulse Rifle Testimonial
Just got this email from Darren over at Flare Miniature Painting!
Hello!
I just wanted to say thank you for making my job awesome. I’m a freelance miniature painter (think Games Workshop or any other toy soldiers…) and was asked by a friend (Jon, UK) who bought one of your LED-included pulse rifles if I would construct it and paint it for him. I was a but uncertain at first – having never painted anything bigger than 32mm wargaming miniatures before – but thought ‘aw, to hell with it, it’s an Aliens pulse rifle!!’
I agreed to take the job and I’m so glad I did. It really is a beautiful model. The resin was fantastic, sturdy and – even better – really heavy, which I imagine adds greatly to the realism of the finished piece.
I have to say, I’ve been building models for years, but I would have been completely lost without the excellent video tutorials on your website. I’ve never assembled anything like this before and the advice given was a lifesaver.
In the end, it was really hard for me to package the gun up and send it back to my client (both emotionally and literally – IT’S MASSIVE!!!) – I’d spent the best part of two months working on it for an hour or so each day and became very attached to it.
Just thought I ought to drop you a line to tell you your product is great!
Yours,
Darren Lysenko
Flare Miniature Painting
Hyper Detailing an “I, Robot” Pistol Kit
Alan H. took one of my I, Robot pistol kits and did some amazing things with it!

Here’s the raw kit

Here’s the kit the way most people build it.

And here’s Alan’s version!
And here’s how he did it!

Zombie Bite Application Process
Here’s a quick tutorial on applying a foam latex appliance.

Here's a quick "how-to" on applying a foam latex Zombie Bite Appliance!
