Lamp Lighting Kit Instructions
Shoulder Lamp Lighting Kit
Supplies Needed:
Shoulder Lamp Drill
Hot Glue Drill Bits
Remember, only paint or sand resin outdoors, or in a well ventilated room while wearing goggles and a mask.
The kit includes – Lighting Kit, Velcro
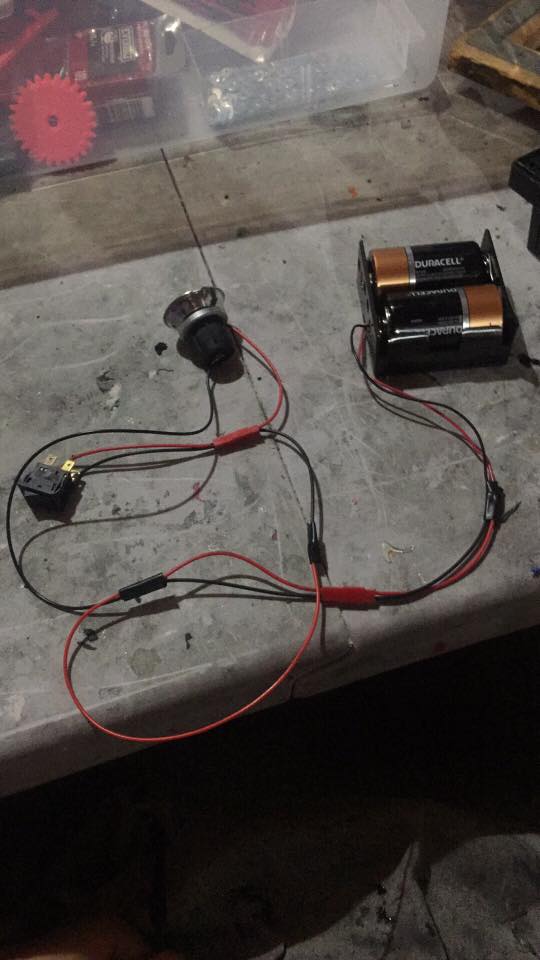
Lighting Kit
Assemble the Lamp kit as per the instructions, but insert these instructions as noted:
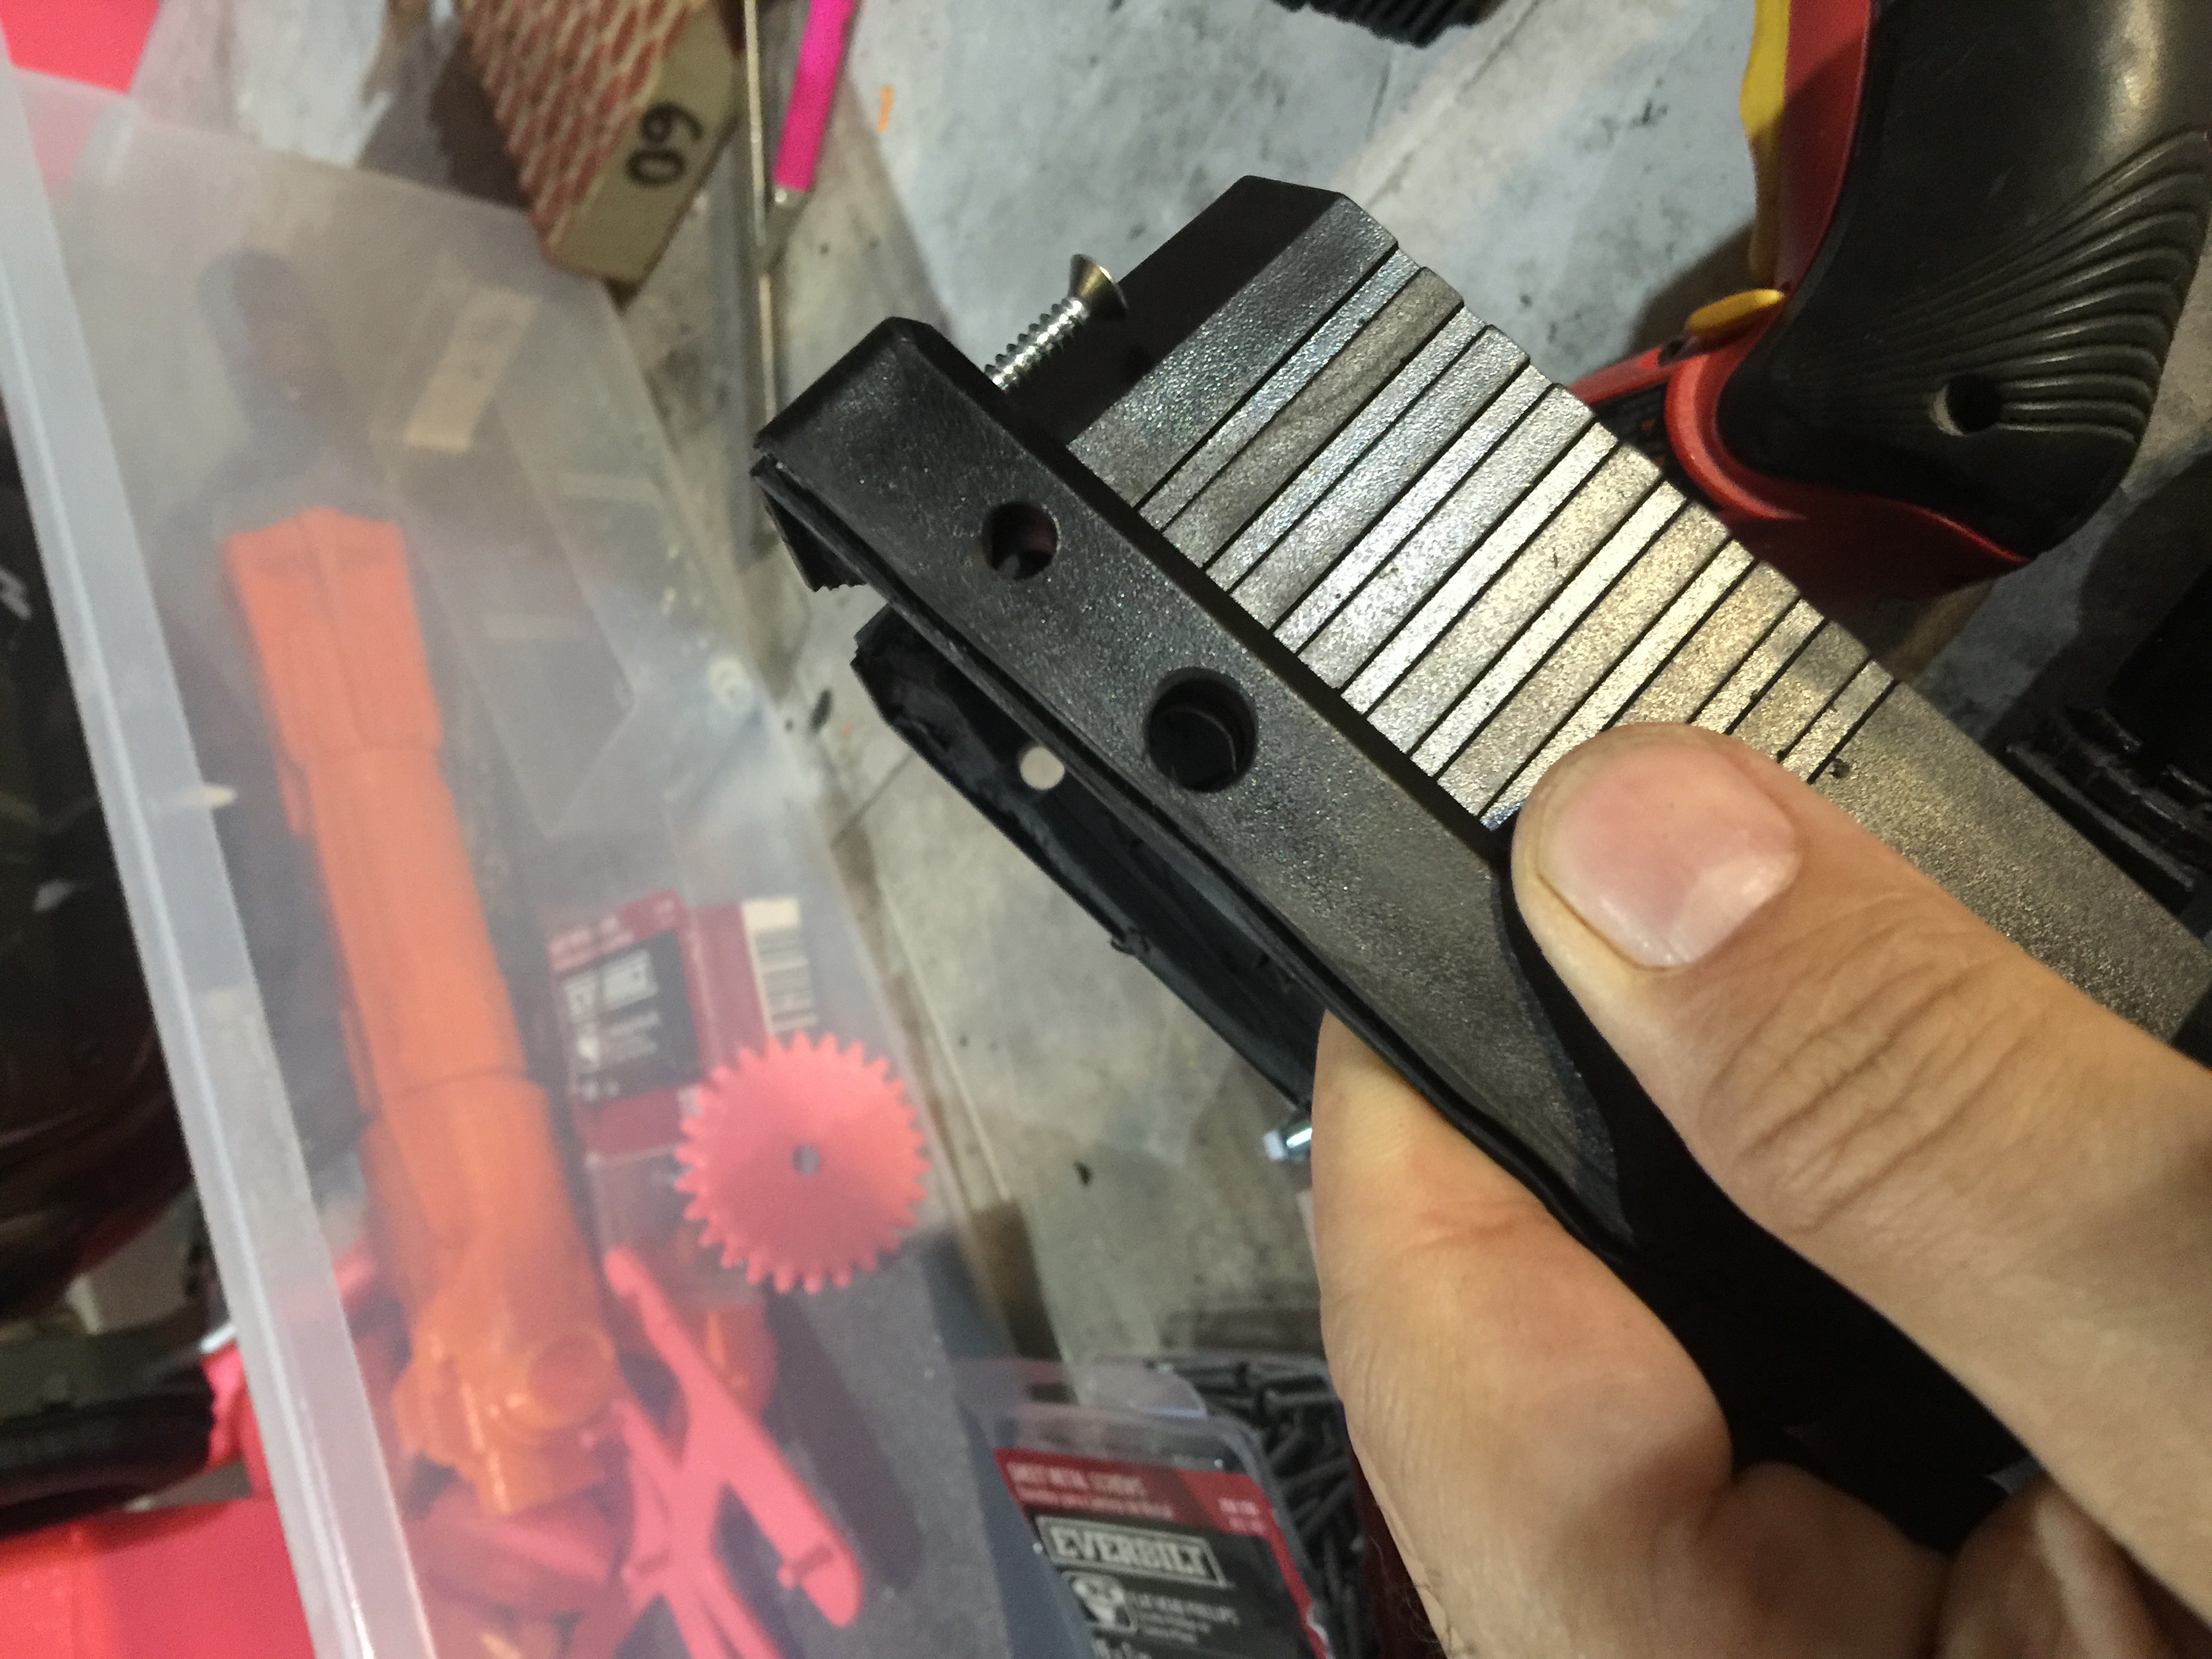
4.5: Drill a 5/16” hole in the bottom of the Lamp Head for the wires.
8.5: Drill a 5/16” hole just below the hole you just drilled on the left side of the Outer Body for the wires for the lighting kit to connect.
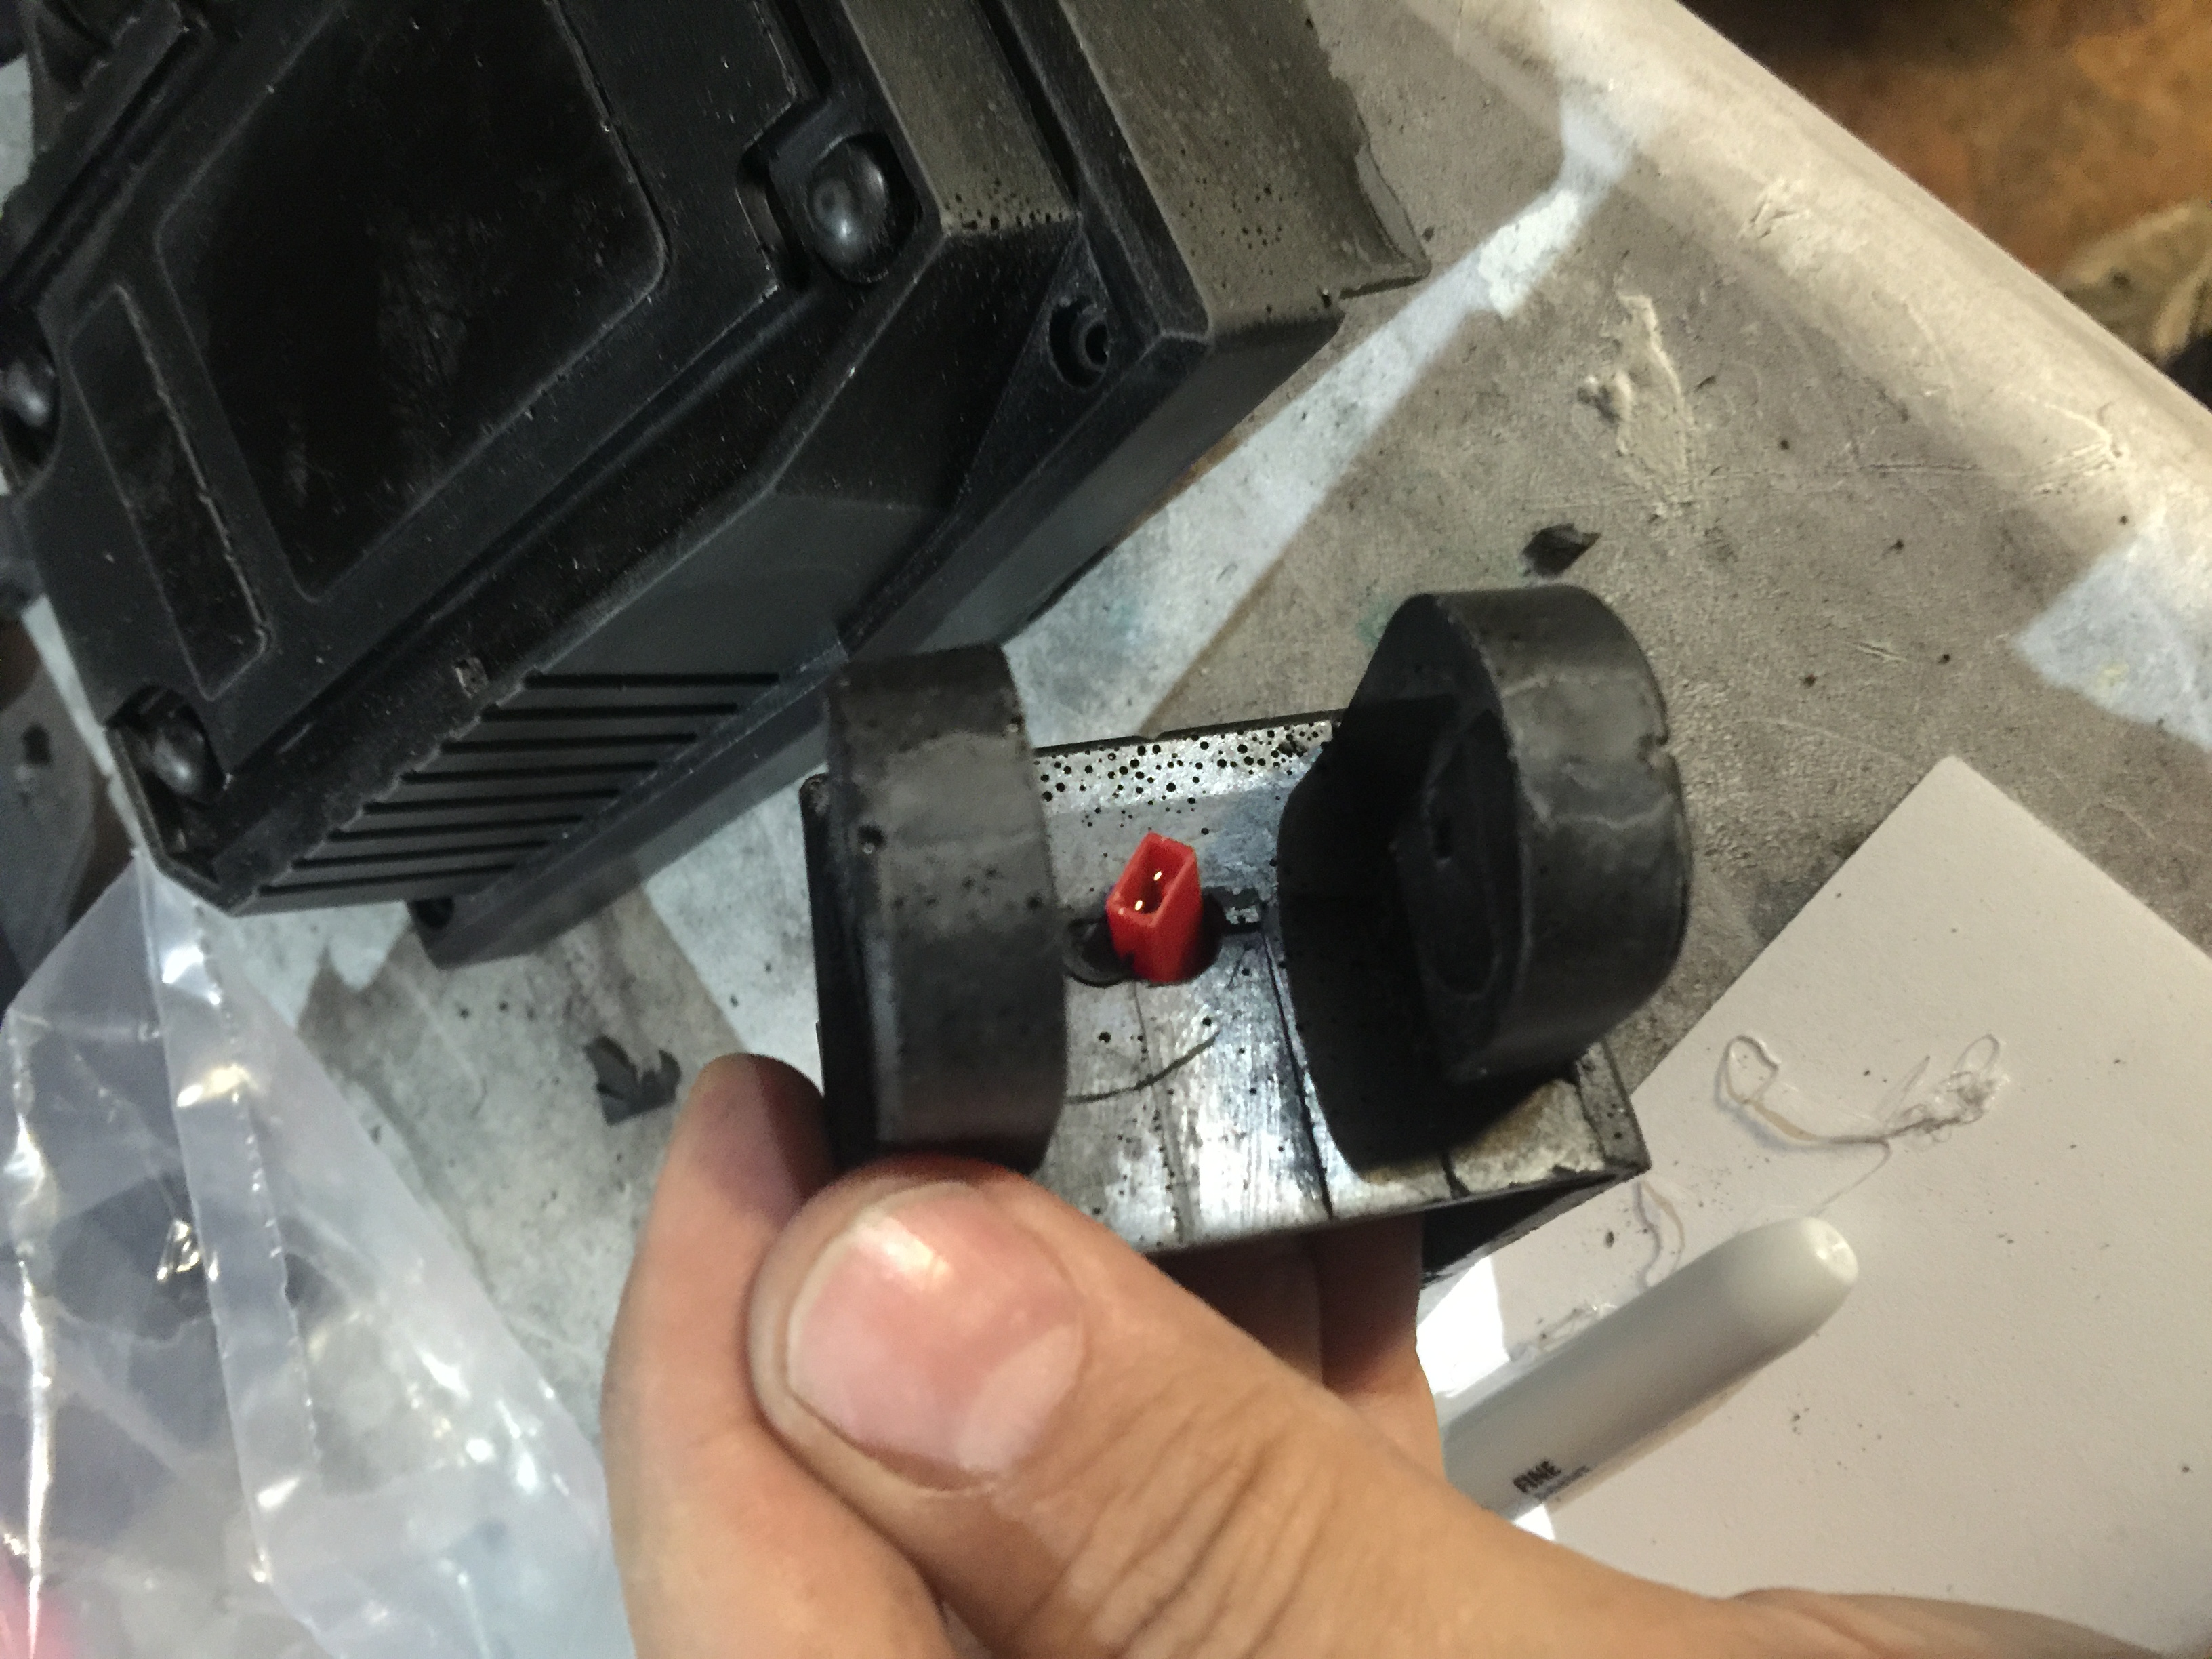
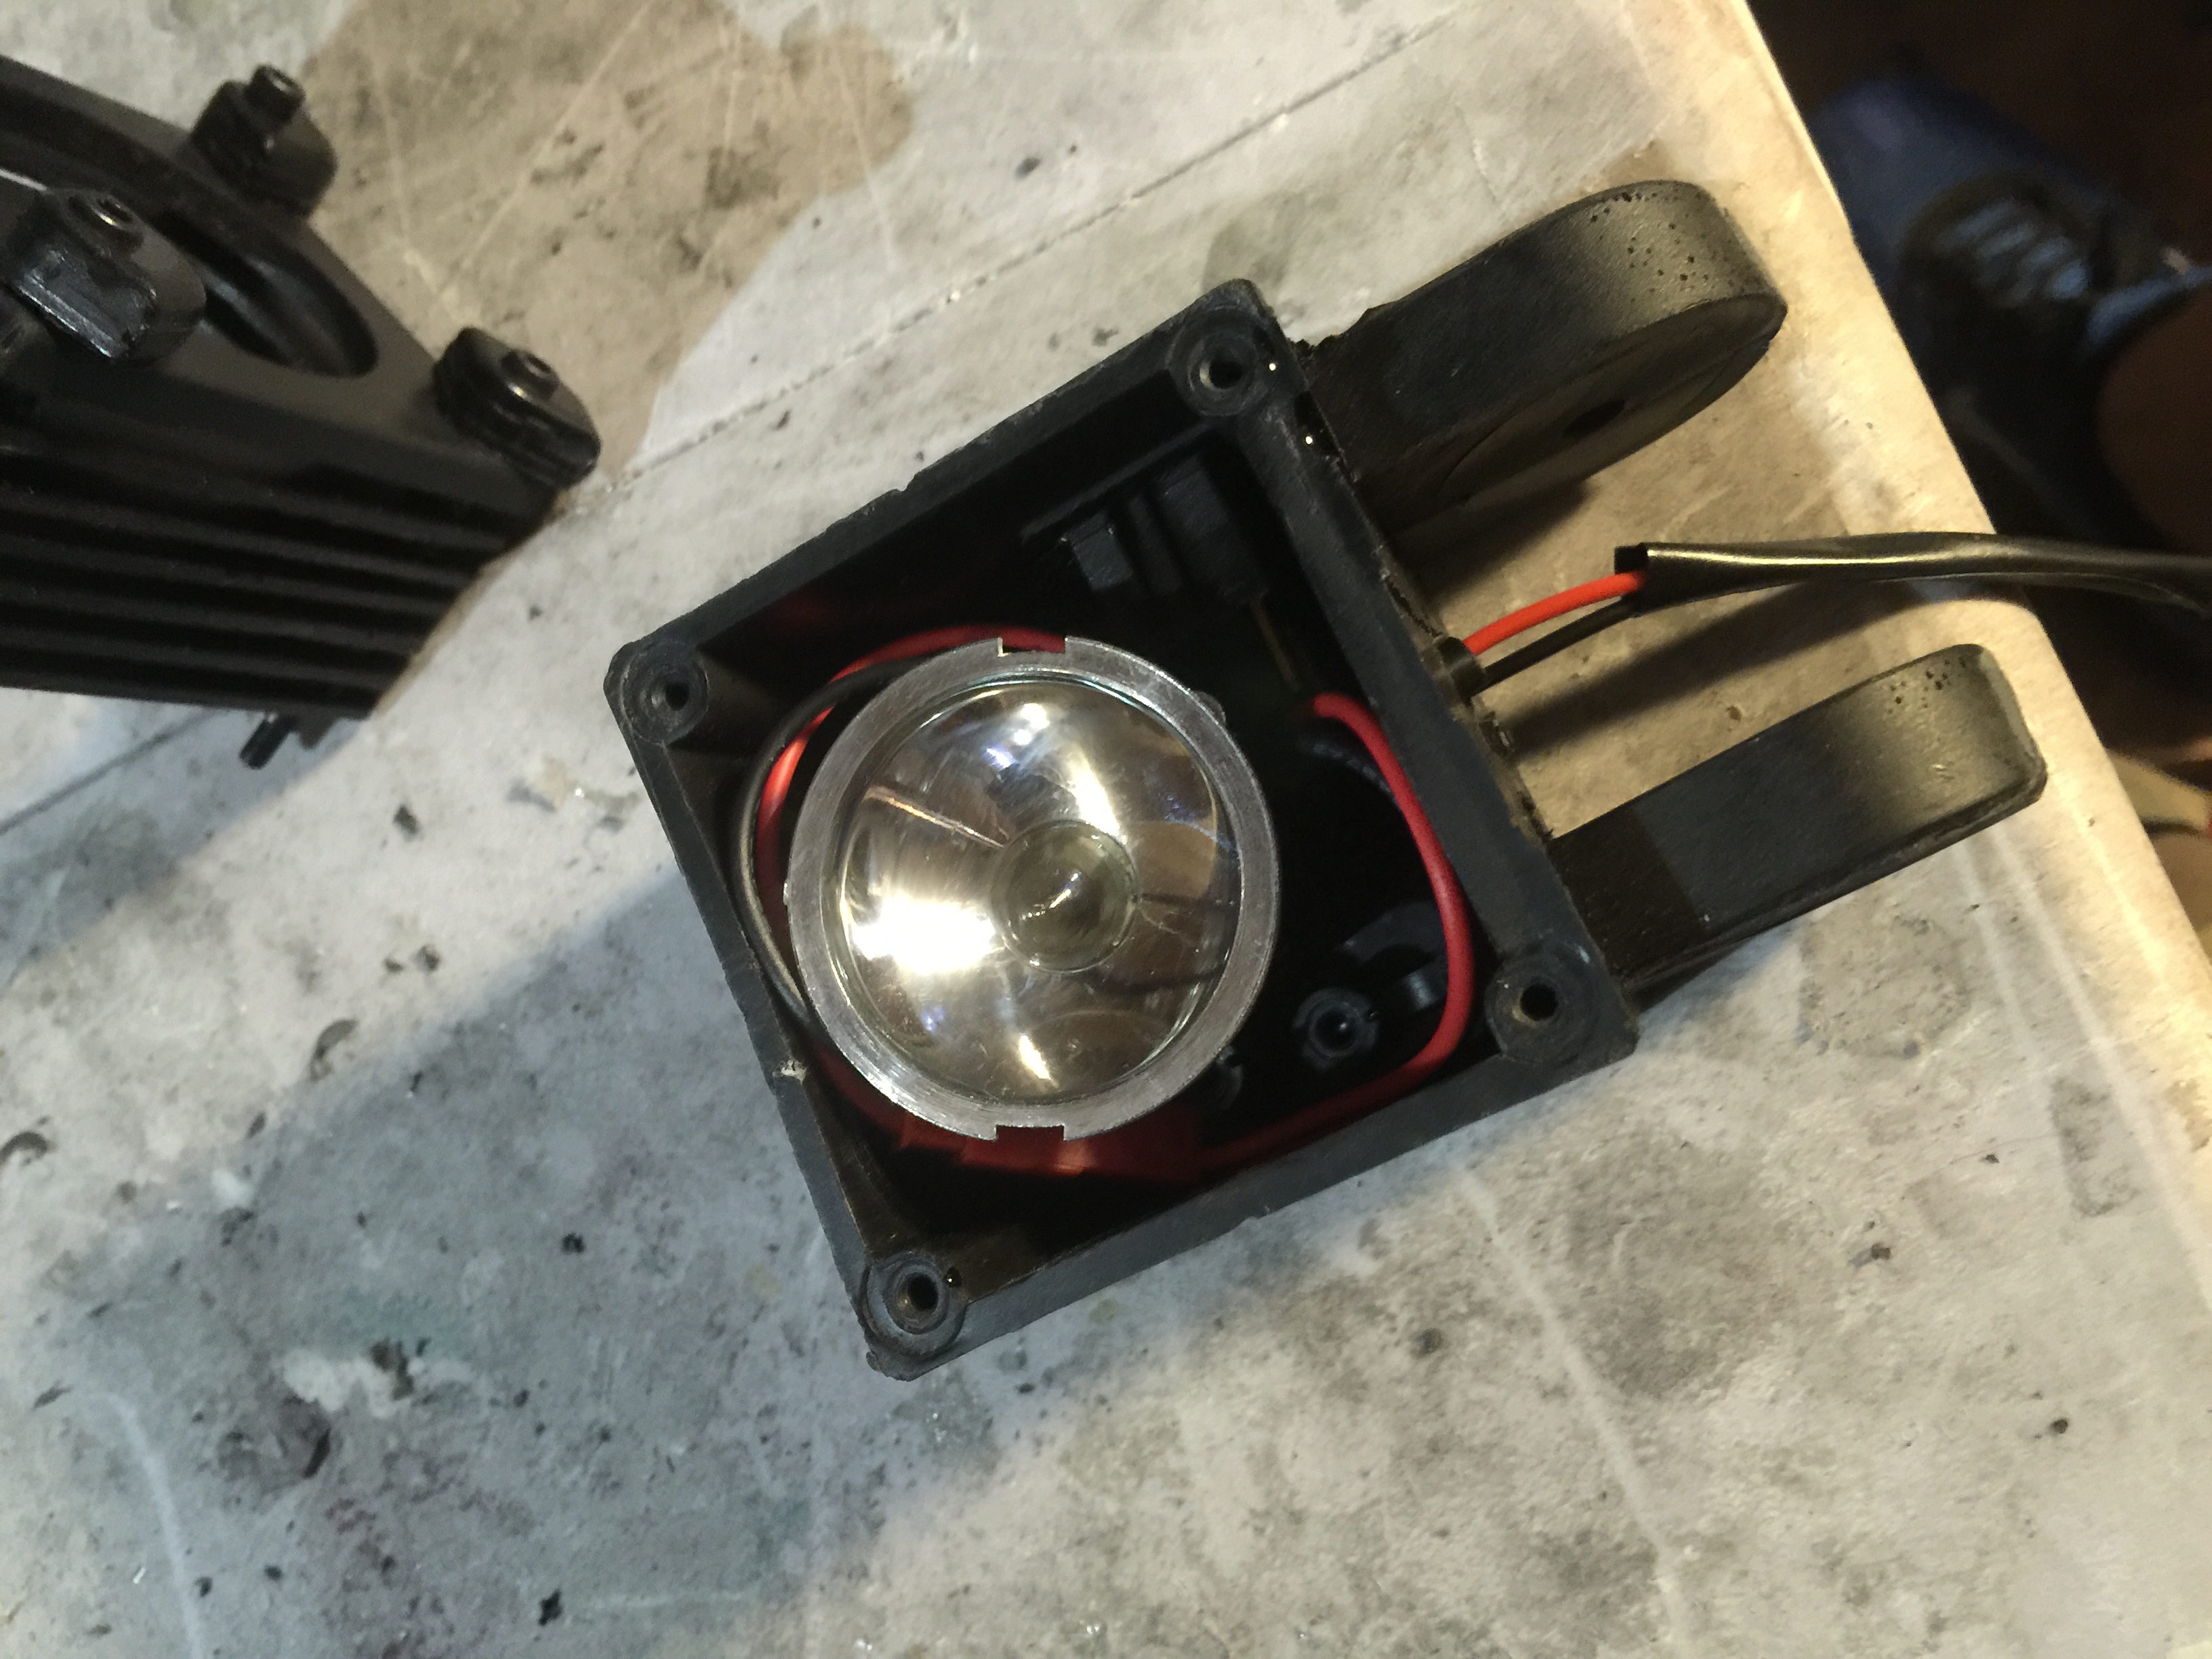
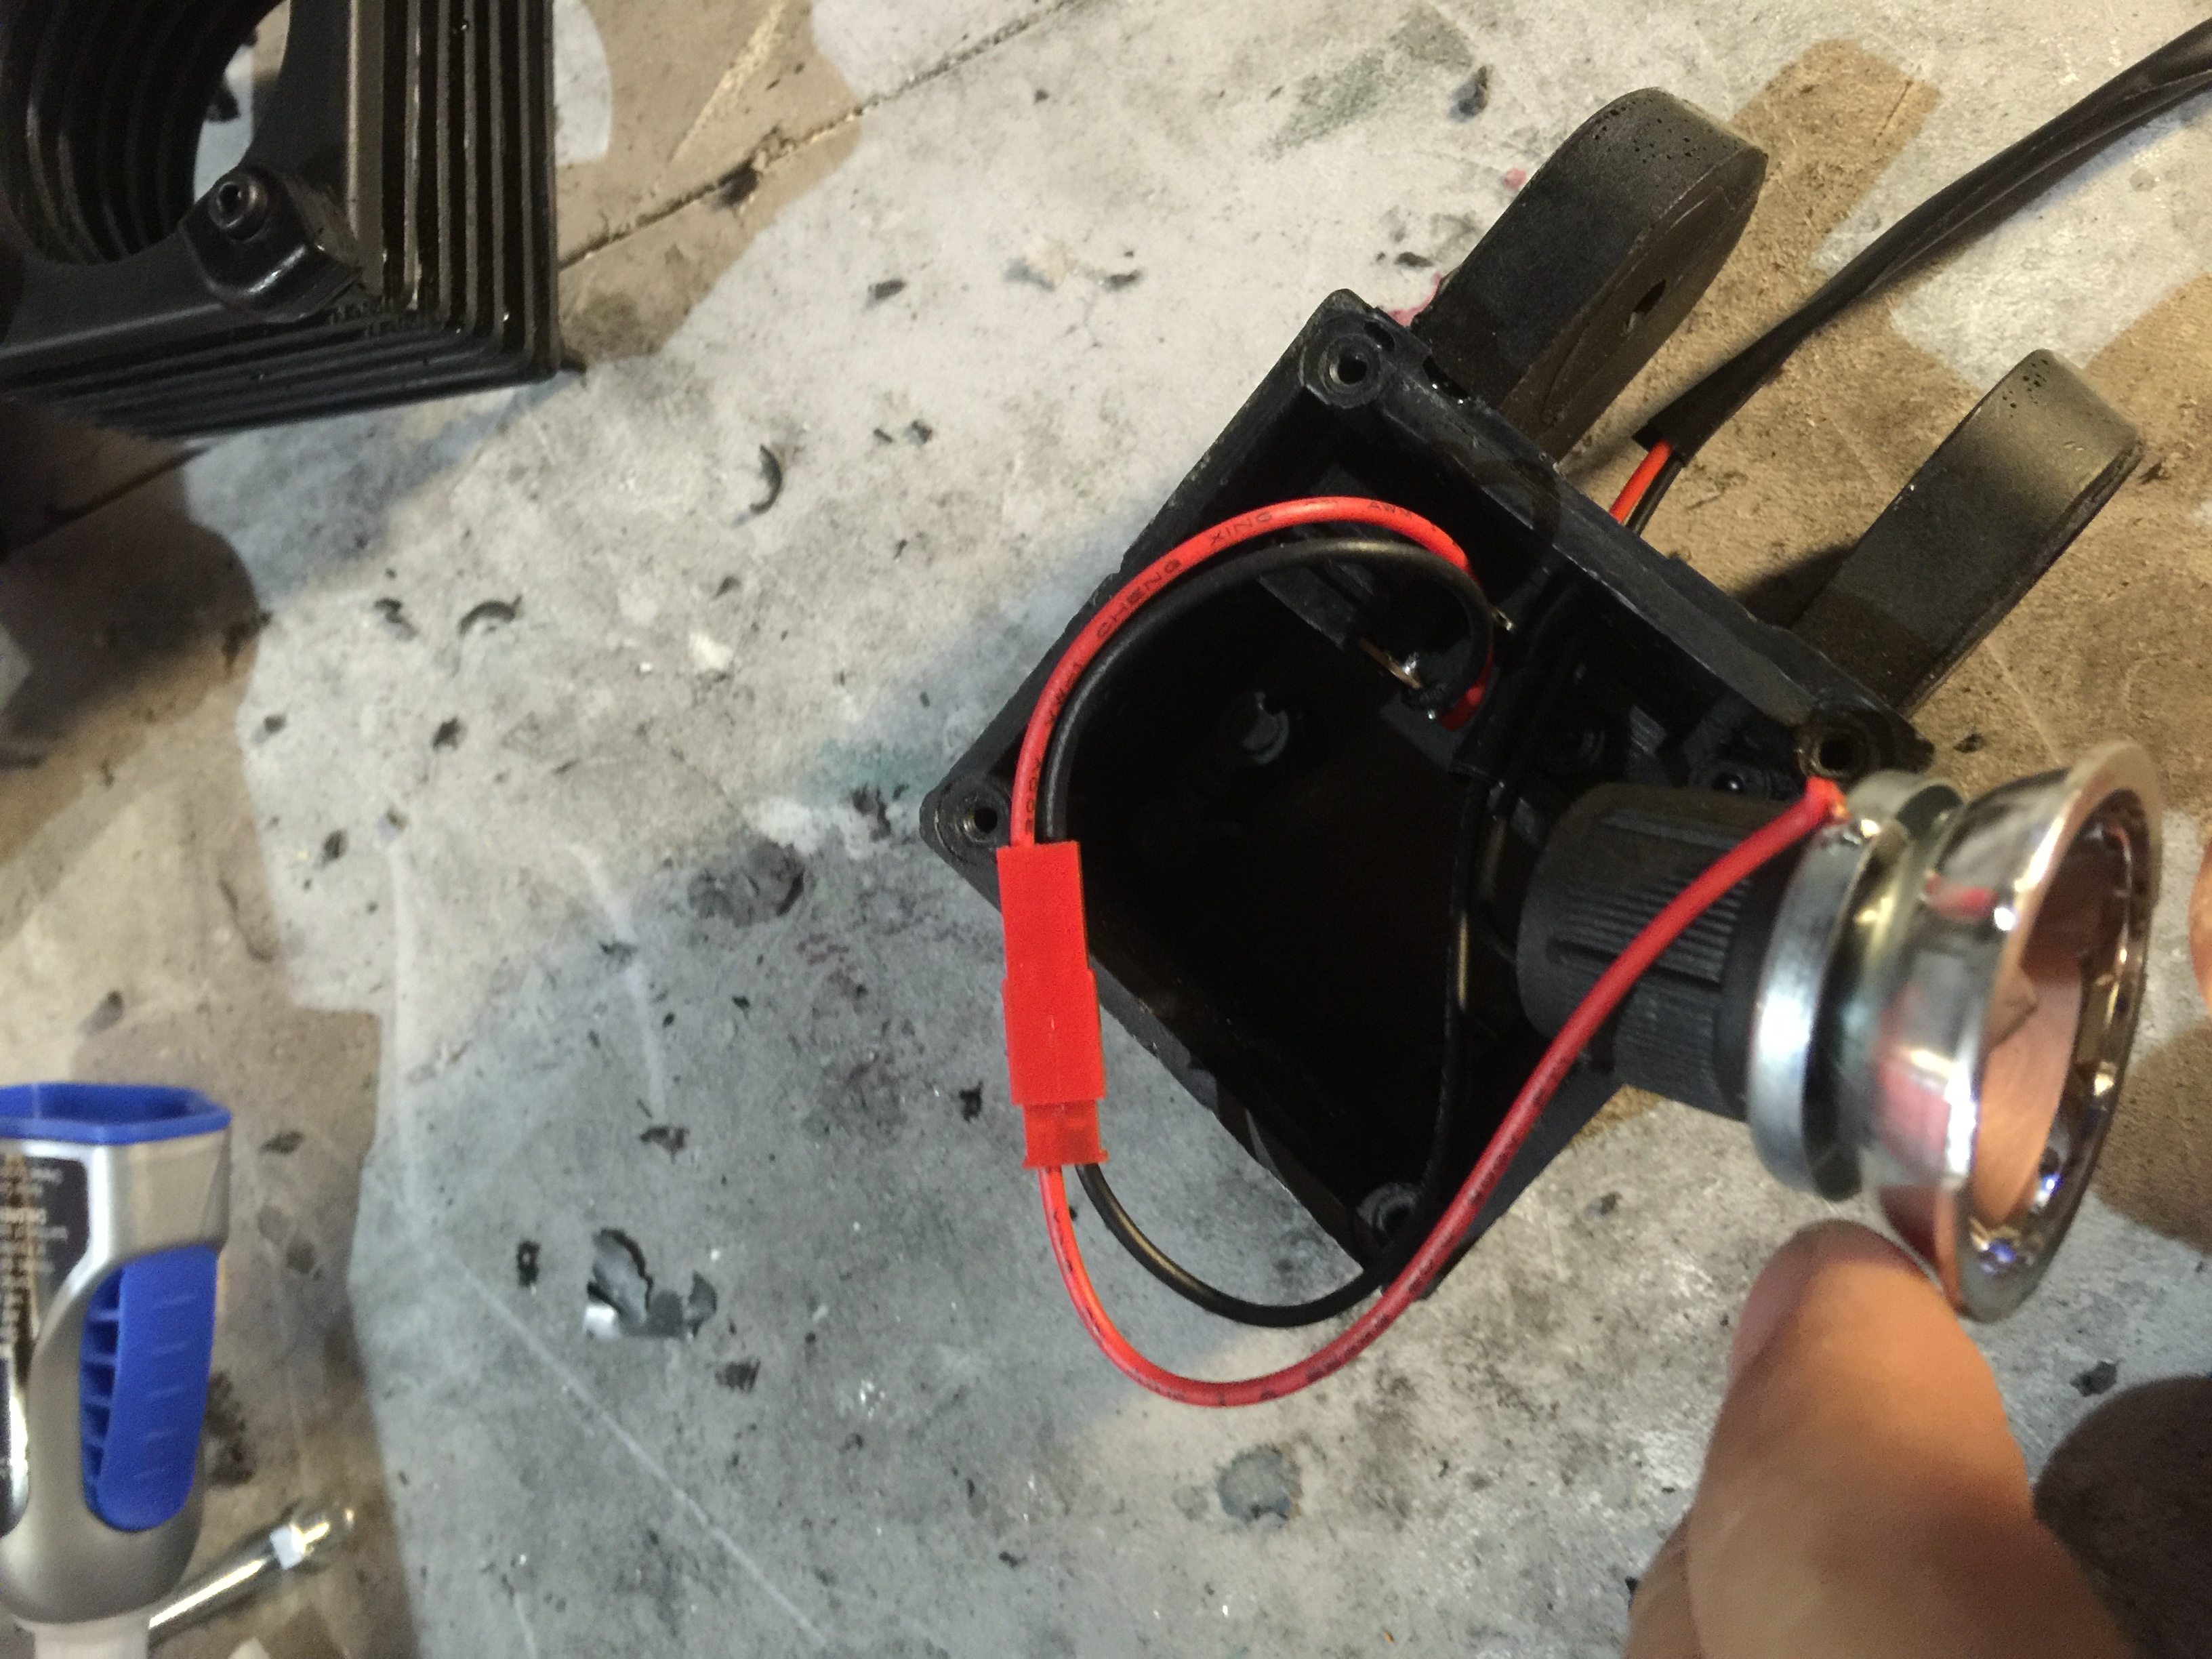
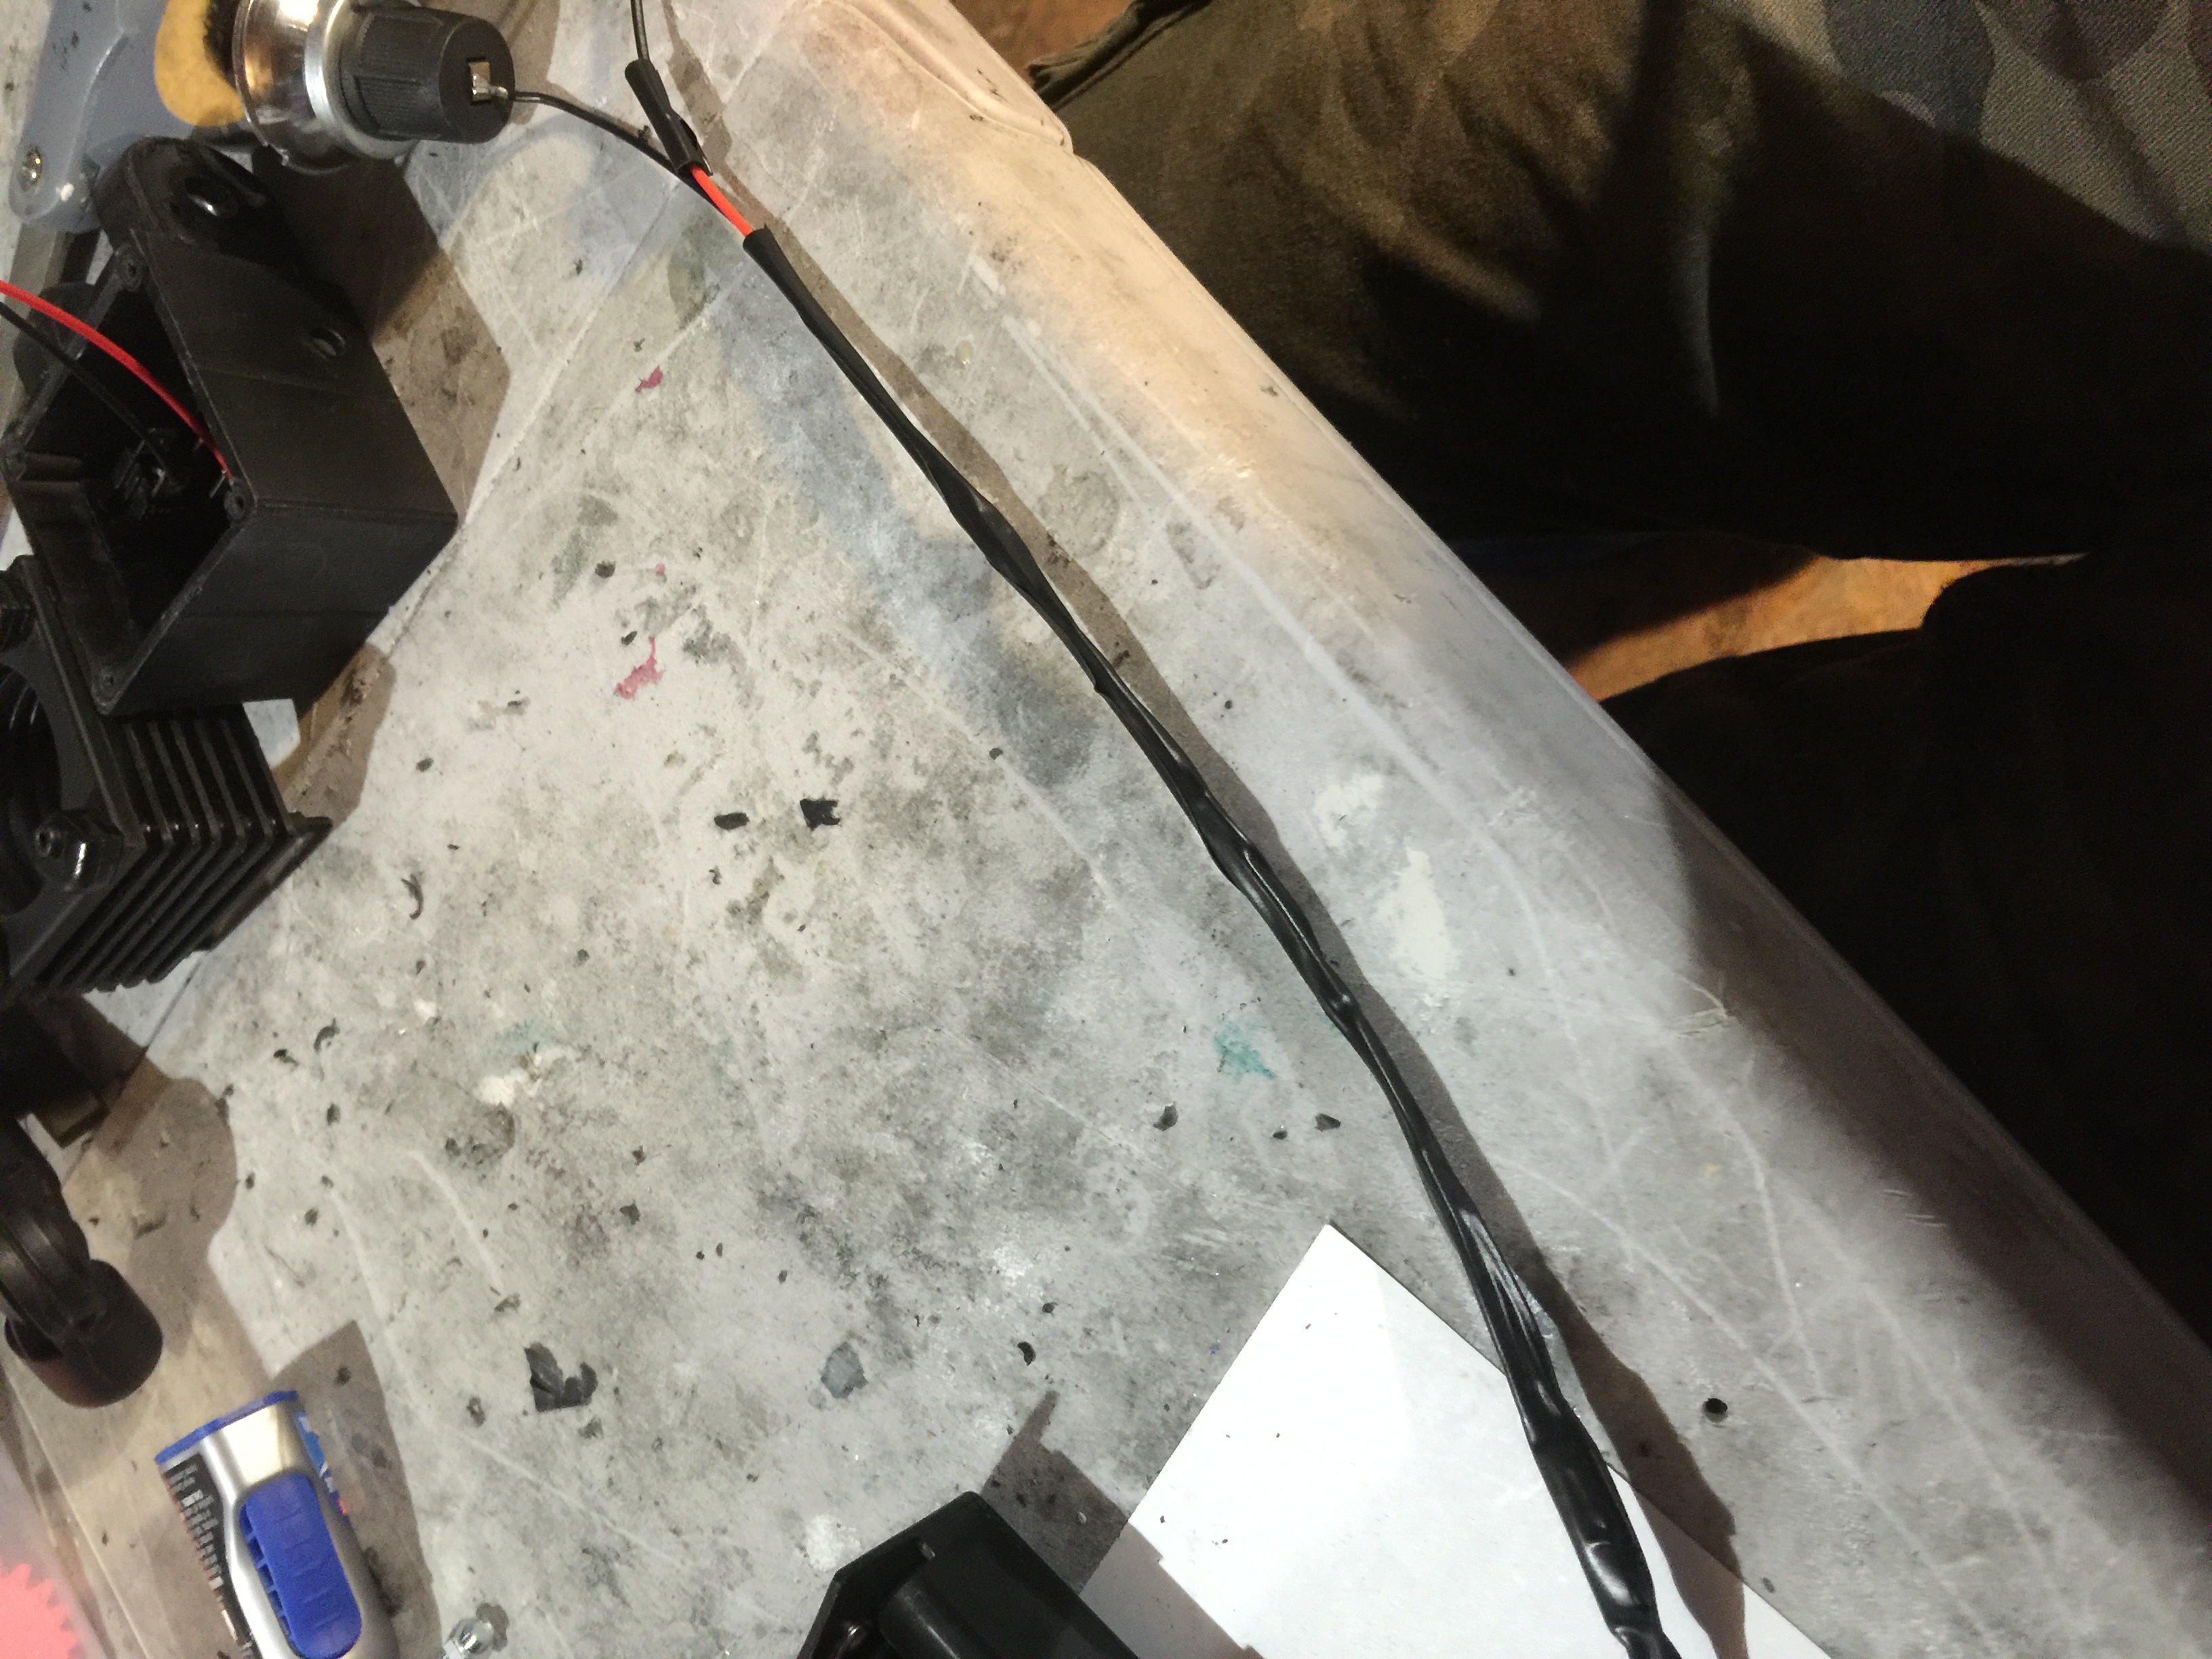
15.5: Hot Glue the Bulb in place and connect it to the Switch. The thread the wire out the bottom of the Lamp Head. I covered the wire in black electrical tape to make it less obvious.
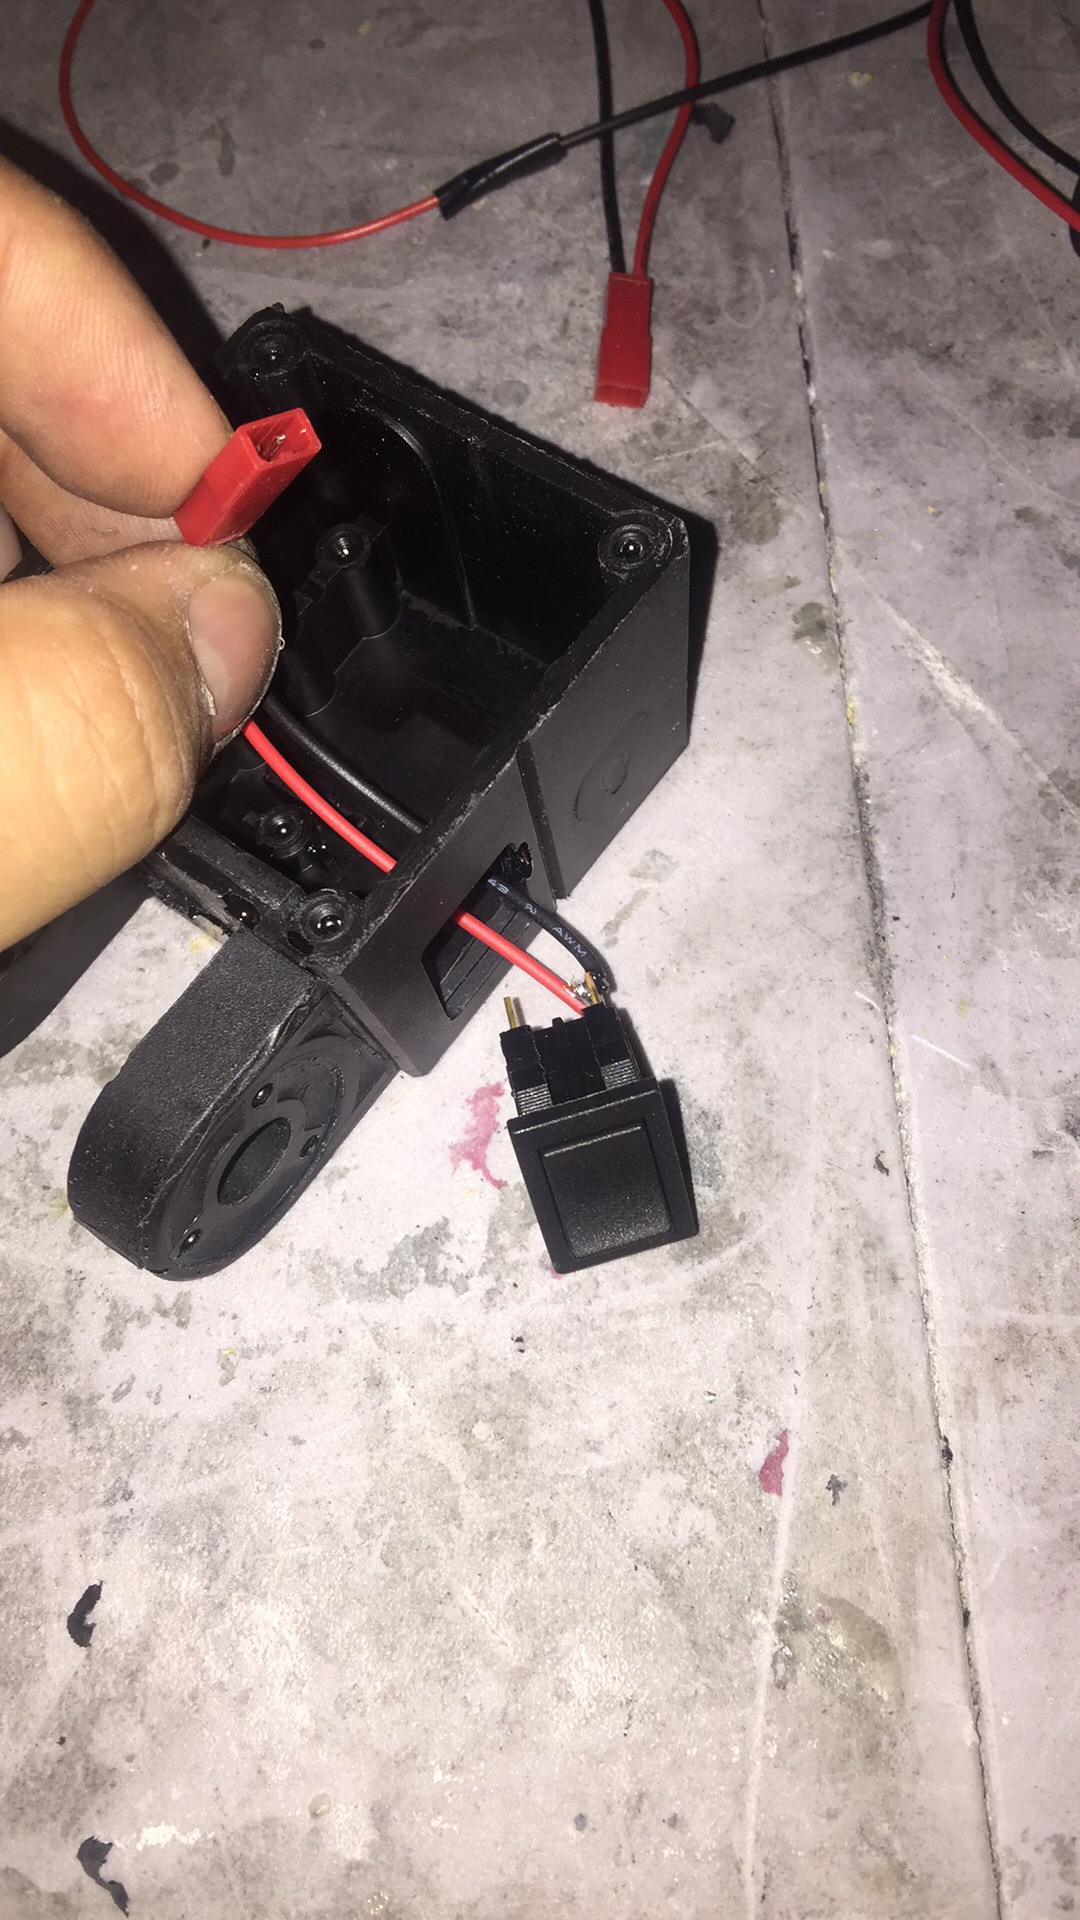

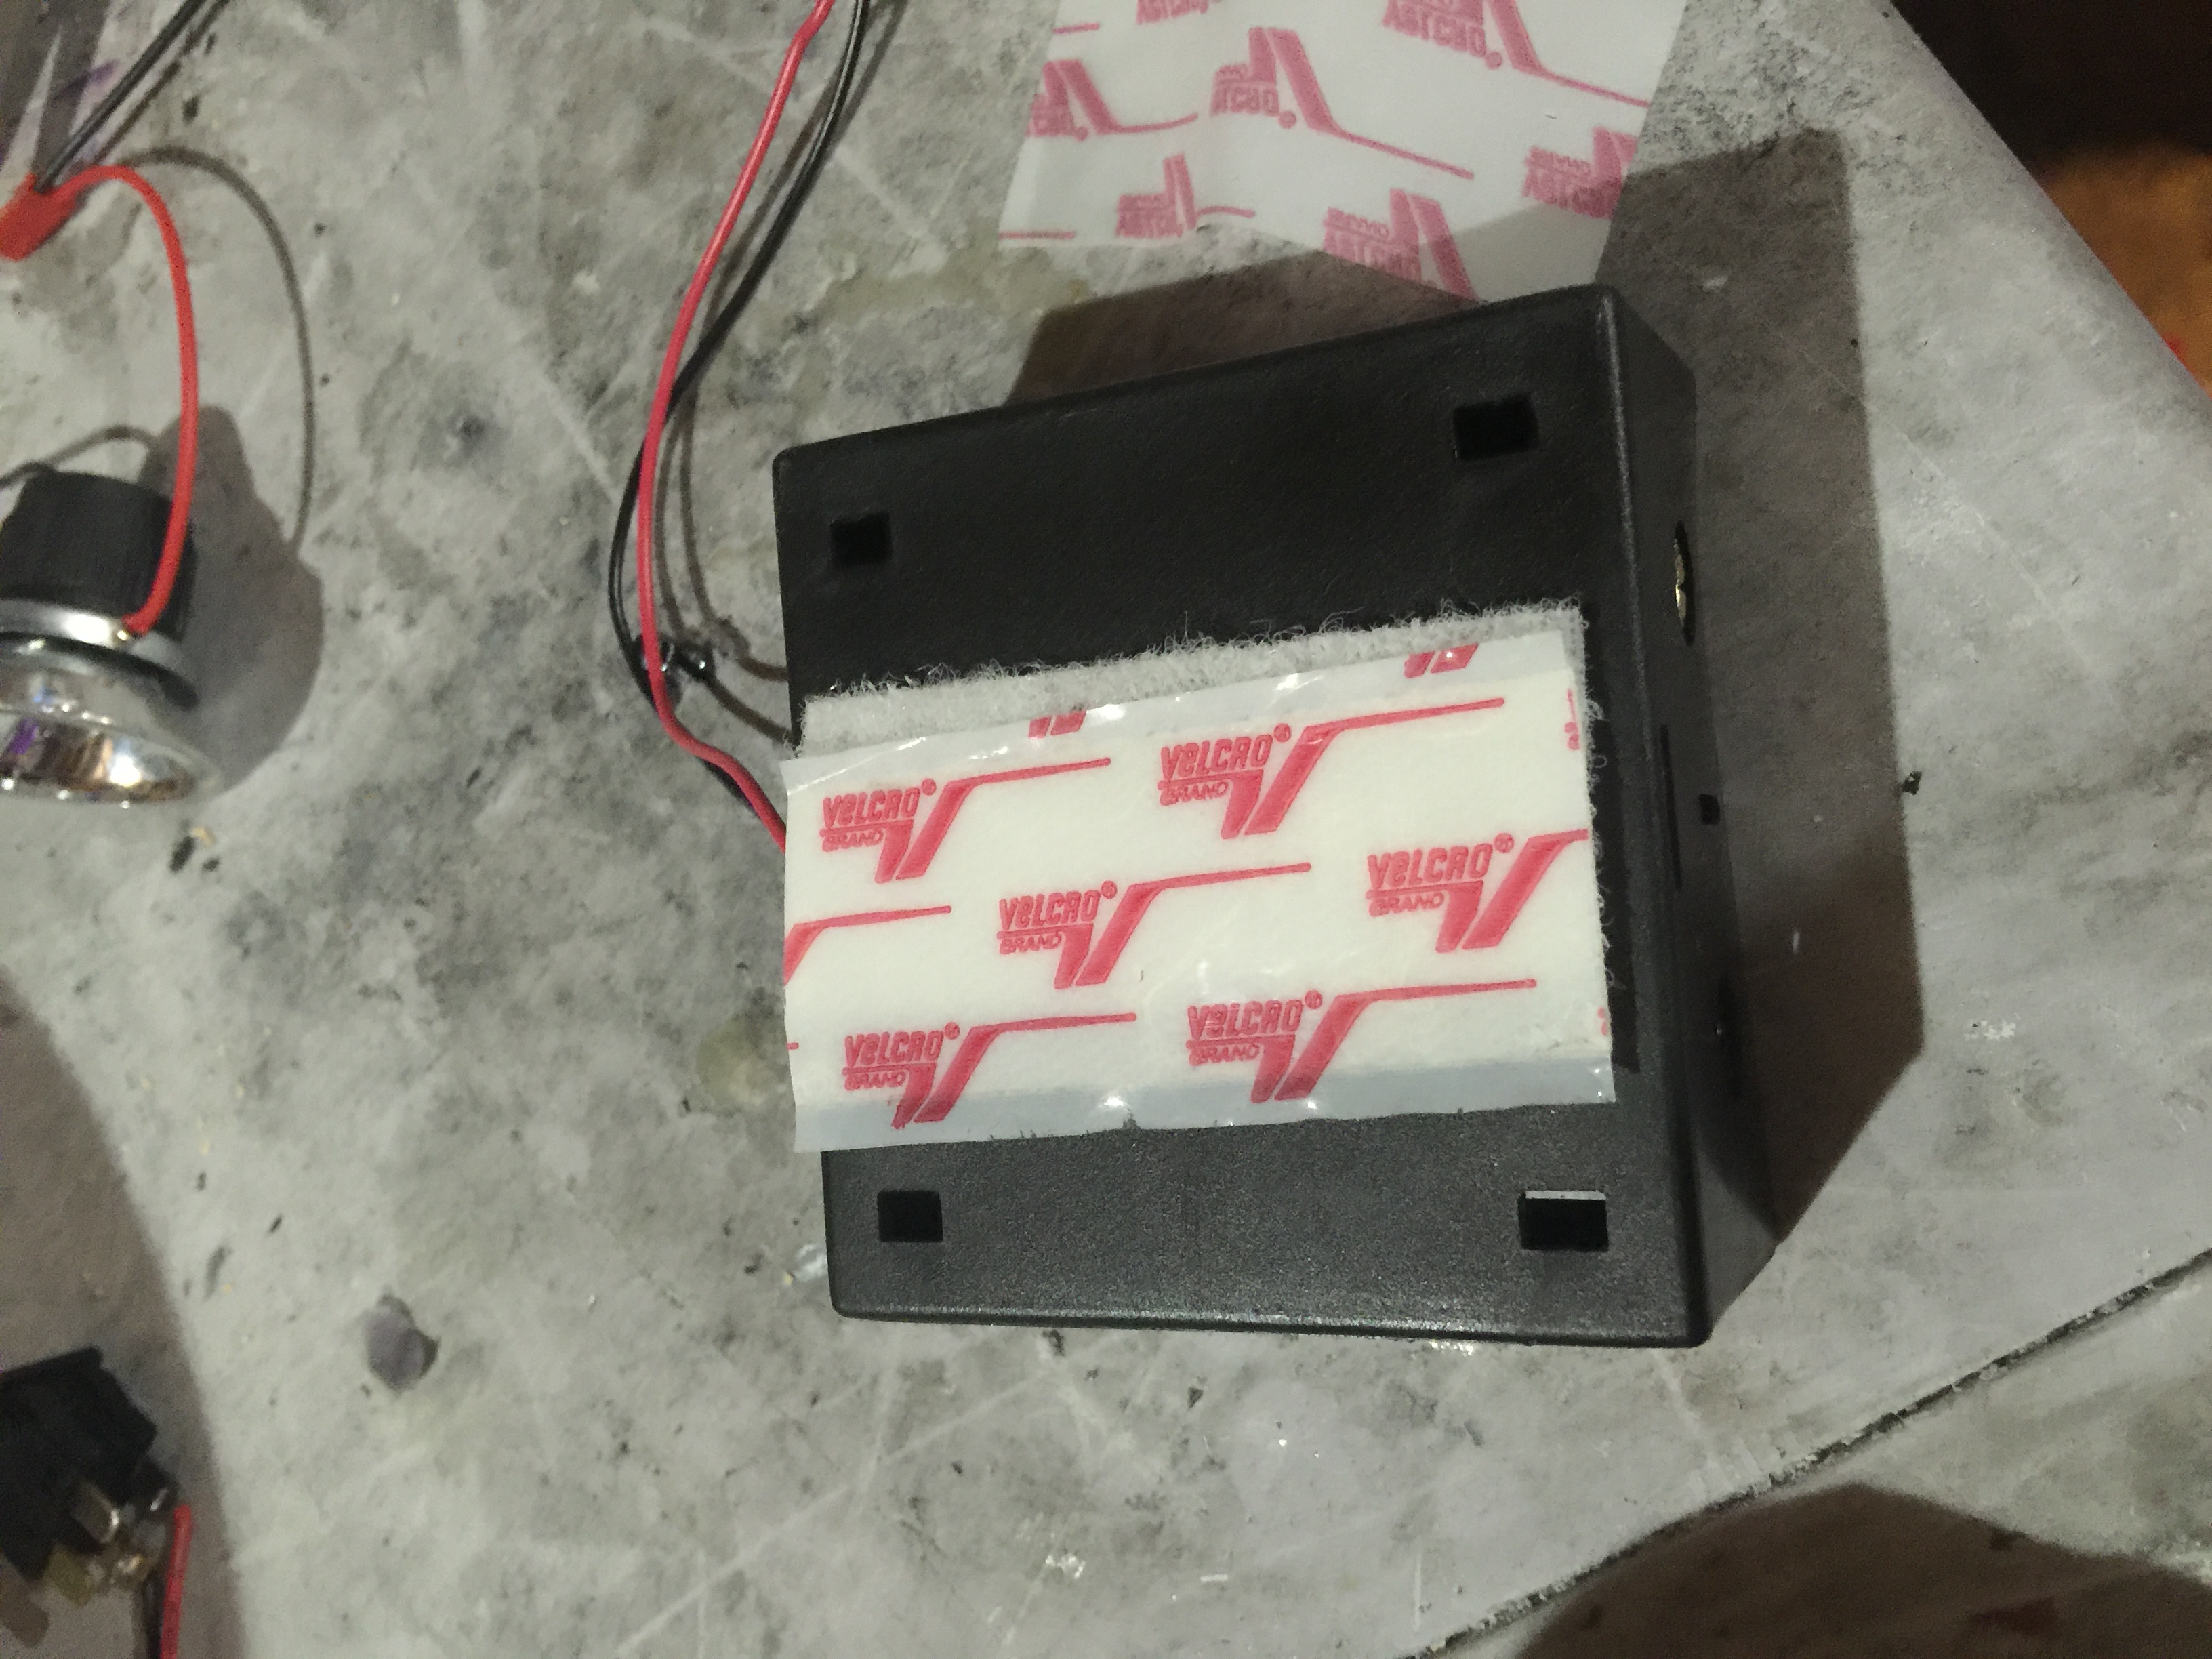
18.5: Use the included Velcro strip to attach the battery pack to the inside of the Lamp Body. And then run the wire into the Lamp Body and connect it to the Battery Pack.


DONE! Enjoy!
If you ever have any questions about your item, or if a part should break, feel free to drop us a line.
And be sure to join up with your fellow Marines at www.colonialmarines.info and http://forum.alienslegacy.com/
And don’t forget to “Like” our page on Facebook! https://www.facebook.com/SpatcaveStudios
