Be sure to wear a respirator and be in a well ventilated area when sanding resin.
Check the bottom of this page for a list of all parts by name.
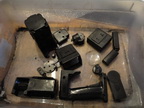 |
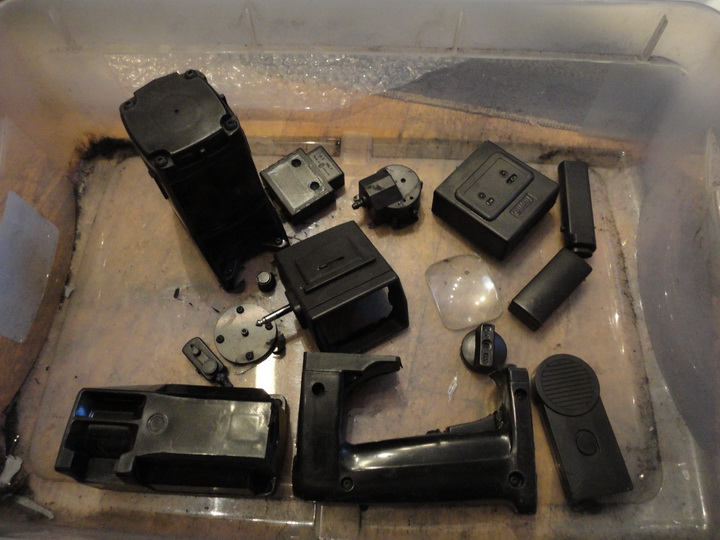
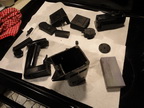
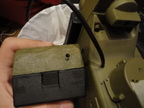
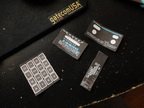
Comes with Upper Body, Lower Body, Grip, 2x Slide Viewer halves, Front Cap, Bottom Switch, Self Timer, Mini Light, Remote Release, Pump Widget, Self Timer Case, Clear Screen, Transformer, Knob and Calculator Panel. |
 |
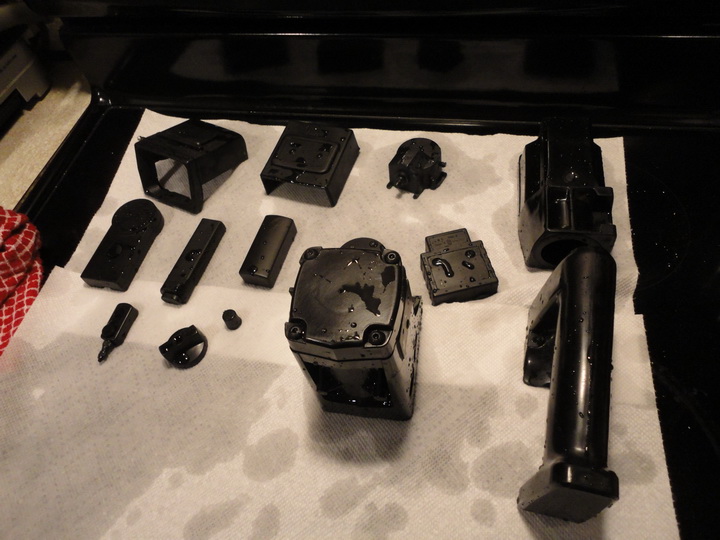
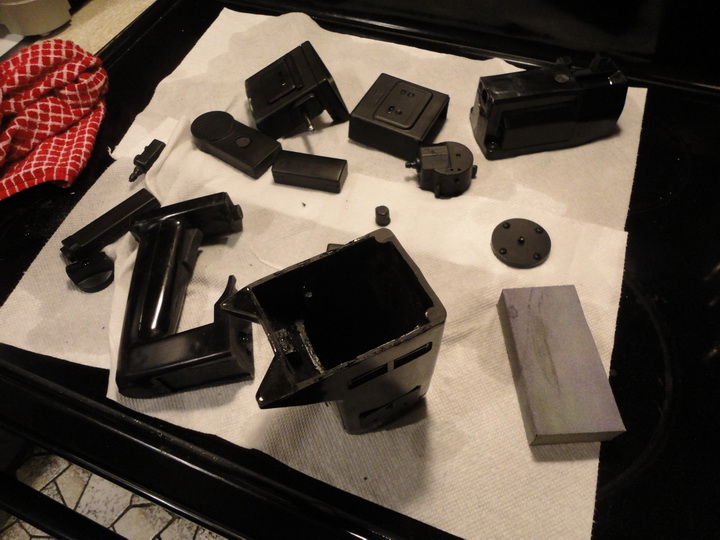
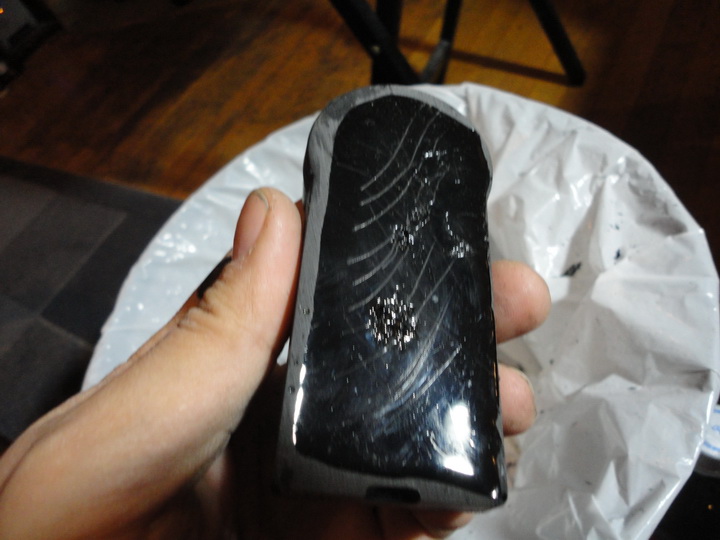
Wash all parts in warm, soapy water and allow to air dry. |
 |
Lightly sand any rough edges or seam lines. Fill any airbubbles with putty, allow to dry and sand smooth. |
 |
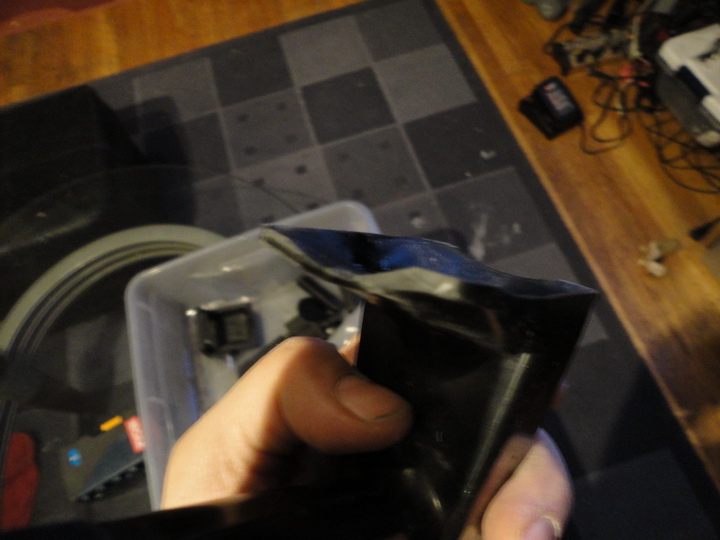
If any parts have any warps or bends in them, run it under hot water until it's plyable and bend it back to shape. |
  |
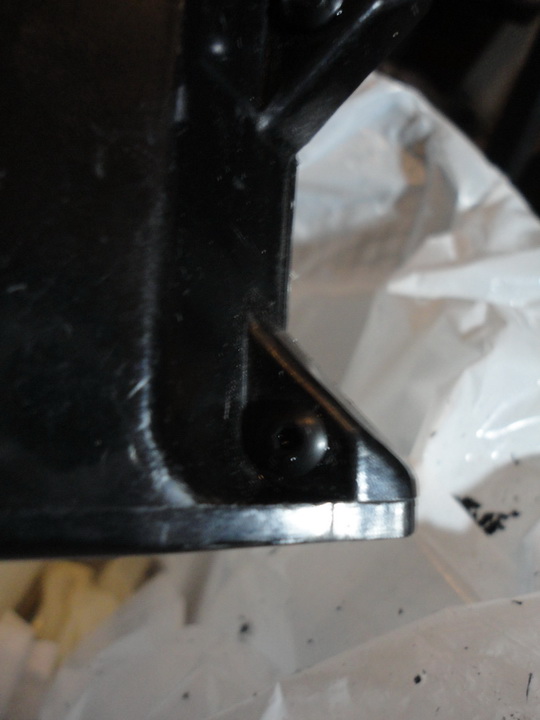
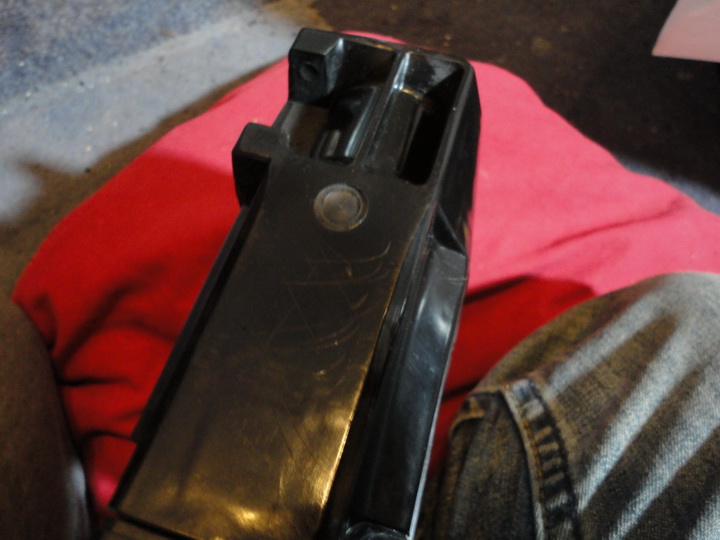
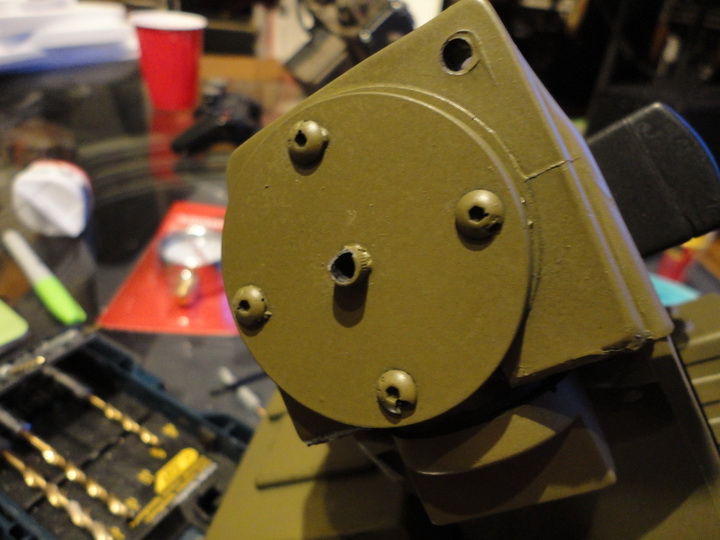
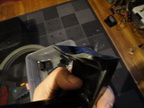
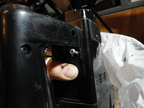
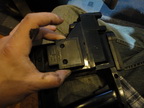
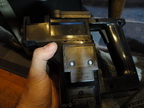
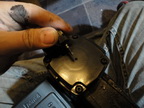
First thing to decide is if you're going to screw it together or just glue it. I HIGHLY reccomend screwing it together for extra stability. If you can find cool hex screws, those would look best. If not, standard screws will work just as well. To start, use a larger drill bit to remove the screw heads that are molded into the parts. |
 |
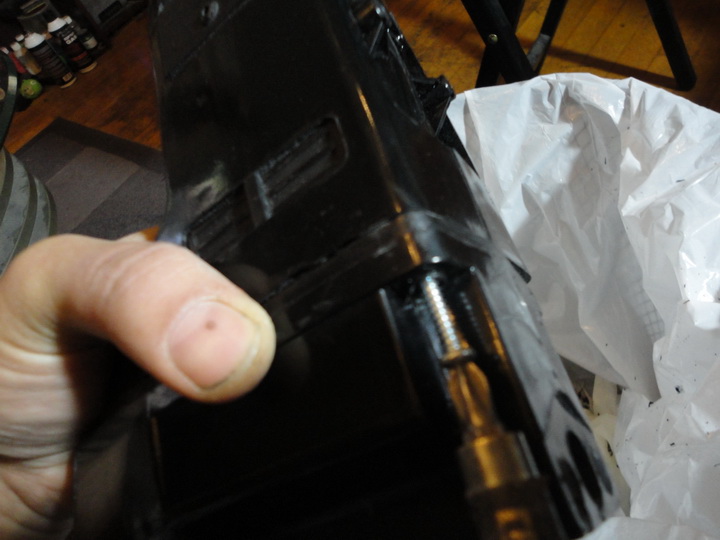
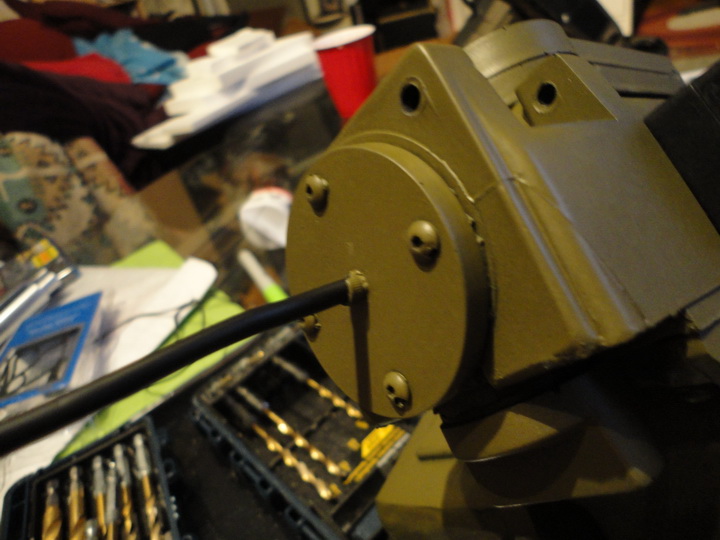
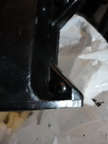
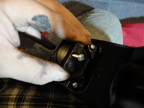
Drill a hole for the screws. Make sure it's a little smaller than the screws that you're going to be using. |
 |
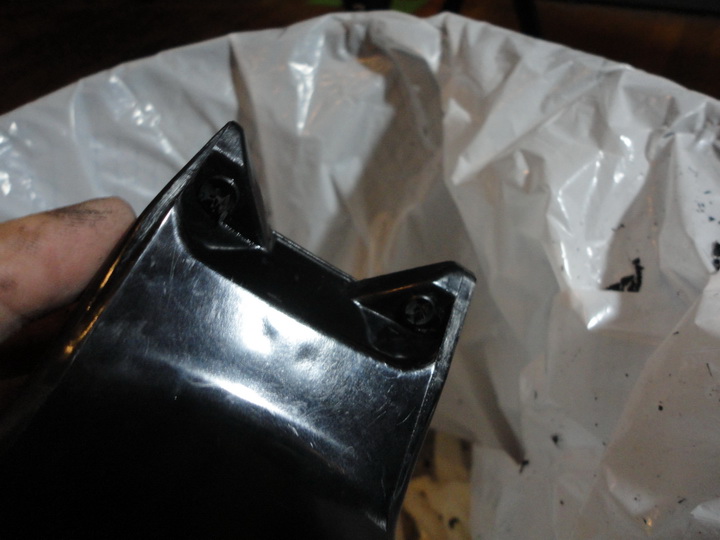
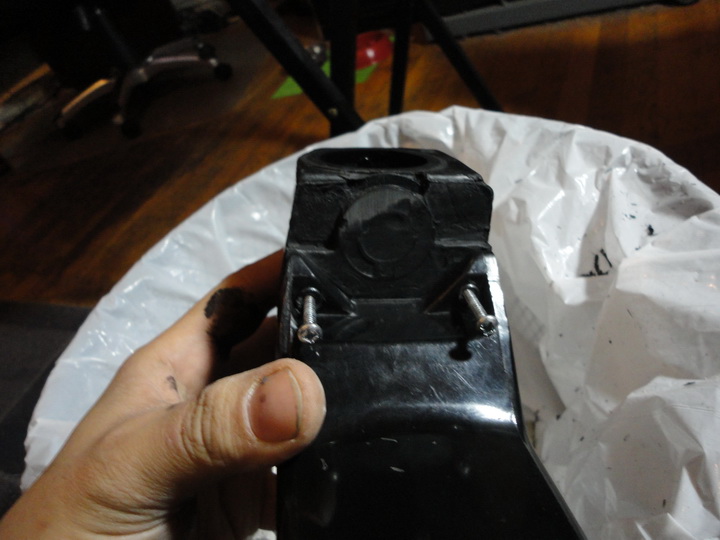
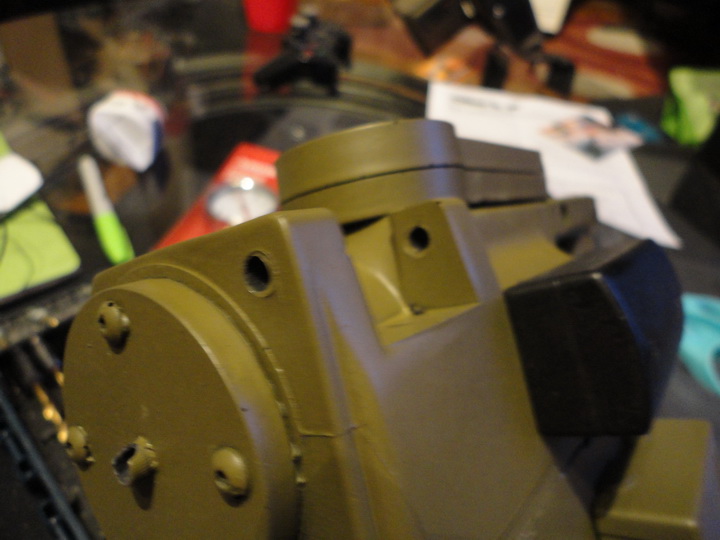
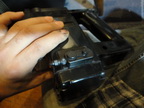
Glue the top to the main body. And then pre-drill holes into the top. |
 |
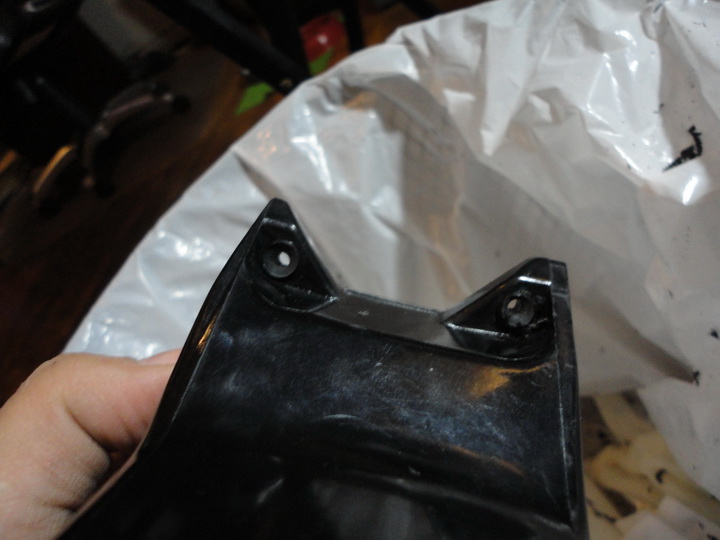
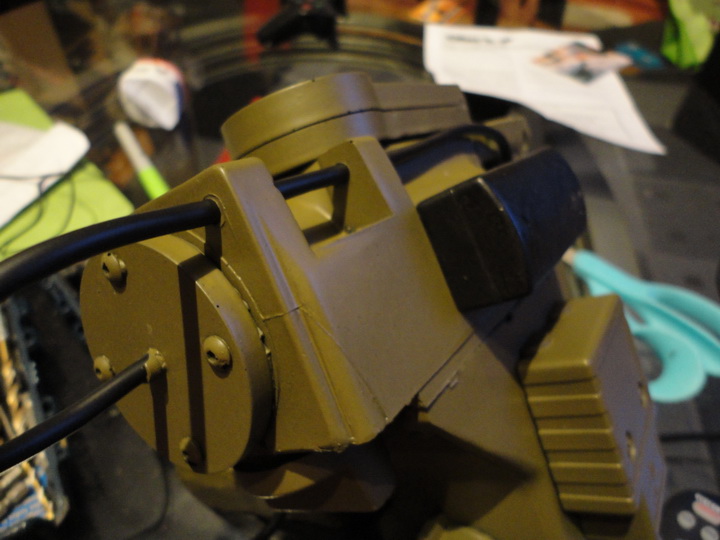
Run your screws in. |
 |
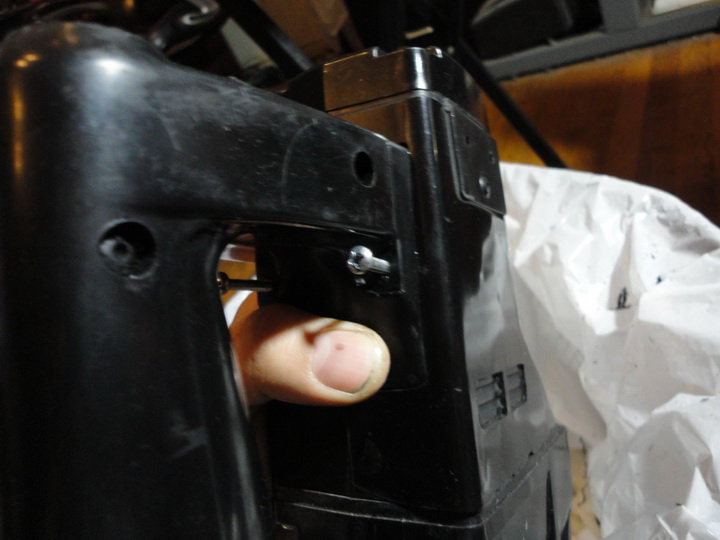
Do the same for the other side. |
 |
Do the same for the handle. |
| |
You can pre-assemble everything and then paint it, or paint all the parts seperately and then assemble them later. I'm going to assemble a bunch first. But it's up to you. |
  |
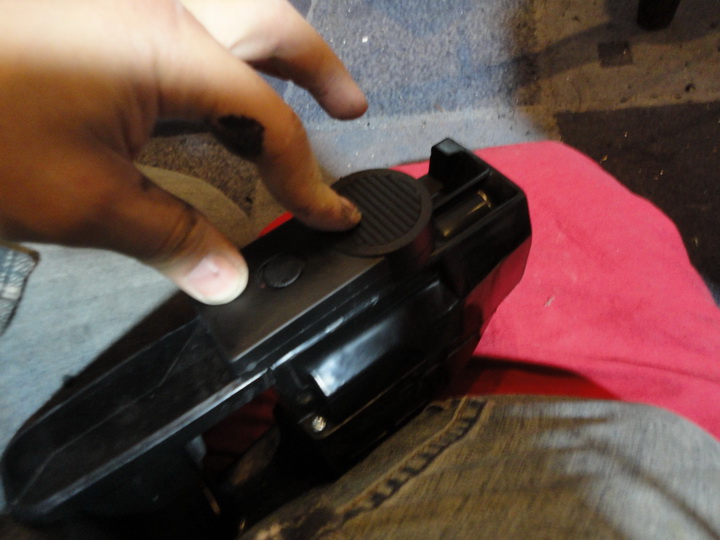
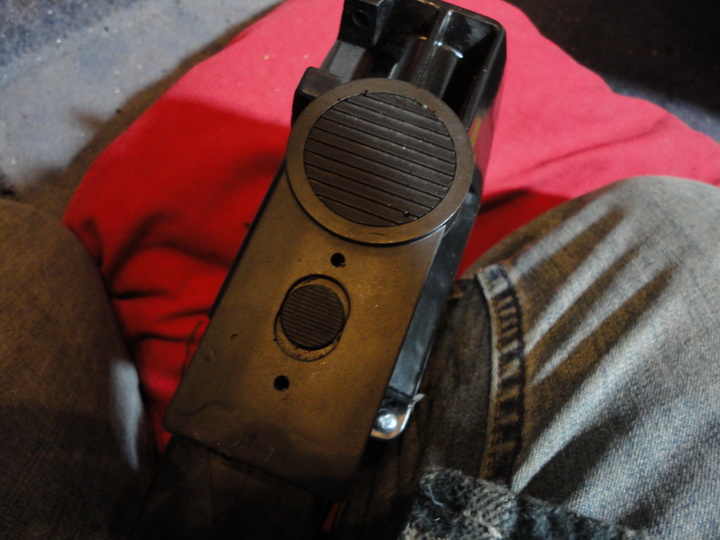
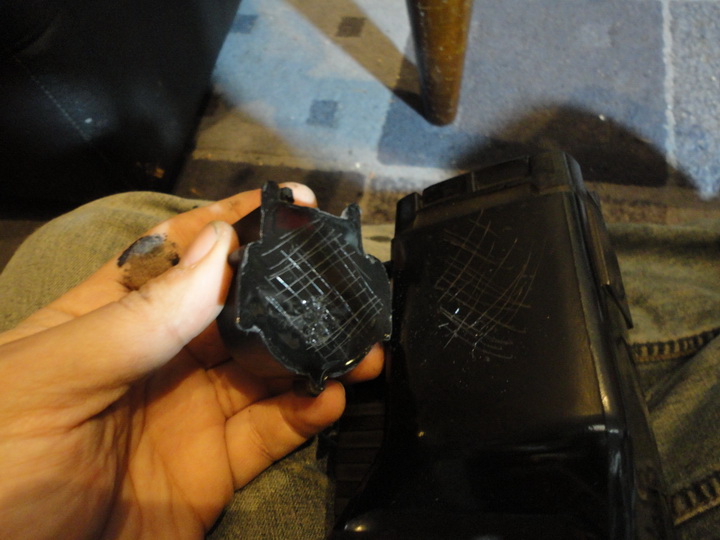
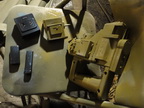
Scratch up the bottom of the Mini Light and the stop where it connects on the top to give the glue a better connection. |
 |
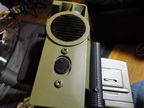
Glue the Mini Light into place. |
 |
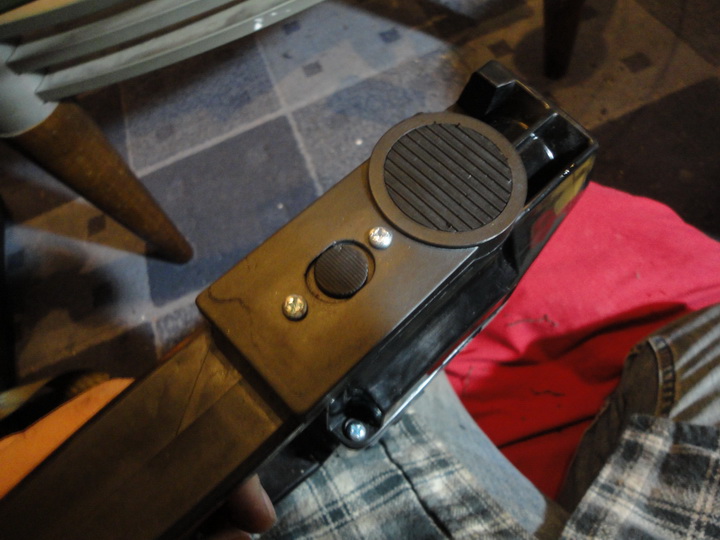
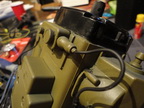
Drill 2 holes, one above and one below the switch. |
 |
And then drop 2 screws in. |
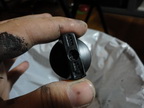 |
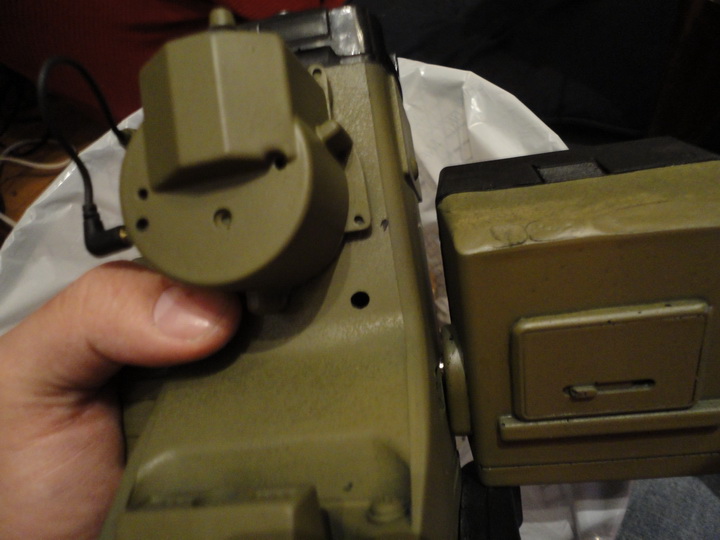
Drill a hole through the Knob. |
 |
Glue it into place under the Upper Body and then screw it into place. |
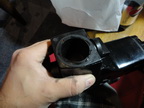 |
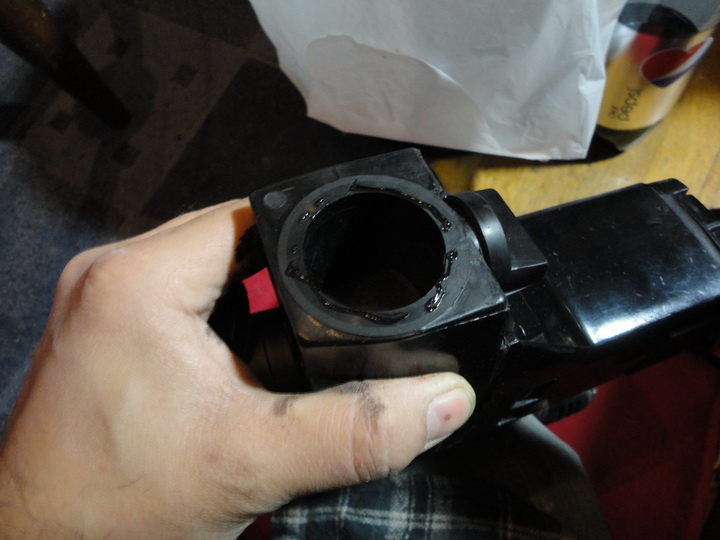
Run a bead of glue around the front opening. |
 |
Glue the front plate down. You can replace the molded in screws with real ones if you like. |
 |
Glue the Self Timer into place. You can screw it on to make it more secure. |
  |
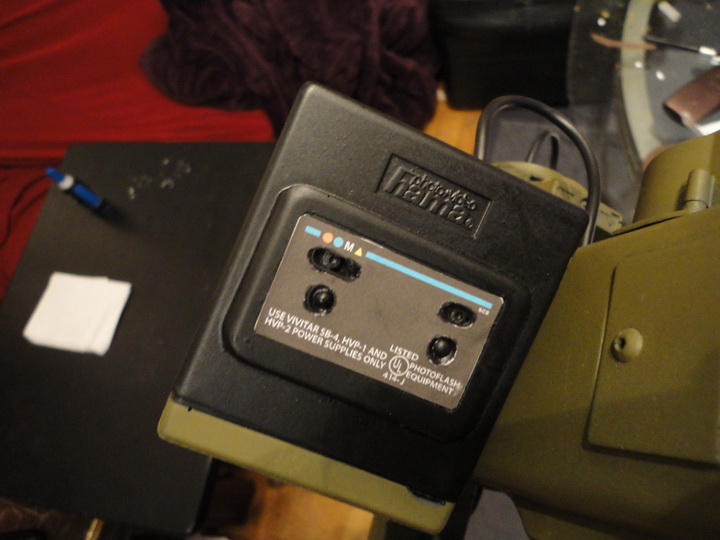
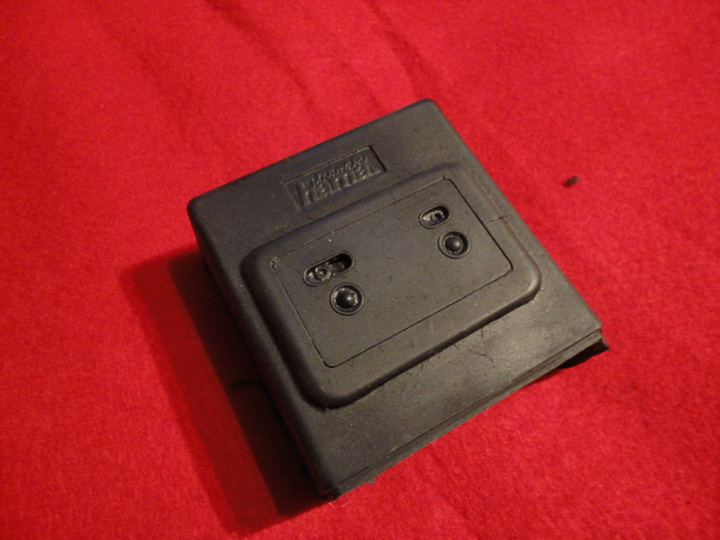
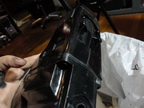
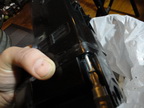
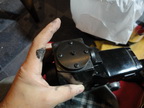
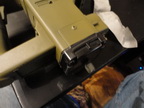
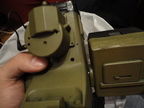
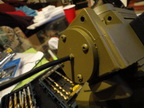
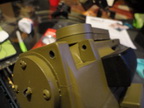
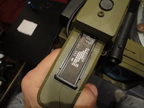
Drill the holes into the Transformer and then glue the Transformer into place. |
 |
Drill 2 screws in to secure it. |
 |
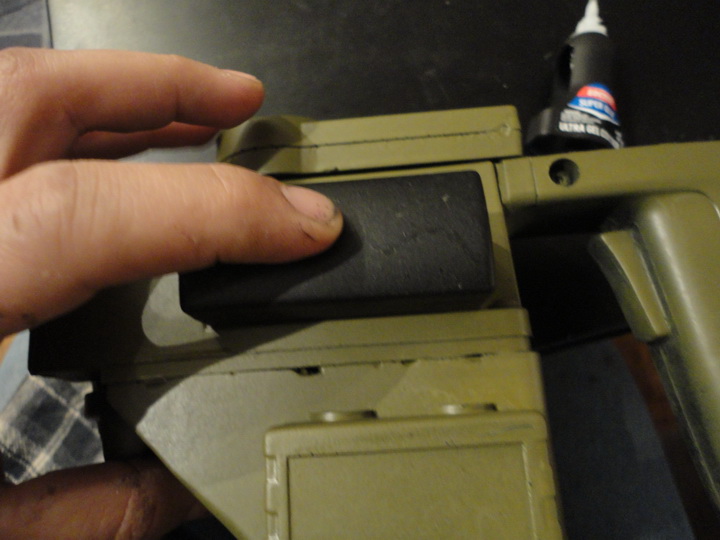
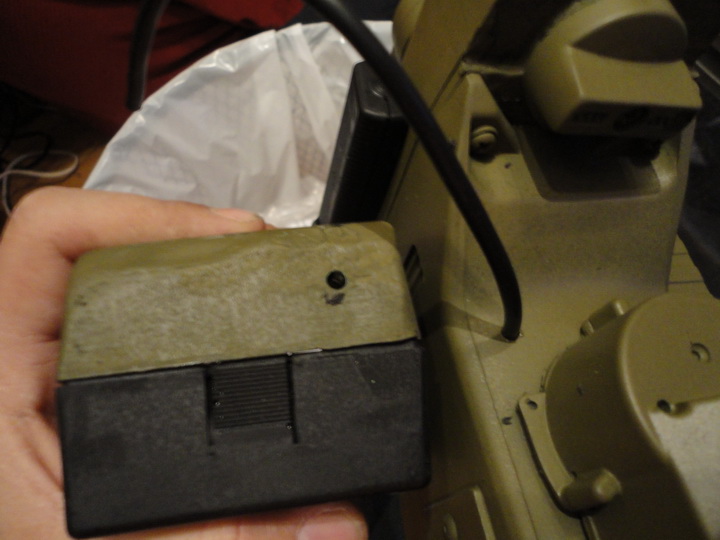
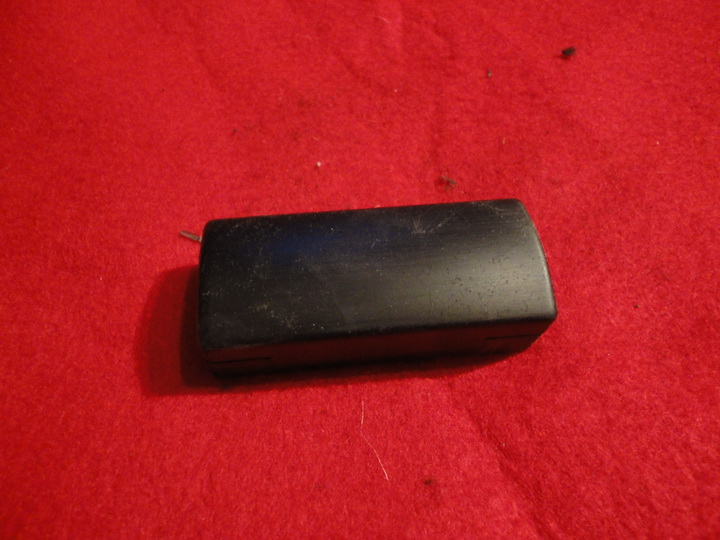
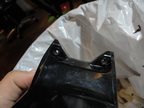
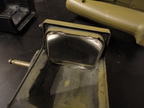
Scratch up the back of the Pump Widget and the spot on the Lower Body where it will sit. |
 |
Glue it in place. You can also secure it with some small screws around the outside. |
 |
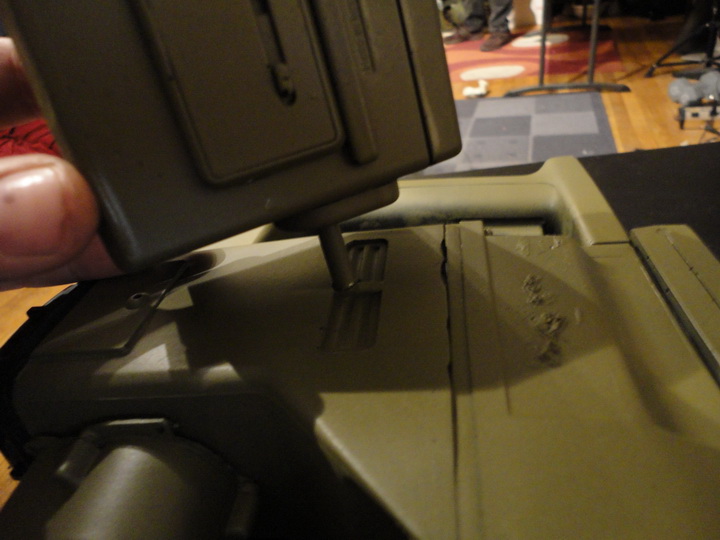
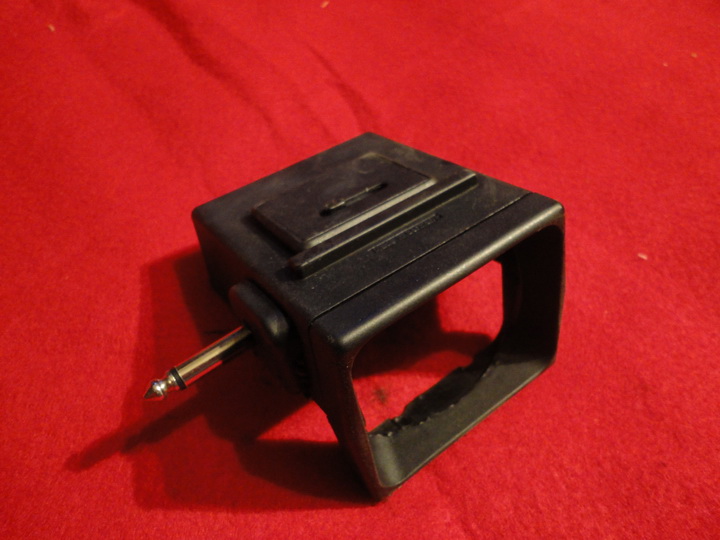
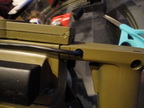
Drill a hole on the side of the Lower Body where the Slide Viewer will connect. You can also put a 1/4" mono plug connector in place to make the Slide Viewer removeable. |
 |
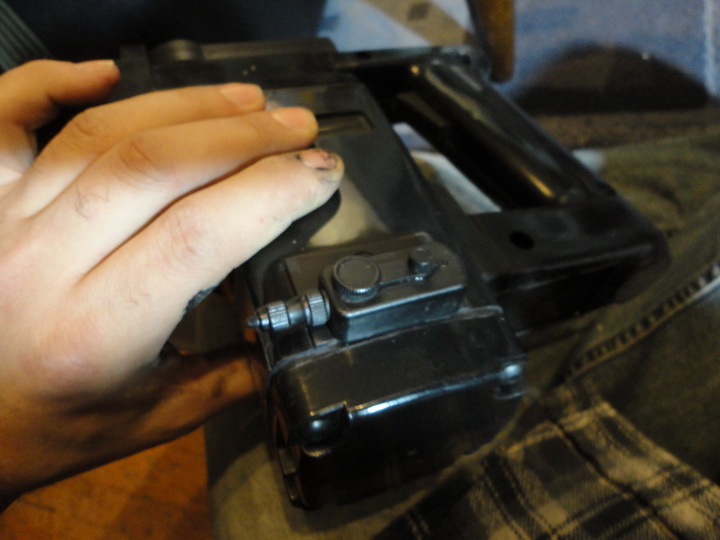
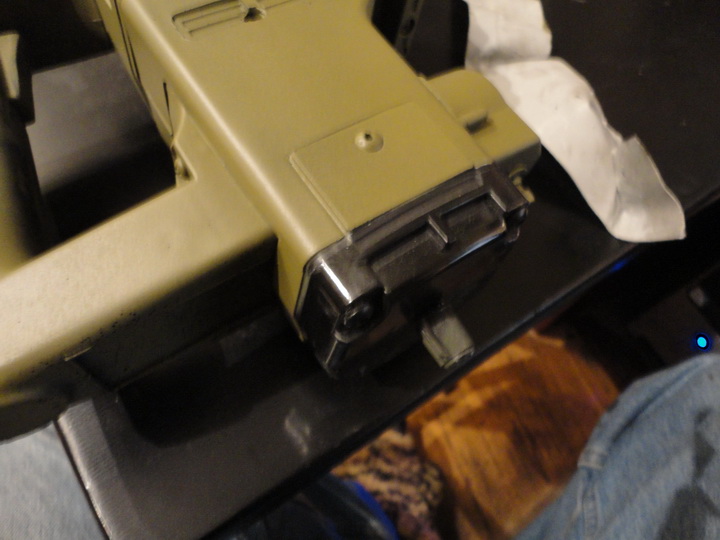
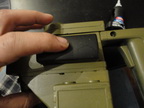
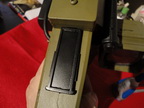
Predrill the hole for the bottom Switch. Make the hole bigger than usual. This should be a bit loose so it can move a little. |
 |
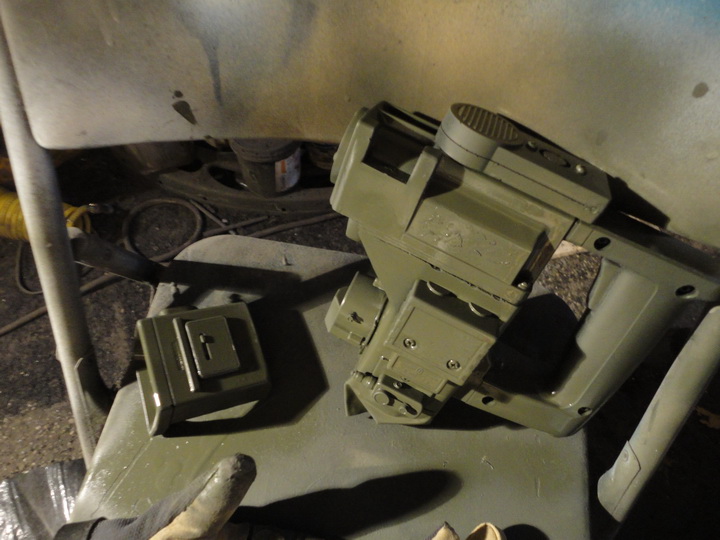
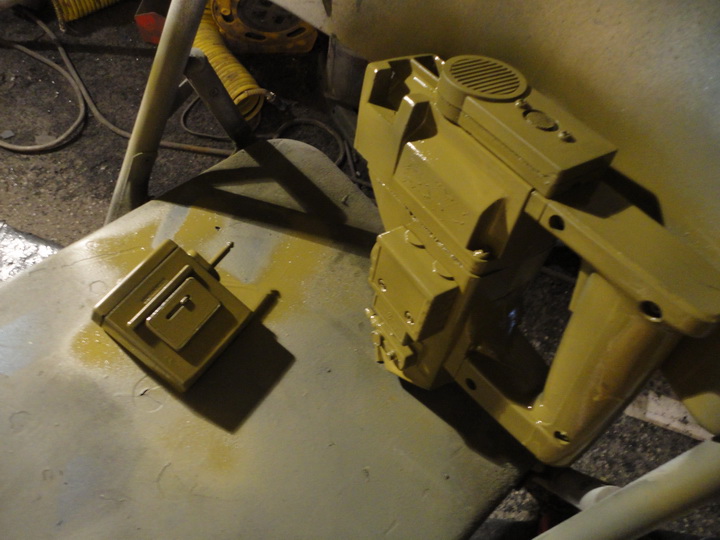
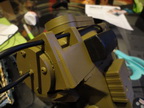
Once the parts are all together, mask off the lower edge of the Tracker and then prime the kit. |
 |
Paint the black parts black, or leave them unpainted. |
 |
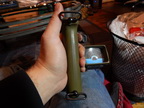
Paint the main parts OD Green. |
 |
Once dry, clear coat all the parts. |
  |
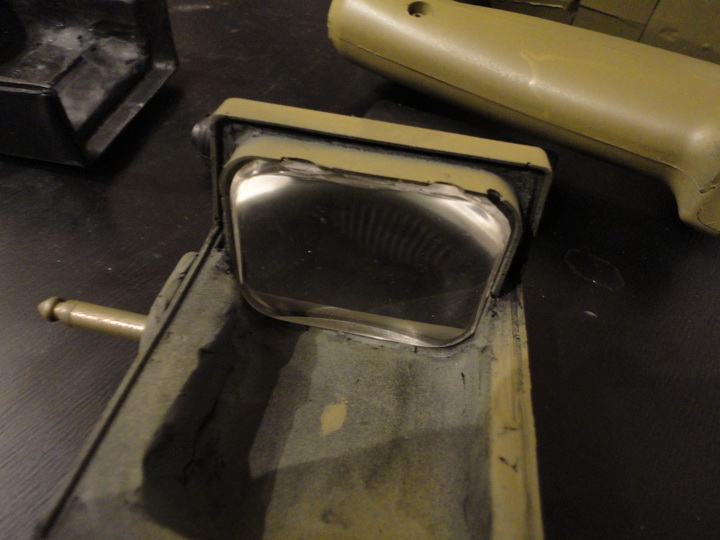
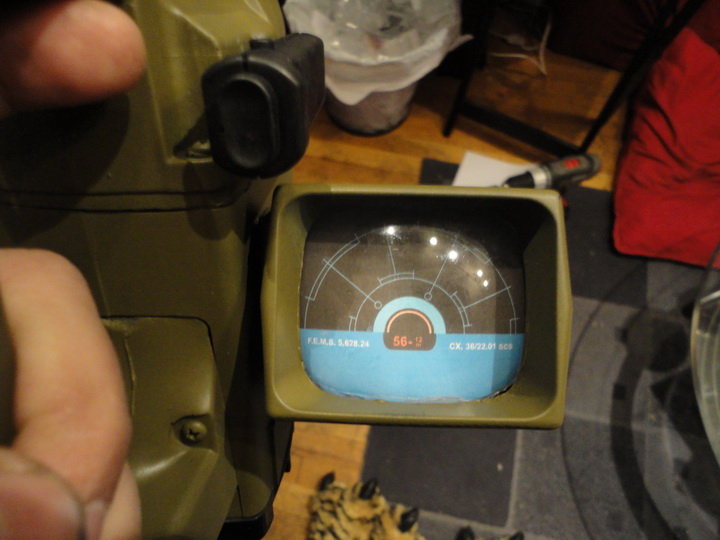
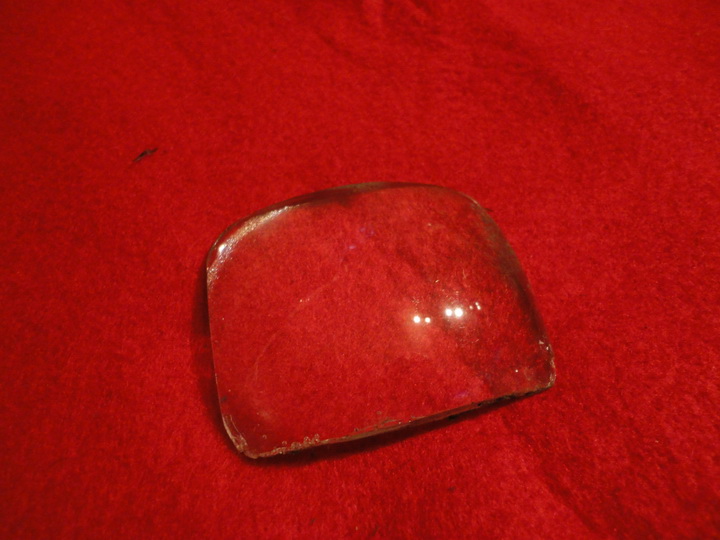
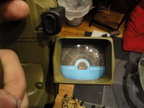
Insert the lens into the Slide Viewer. |
 |
Close the Slide Viewer. You can glue it closed if you want. |
  |
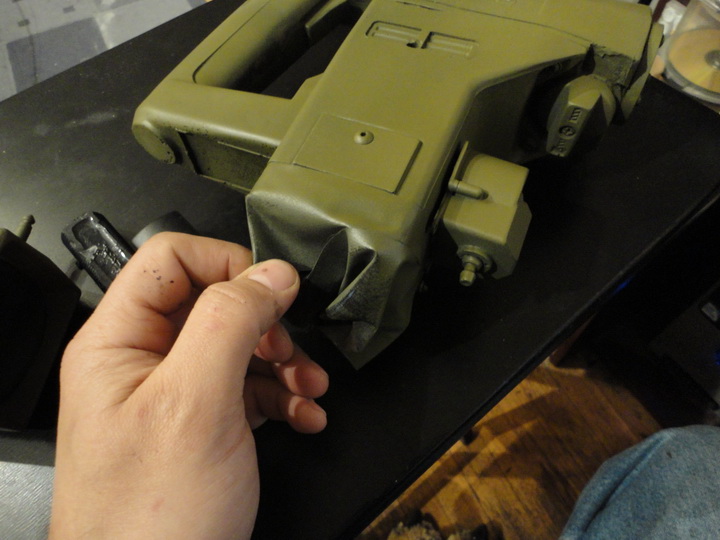
Remove the tape. |
 |
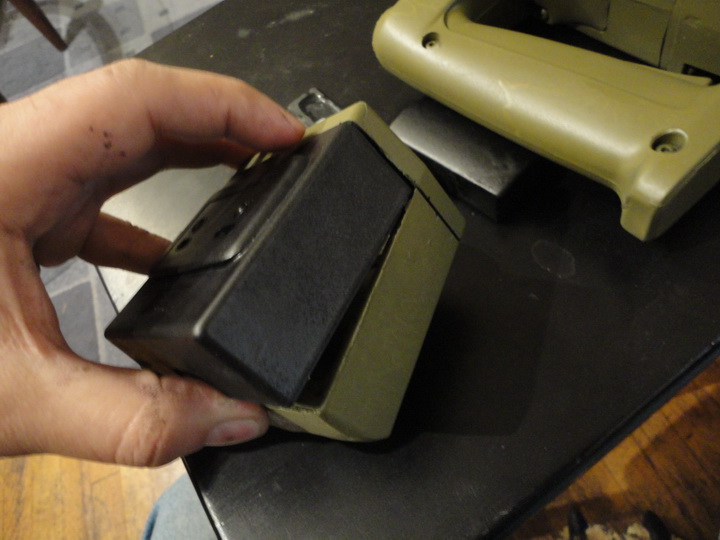
Insert the Slide Viewer. |
 |
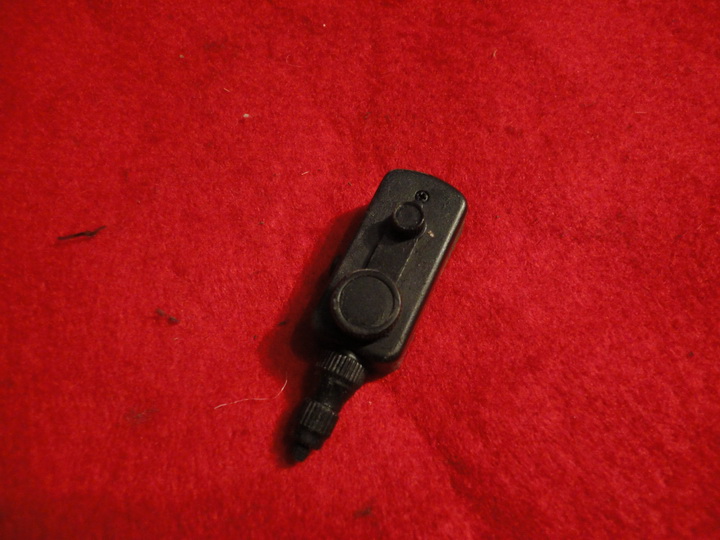
Glue the Remote Release in place. |
 |
Glue the Self Timer Case in place. |
 |
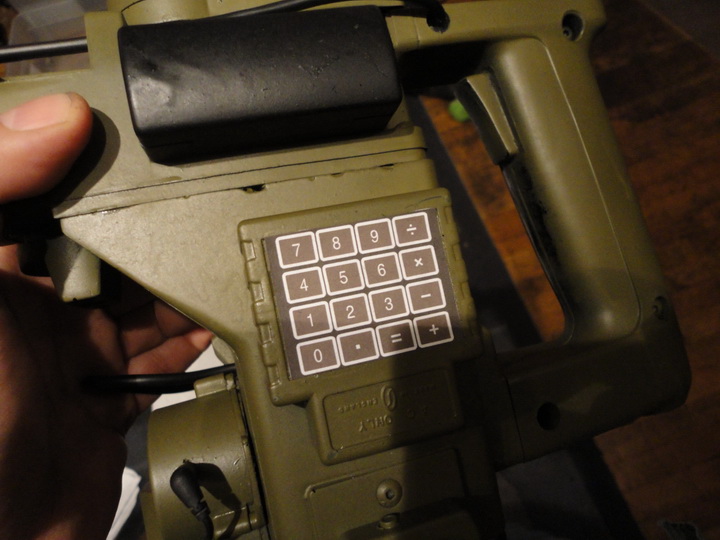
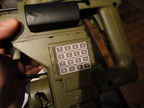
Glue the Calculator Panel in place. |
 |
Paint the Mini Light screen and switch black. |
 |
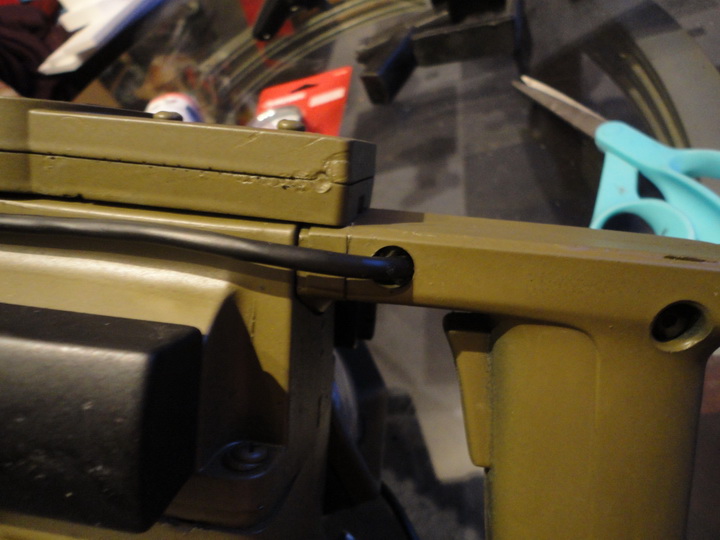
Add hoses for the Slide Viewer and Front Plate. |
  |
Drill a hole in the Lower Body and the top of the Slide Viewer. |
 |
Insert the wire and glue it in place. |
 |
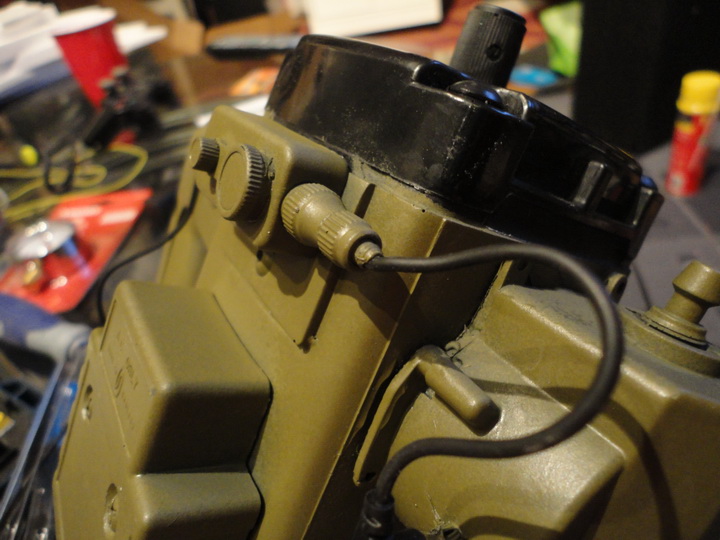
Add a plug for the Self Timer. Any small 2.5mm right angle audio plug will work. |
  |
Drill holes for the wire from the Pump Widget to the Self Timer. Glue the wire in place. |
  |
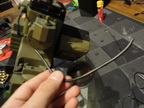
For the front wire, you should get a wire of a bigger diameter than the lug on the front plate. I got one smaller and had to drill it in rather than glue it over the lug. |
 |
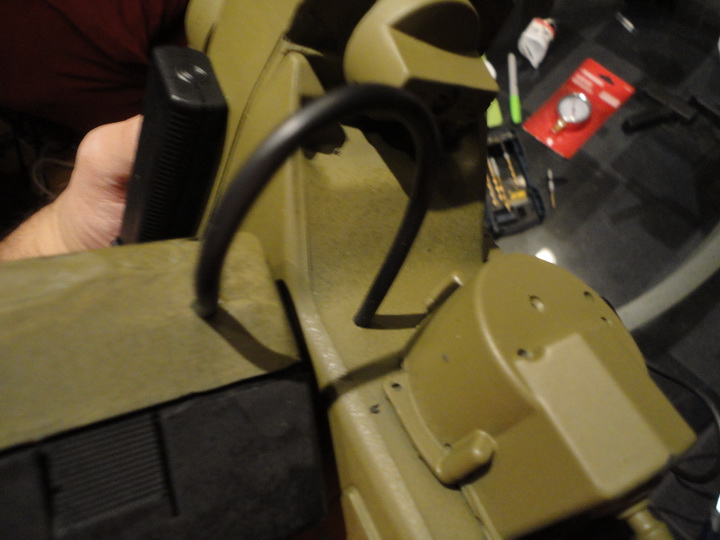
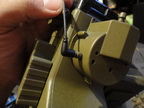
Drill a hole through the notches in the Upper Body. |
  |
Run the wire through the hole and glue it into the screw hole on the side of the Grip. |
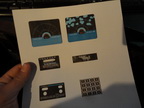  |
Print out and apply the decals. You can clear coat them to make them look better. Click HERE for the files. It's a PDF file. Print it out Actual Size. You can print it on Glossy Photo Paper, or plain and then clear coat it to make it glossy. |
  |
Tape in the screen you want into the Slide Viewer. |
  |
Glue the graphics in place. |
  |
You can also paint the 2 lights on the bottom of the viewer red and green. |
 
|
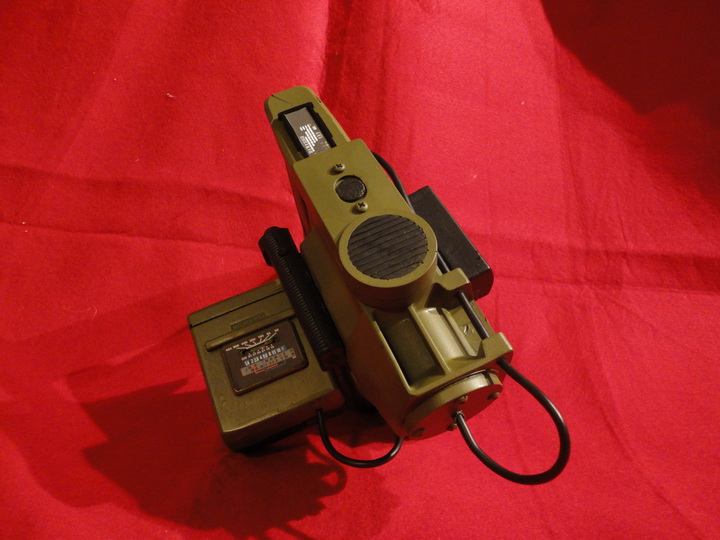
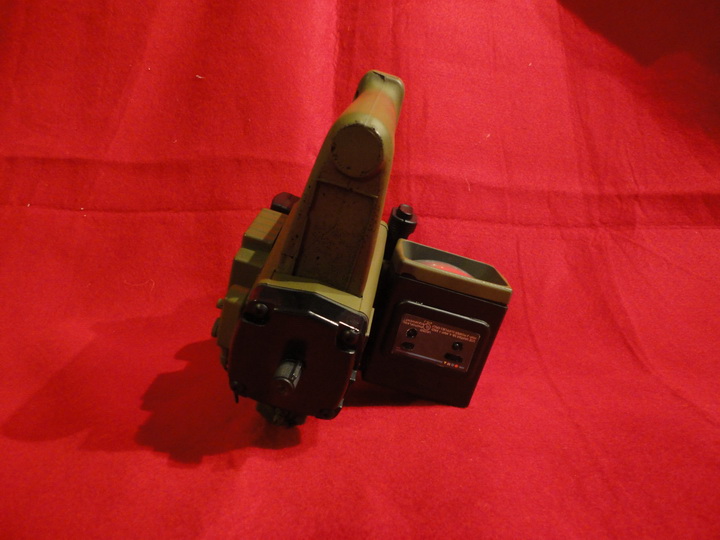
You're basically done! |
 |
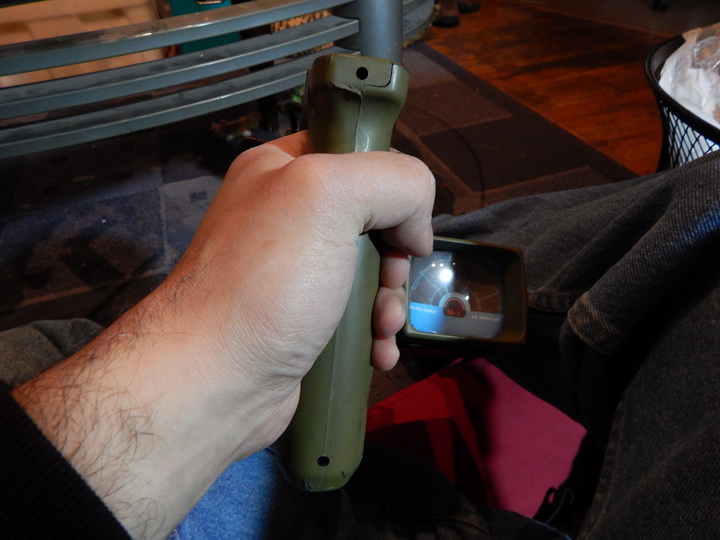
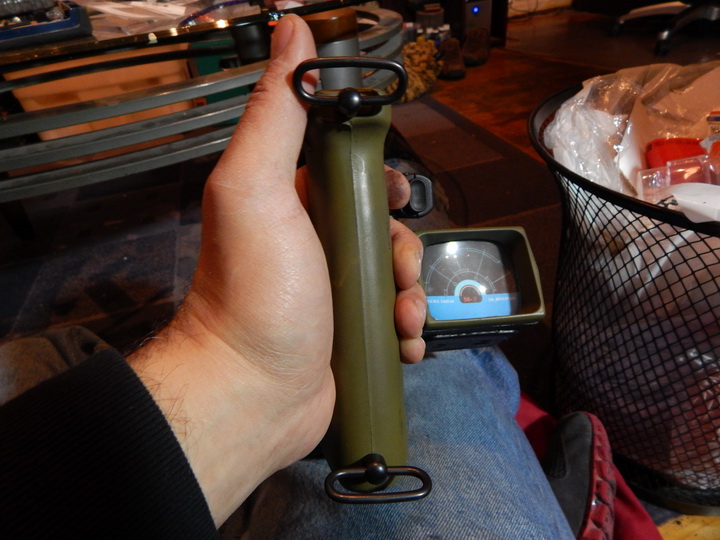
To detail the kit you can install sling swivel mounts, mesh screen on the Upper Body. I used simple Swivels from MidwayUSA. |
  |
Drill your holes a little smaller than the screw from the swivel and then just screw it in place! |
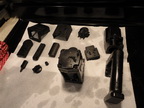
| And here's the list of all the parts with their names. |
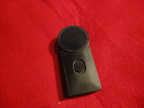 |
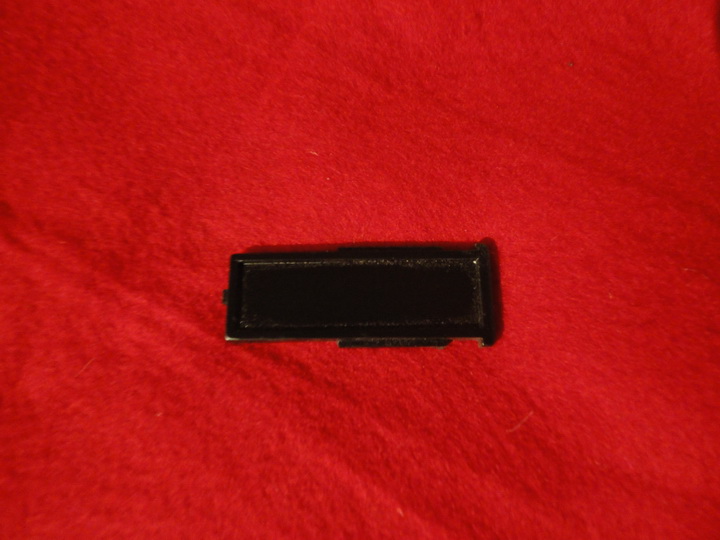
Mini Light |
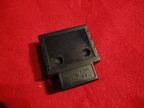 |
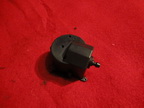
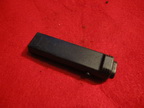
Transformer |
 |
Slide Viewer Bottom |
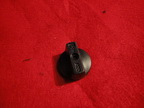 |
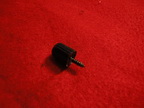
Knob |
 |
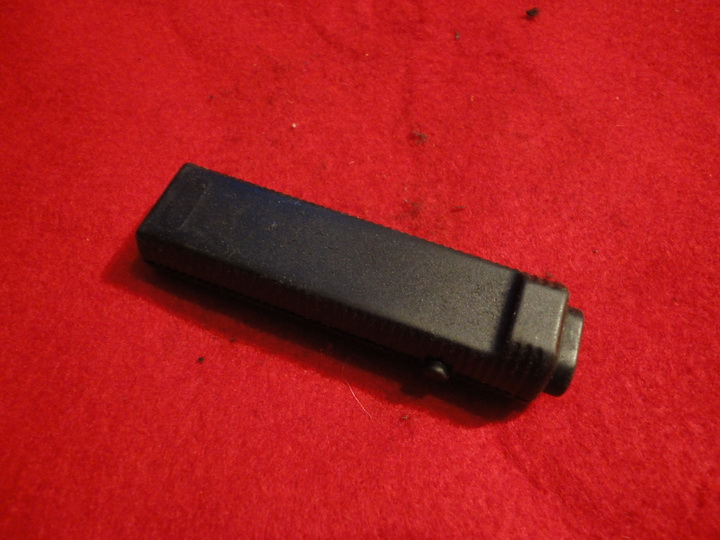
Self Timer |
 |
Slide Viewer Top |
 |
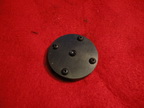
Pump Widget |
 |
Front Plate |
 |
Self Timer Case |
 |
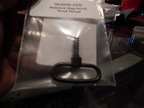
Remote Release |
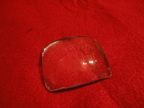 |
Viewer Screen |
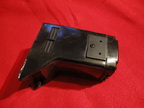 |
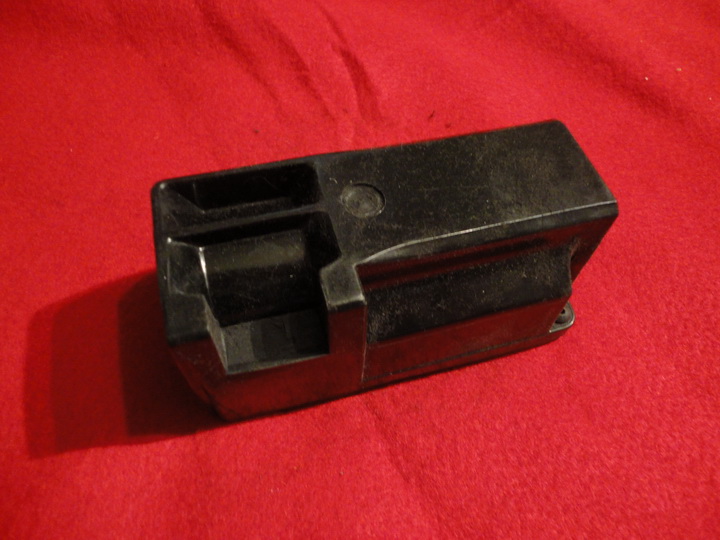
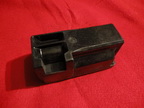
Lower Body |
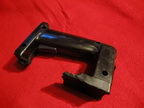 |
Grip |
 |
Upper Body |
 |
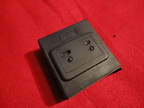
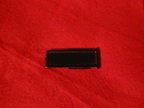
Switch |
 |
Calculator Panel |