|
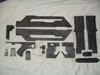
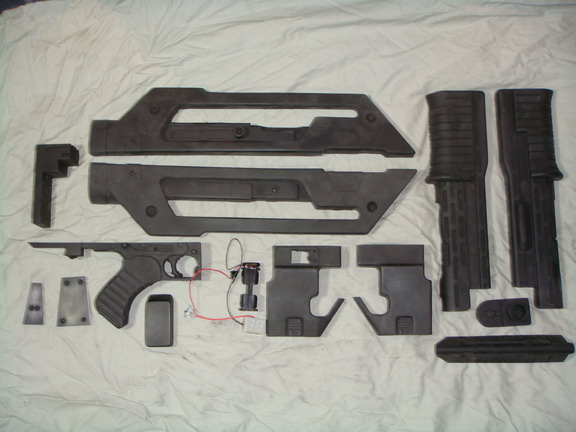
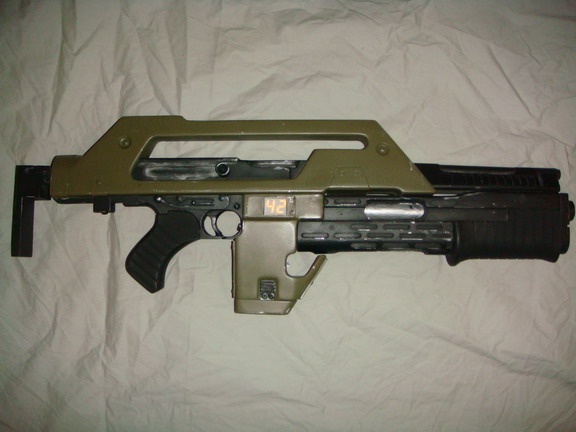
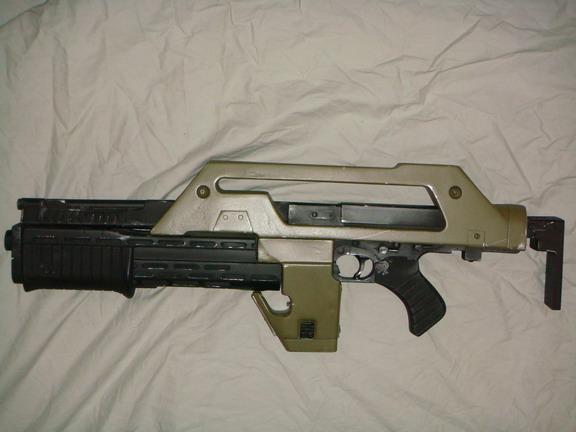
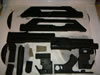
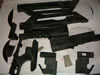
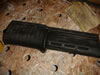
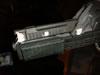
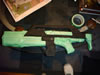
Here's what you get.
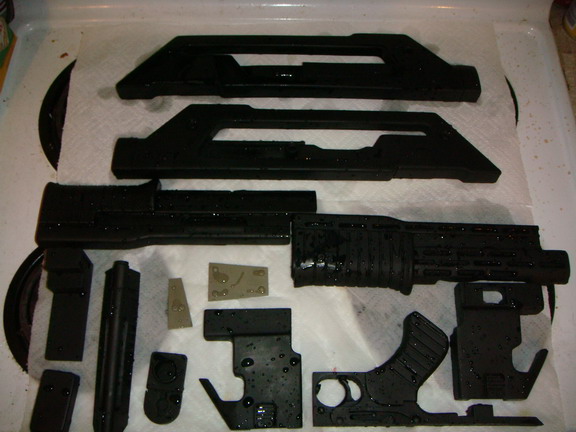
1: Wash all parts in warm soapy water and allow to air-dry.
2:
Lightly sand all parts.
3:
Test fit all parts, and give a heavier sanding to any parts that
don't meet up well.
4:
With an X-Acto knife, score all parts that will be glued to other
parts.
5:
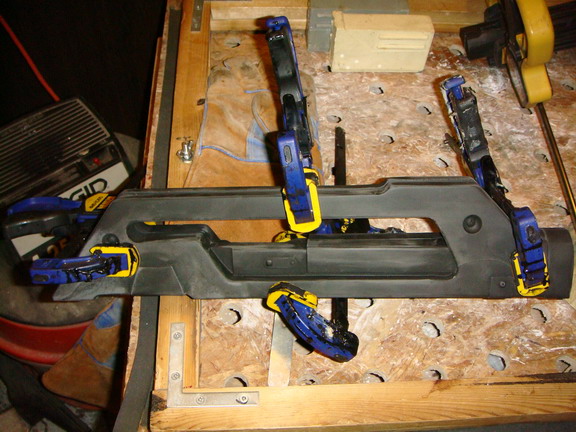
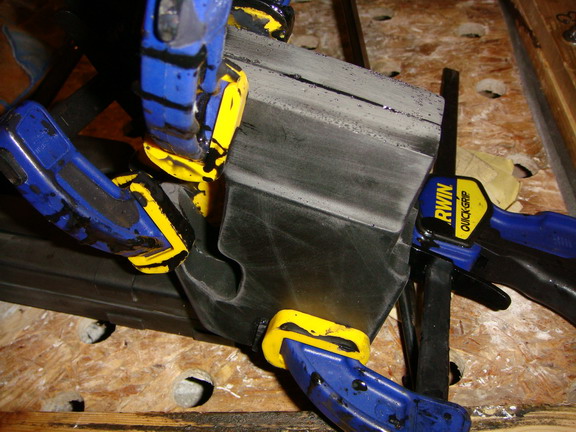
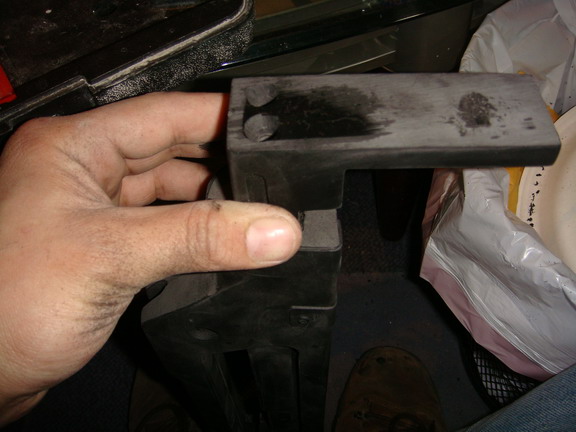
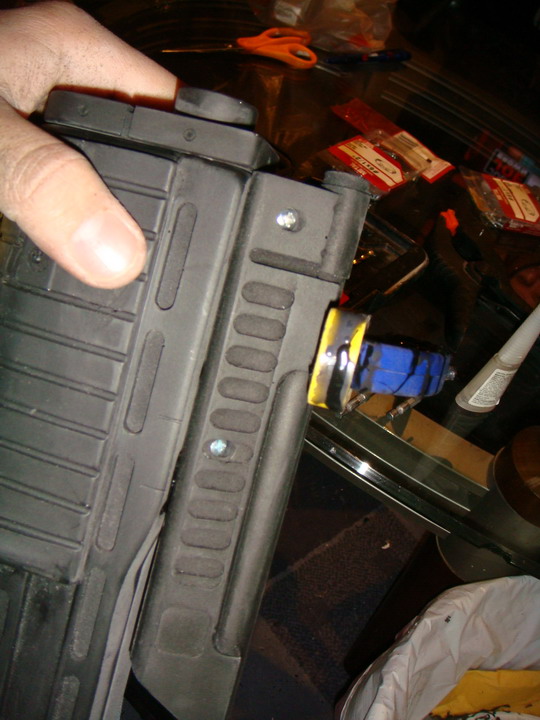
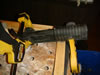
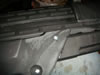
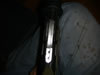
Using the Super glue, glue together all halves, except for the magazine well. Clamps will help the parts glue together with more strength.
If using a Pulse Rifle kit without the LED, skip to step 11.
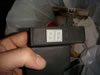
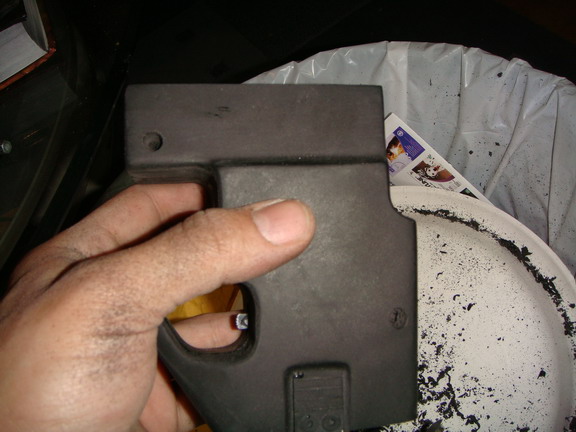
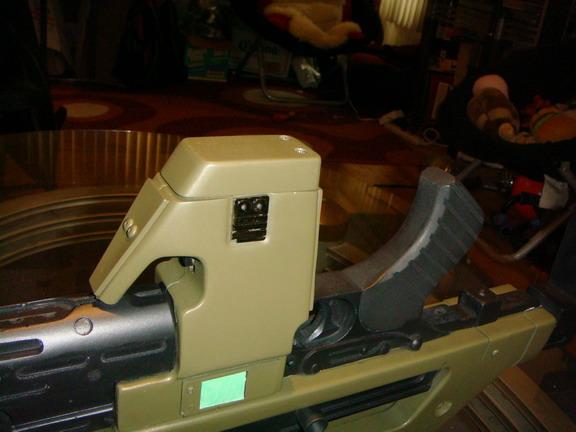
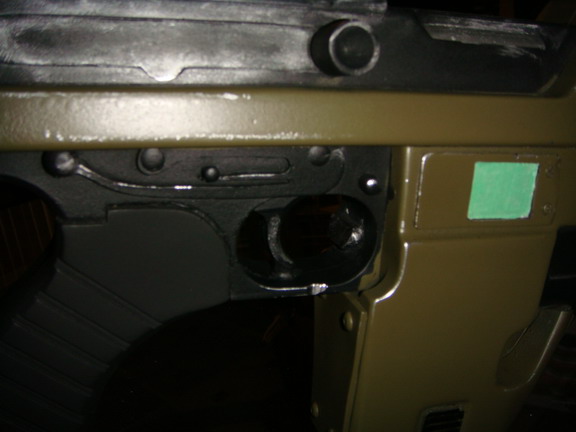
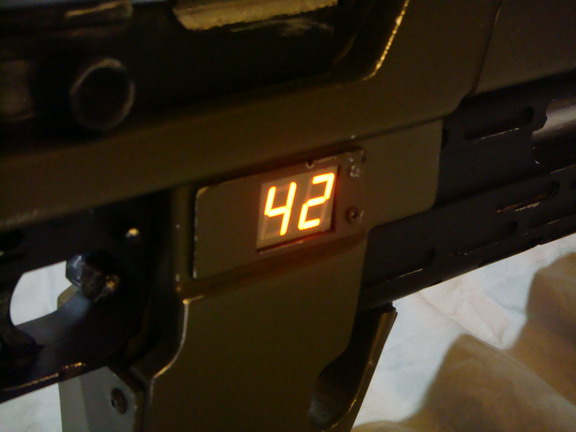
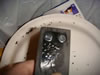
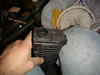
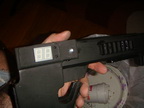
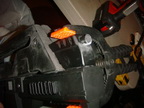
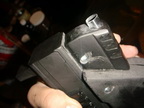
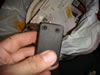
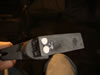
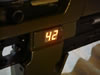
6: Test fit the LED into the window to be sure it fits.
7:
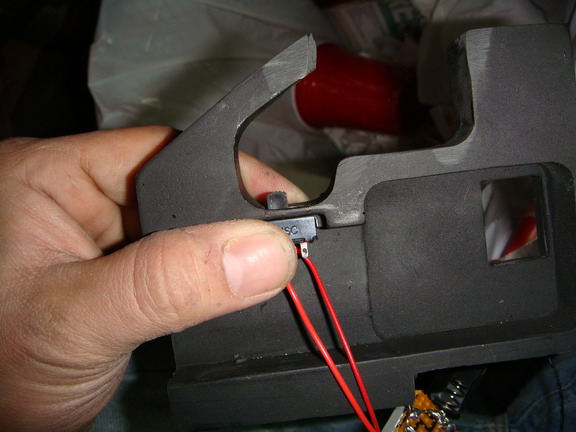
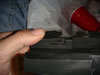
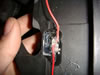
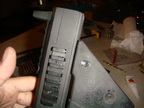
Carve a small area for the switch to fit into.
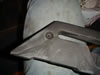
8:
Once you have that carved out, carefully glue the switch in place
with the glue. Once it sets, hot glue around it to ensure it
stays put.
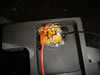
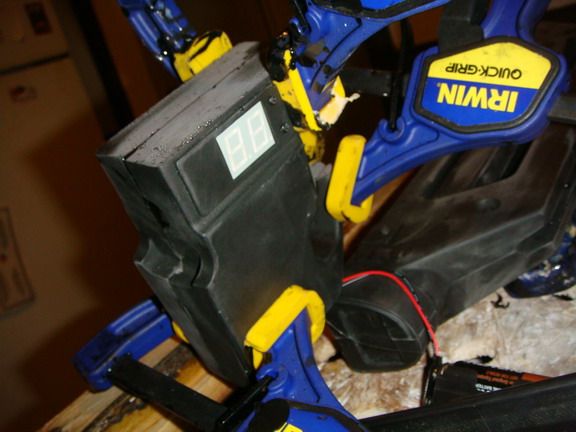
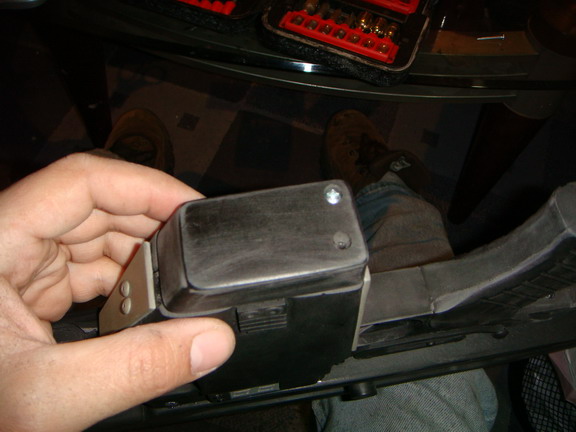
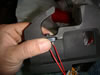
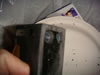
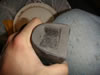
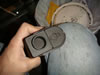
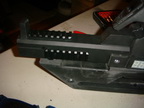
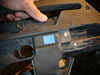
9:
Place the LED Counter in place in the window, and hot glue it to
keep it in place.
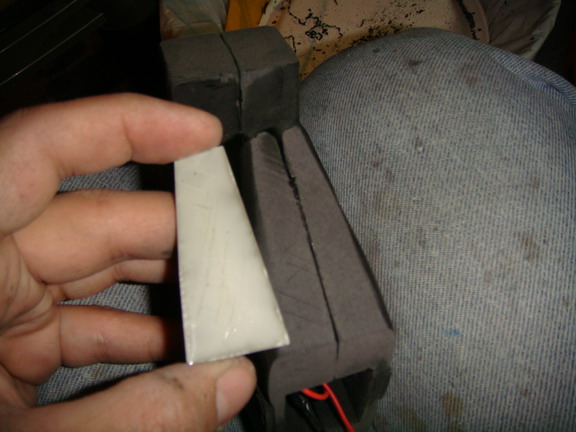
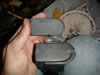
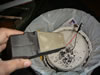
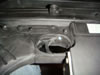
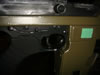
10: Attach the AA battery holder to the battery cable and the LED should work. Be sure to only use 2 AA batteries, not a 9 volt!! You'll burn out the LED's! (I know this from experience.)
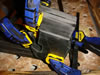 
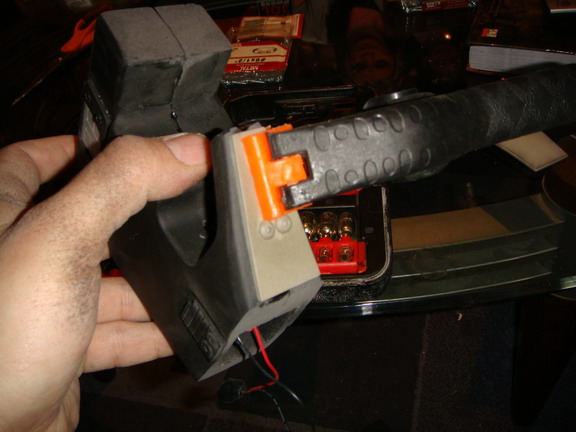
11:
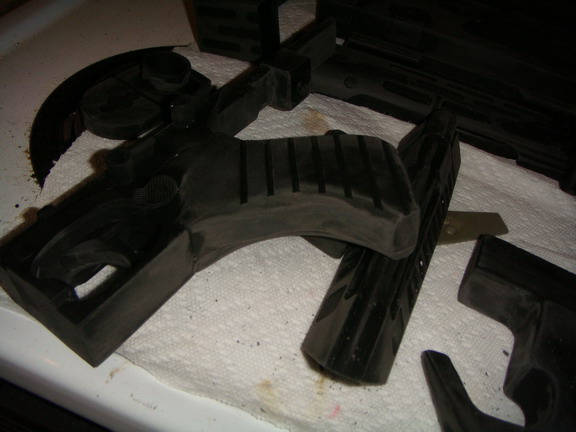
Glue together the magazine well. Try to avoid using the Crazy Glue
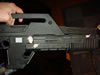
near the switch, it seems to have ill effects on the switch for
some reason.
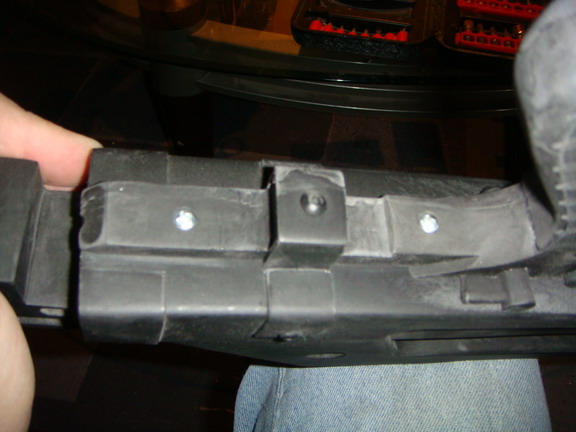
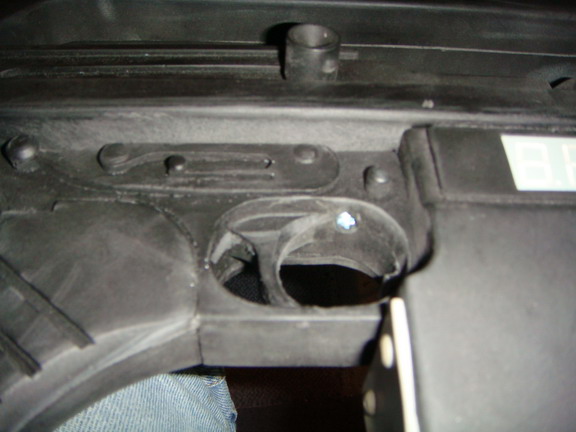
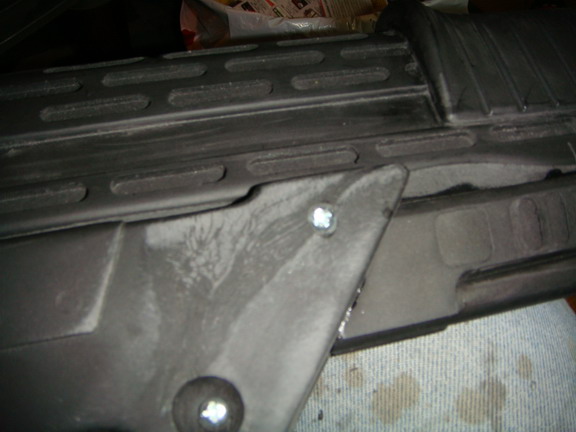
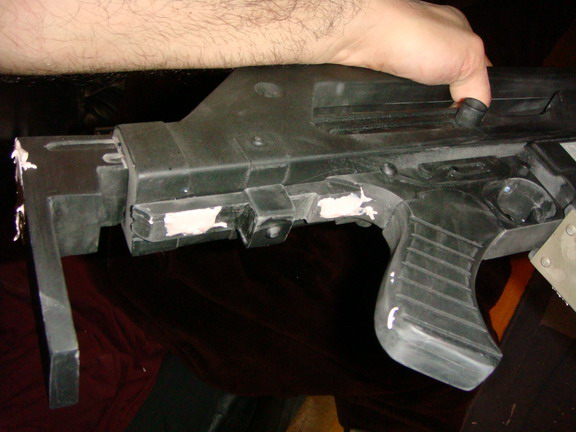
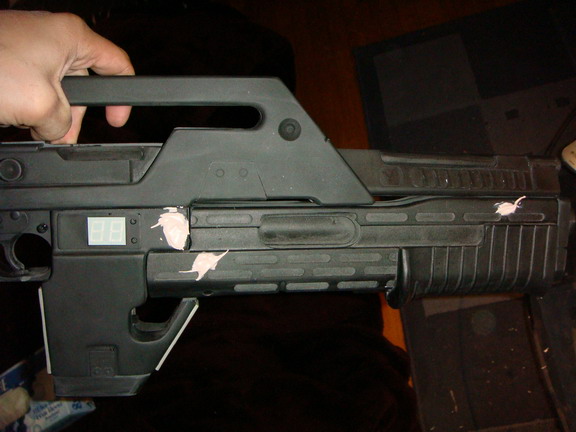
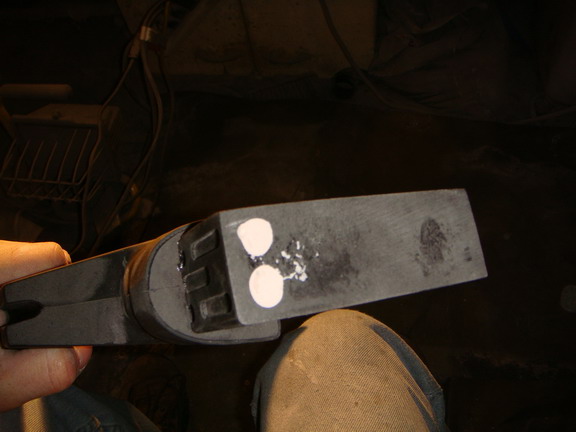
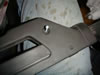
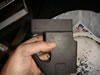
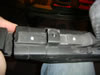
12:
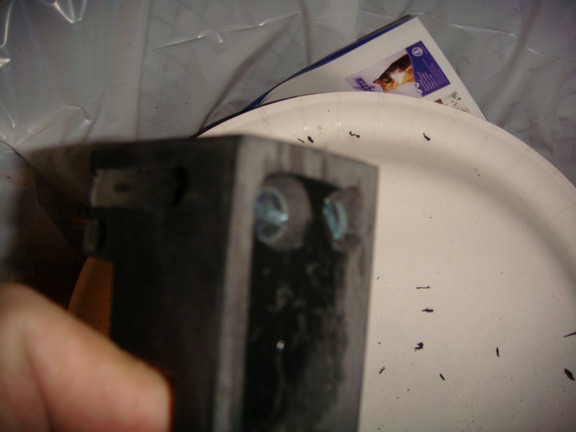
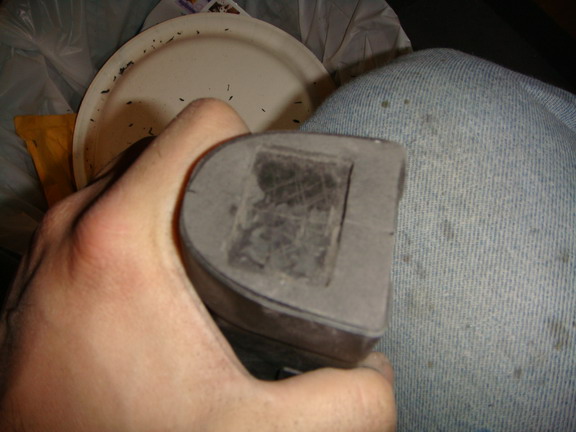
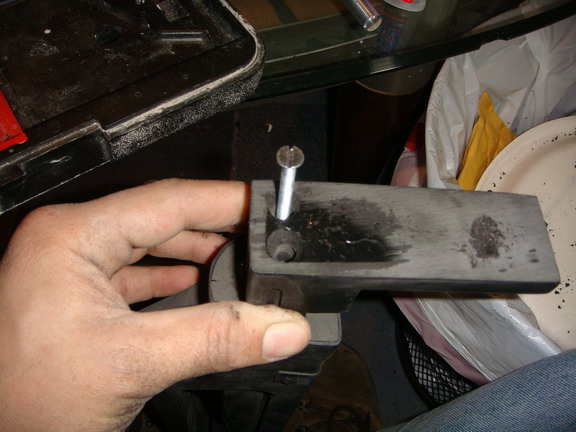
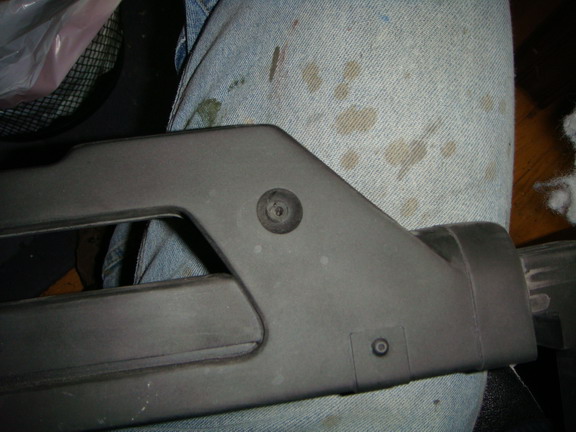
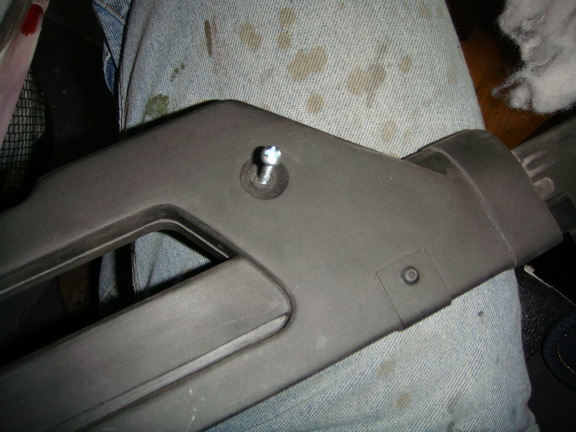
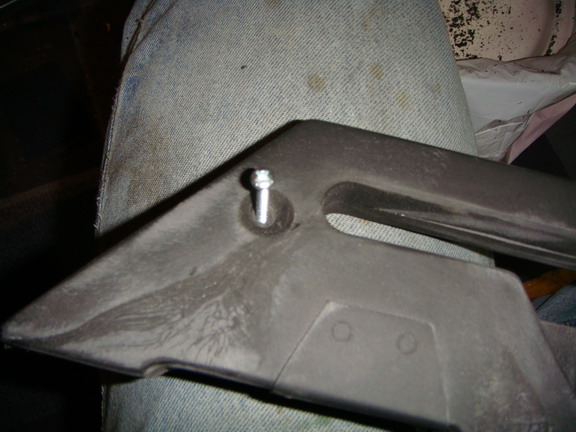
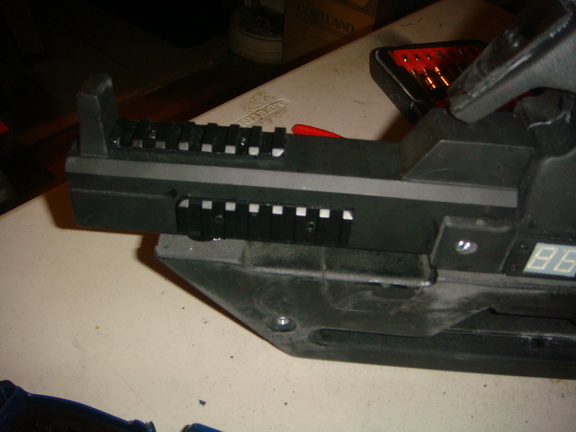
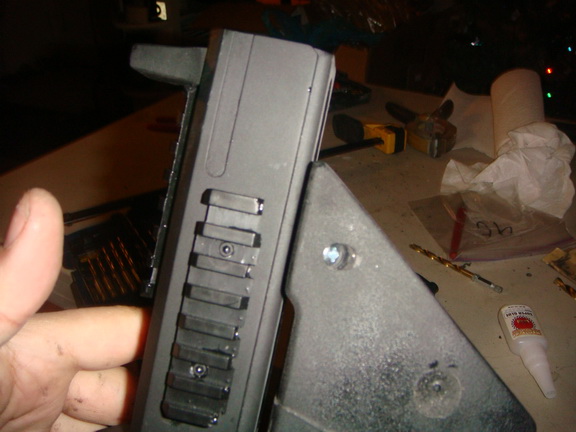
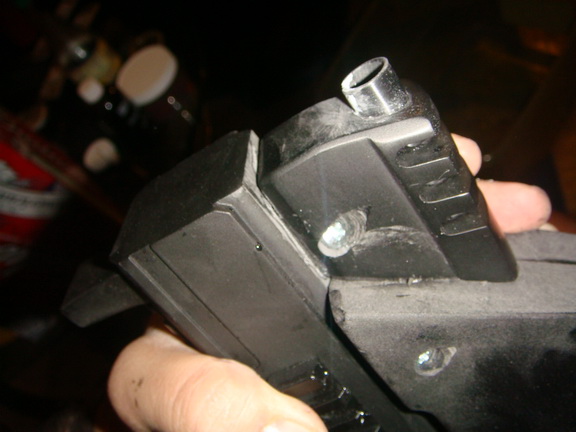
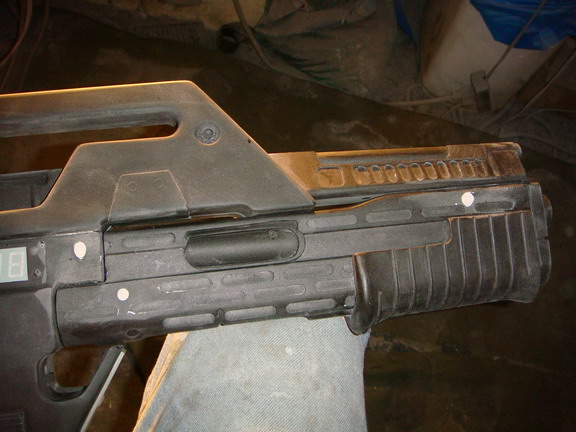
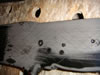
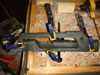
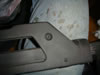
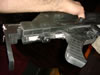
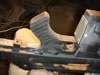
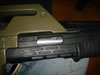
Countersink 2 long screws through the stock into the main body. Countersinking means drilling a normal hole into something for the screw to fit into, and then drilling a larger hole at the start of the hole so that the head of the screw will sink into the hole deep enough not to be sticking out of the hole. The pics should help this make sense.
13: Glue stock to main body. Be sure to pre-score both parts before gluing them together.
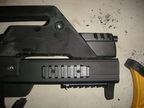
14: Insert the two screws and screw them into the shroud.
15:
Screw 2 screws into shroud housing. I screw them into where the
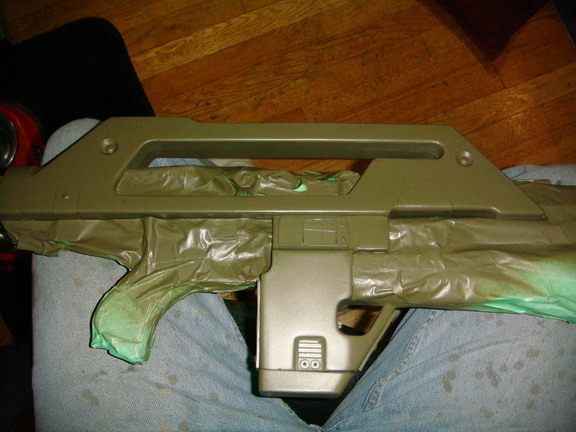
two fake screws are molded on the body.
16:
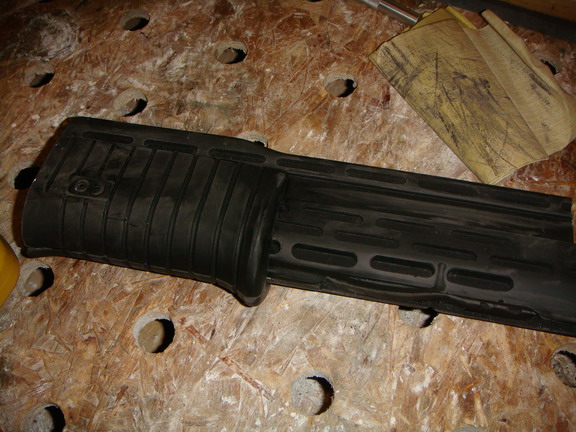
Countersink two screws into the pump grip.
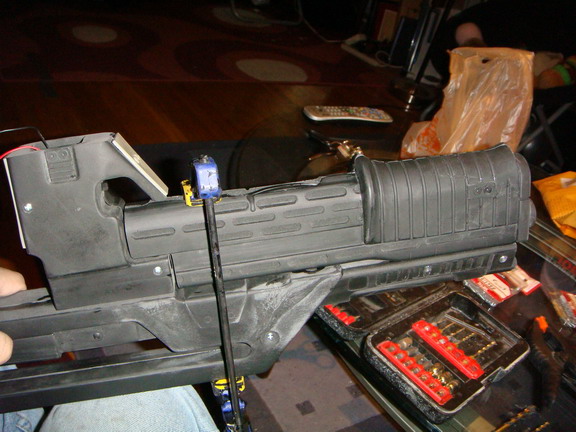
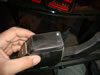
17: Score and glue grenade launcher barrel to front of grenade launcher body.
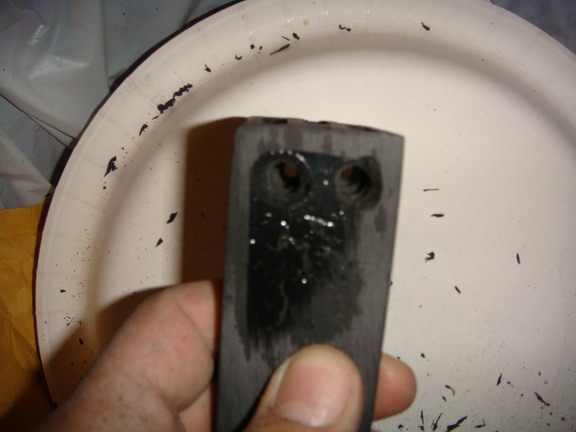
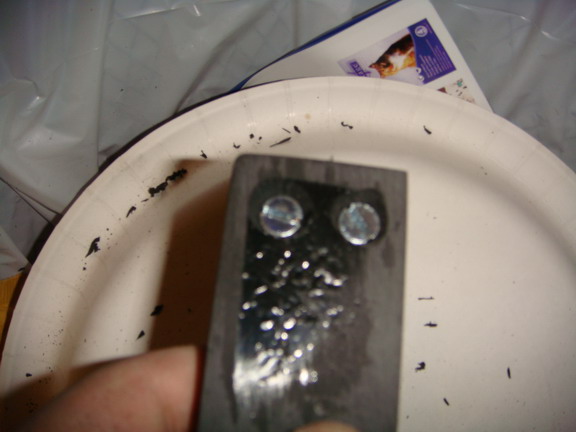
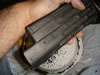
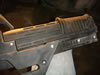
18: Predrill 2 holes for the 2 screws to hold the grenade launcher barrel to the launcher body. Use a 1" bore to bore out grenade launcher barrel into front plate and pump handle. Make it as deep as you want. (optional)
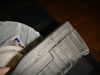
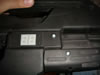
19: Countersink two screws into the side of the magazine well to hold it together. If using the LED kit, be sure to place the screws where they won't end up in the battery compartment.
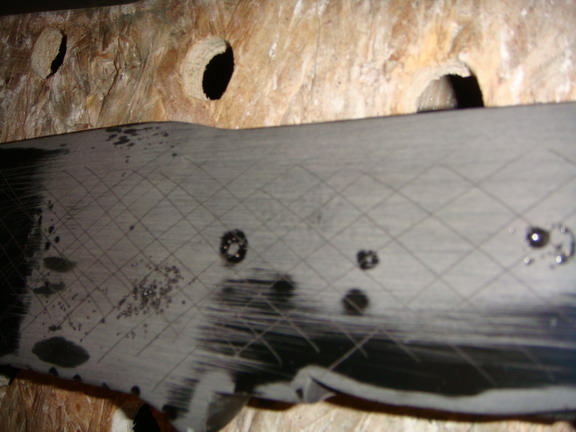
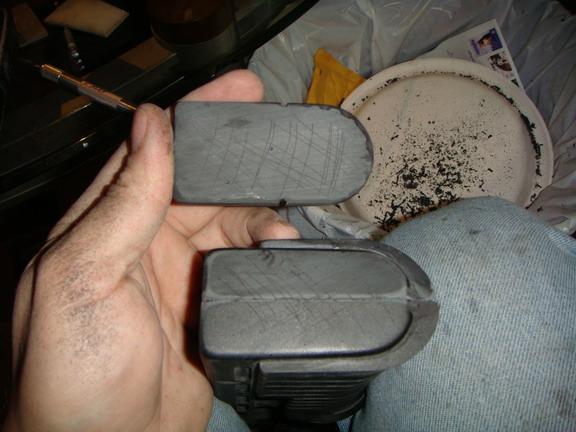
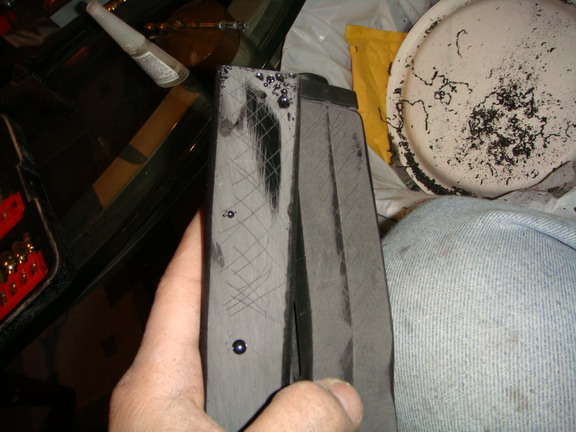
20:
Glue plates to magazine well.
21:
Screw 4 screws into the back plate and 2 screws into the front plate
to attach them to the magazine well, or just leave them attached
with the glue.
For
the M41-A or S, skip to #22. For the M41-K continue here:
Attach the rail
grip to the magazine well with glue and screws.
Attach them to
the shroud.
Glue the new
barrel in place and countersink it.
And that step
is done! Skip to step #26.

22:
Glue rifle barrel to top of grenade launcher body.
23:
Countersink two screws on each side of barrel into grenade launcher
body.
24:
Glue magazine well to grenade launcher body.
25:
Glue grenade launcher body to Shroud.
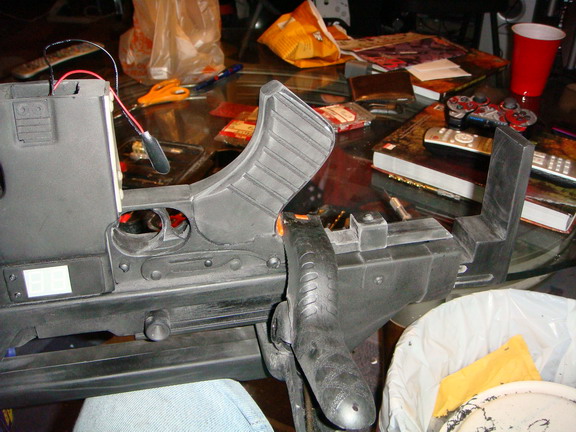
26:
Glue grip to Shroud.
27:
Countersink many screws
through grip into shroud. This will be the main way the rifle will
be carried and held, so we want to make this nice and strong!
28: Countersink some screws to attach the magazine well, grenade launcher body and the Shroud together.
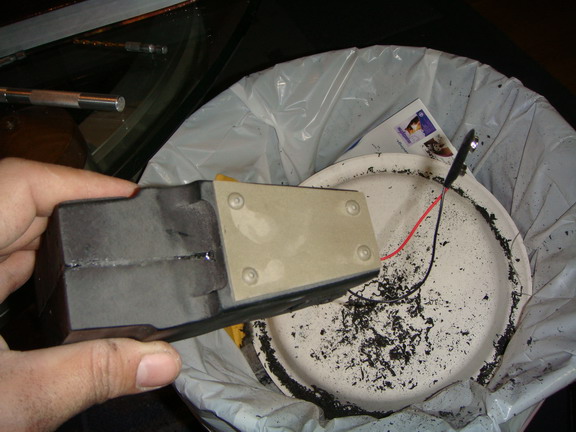
29: Countersink 2 screws into magazine butt plate to attach it to
the magazine well. In this case, we're building a rifle with the
LED Counter, so we'll be inserting only one screw into
the corner of the butt plate so that it can swing open to give us
access to the batteries. You can also use 2 screws and just unscrew it when you want to change the batteries.
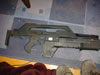
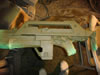
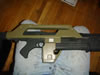
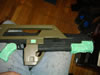
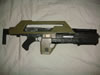
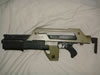
And now your rifle is assembled! Almost done...
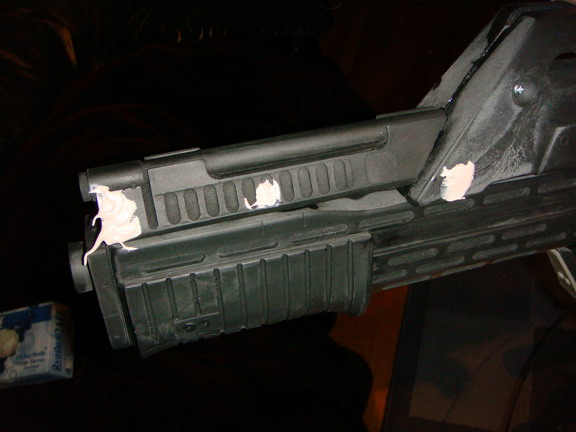
30:
Putty seams and countersunk screws with Bondo or similar materials.
31:
Sand smooth.
32: Mask the LED window and the switch so you get paint in them.
33:
Prime. If you prime with flat black primer, you can skip to number 35.
34:
Paint 2 coats of flat black. Allow to dry thoroughly.
35: Mask off the black areas and paint green parts using either a medium green,
olive drab, dark green, or Brown Bess (depending on what you like).
Two coats. Allow to dry thoroughly.

36:
Paint with Matte clear coat. Allow to dry thoroughly.
37:
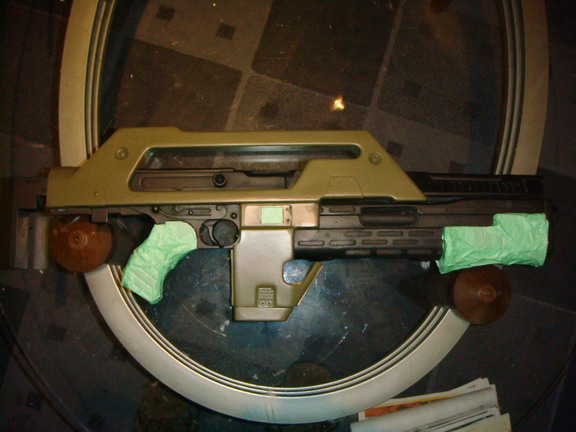
Remove masking and mask off plastic parts areas (Pistol Grip and Pump Handle).
38: Paint with Matte Clear coat. Allow to dry thoroughly. This will give the plastic parts more of a plastic look.
39:
Paint Magazine Clips with Black Paint, or mask them before painting
everthing green.
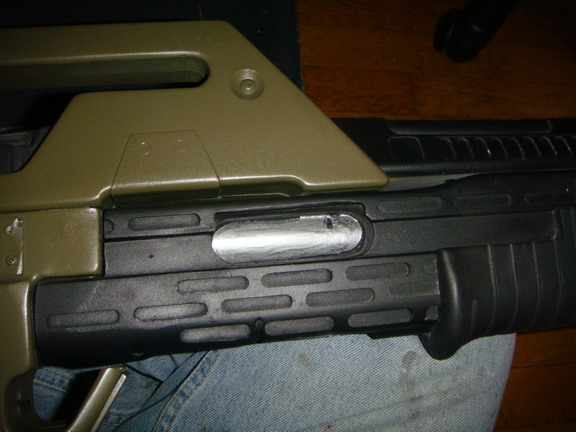
40: Paint the Grenade Launcher ejector and loading area with silver paint.
41:
Using silver paint, add in scratch marks and wear on edges. You can drybrush these on (using a paint brush with very little paint on it to simulate wear), or the back of the paintbrush to simulate scratches.
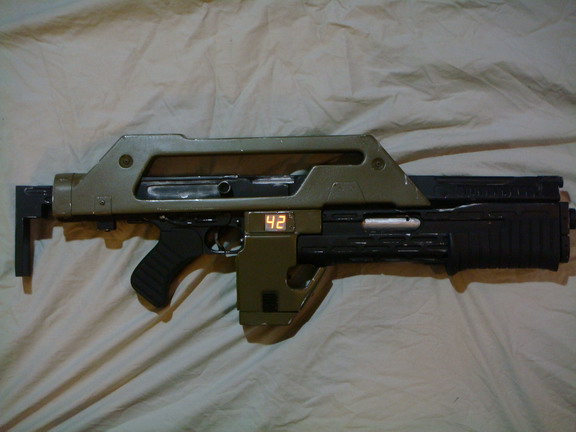
42:
Lock and load, and you're ready to rock and roll!
|