Supplies
Needed:
Sandpaper
Sandable
Primer
Dark
Green Paint (or Brown Bess or Flat White)
Drill
Matte
Clear Coat
Be sure to wear a respirator and be in a well ventilated area when sanding resin.
Be sure to paint ONLY in a well ventilated area. Allow paint to thoroughly dry.
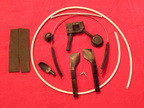 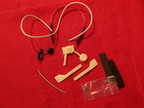 |
Comes
with Left and Right Temple Bars, Headset, Mic Boom Bar, Mic Tip, Ear Tip, Main Body, 4 Screws, Foam Pads and Wire. |
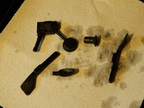 |
Wash all parts in warm, soapy water and allow to air dry. |
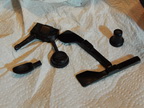 |
Lightly sand any rough edges or seam lines. Fill any airbubbles with putty, allow to dry and sand smooth. |
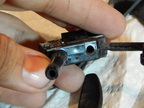 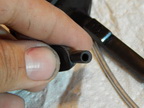 |
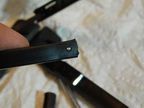
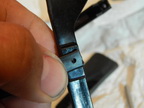
Drill holes for the Mic Boom, Wire and Mic Tip. Be careful when drilling the hole for the Wire, there's a metal rod inserted in the ear tube of the Main Body for extra strength. |
  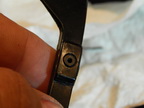 |
Drill holes to mount the Headset to the Side Arms. |
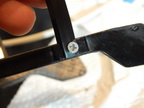 |
Screw the Headset to the Side Arms. Contrary to the photo, I suggest using the pan head screw for this part. And be sure not to screw it in too tightly or it may crack the plastic. |
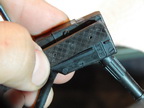 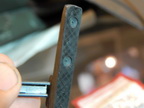 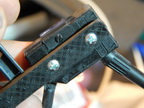 |
Drill the holes to mount the Main Body to the Side Arm. Be sure to countersink the hole for the inside of the Side Arm, otherwise the screw heads will be rubbing against your head. Contrary to the photos, I suggest using the flat head screws here. |
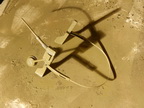 |
Prime the whole kit. Be sure to paint ONLY in a well ventilated area. Allow paint to thoroughly dry. Paint the kit OD Green, Brown Bess or White. Be sure to paint ONLY in a well ventilated area. Allow paint to thoroughly dry. |
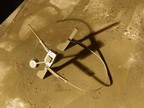 |
Paint the whole kit with a Matte Clear Coat to seal it all up. Be sure to paint ONLY in a well ventilated area. Allow paint to thoroughly dry. |
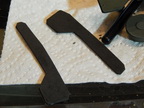 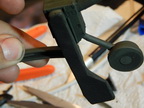 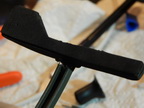 |
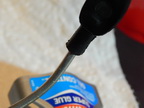
Cut the Foam Pads to size and attach to the Side Arms. |
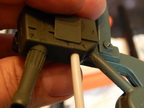 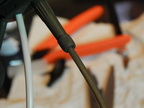  |
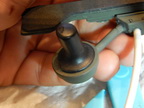
Glue the Wire and Mic Boom in place, and the Mic Tip to the end of the Boom. |
 |
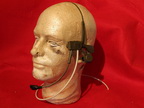
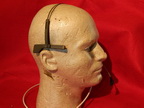
If you plan to wear the headset, you may want to leave the Ear Bulb off, but that’s up to you. |
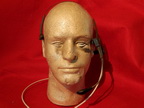 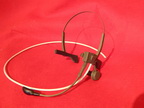
|
You're done! |
Options and Tips:
To make an Alien model, skip the Mic Tip and paint the tip of the Mic Boom silver.
If you're going to wear the Headset, I suggest putting some epoxy on the join where the Headset meets the Temple Bars to reinforce the join.
Be sure to be careful when bending the Boom. It's very stiff, so to bend it to shape, use 2 hands. Don't pull it against the resin, or the resin can crack.
If you wanted to have the ear sit on the right side instead of the left, it can be done with a little modification to the kit. You'd have to grind off the resin clip on the outside of the Main Body to get it to lay flat on the Temple Bars. |
A
very simple resin kit that needs just a little clean-up and some paint
to make a very nice display piece for every fan!
Cast directly off the same types of original parts used to make the original prop.
Payments
accepted are bank certified checks, money orders, and PayPal.
International
Shipping is available.
For
shipping prices, please use the checkout cart in the store,
it calculates the shipping costs for you prior to the payment being
due.
All
items are made to order at the time payment is made. Please expect 4-6
weeks for the items to be ready to ship.
Available
in the SpatCave Store.
Prices subject to
change without notice.


