Hyper Detailing an “I, Robot” Pistol Kit
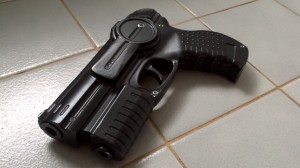
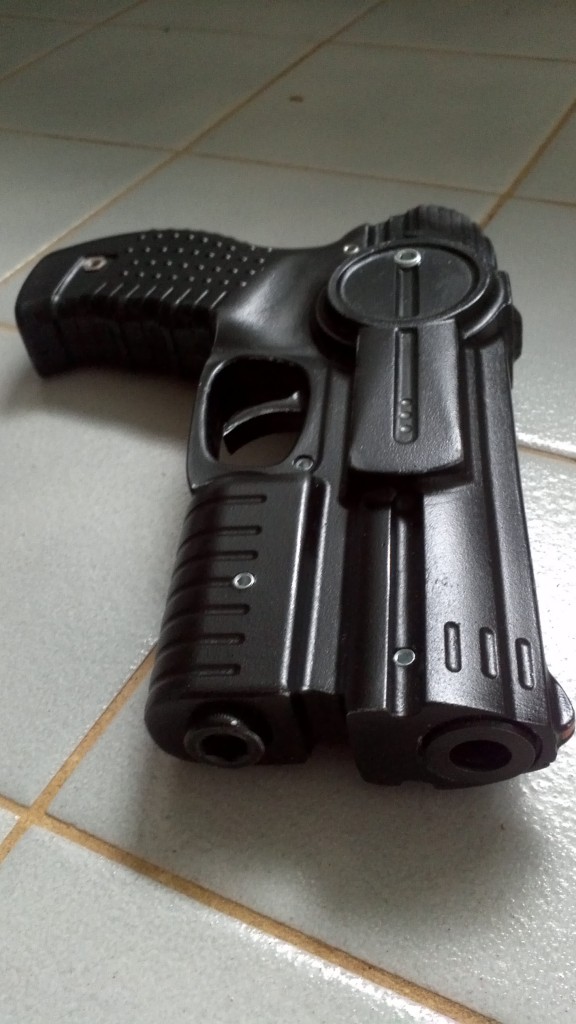
Alan H. took one of my I, Robot pistol kits and did some amazing things with it!
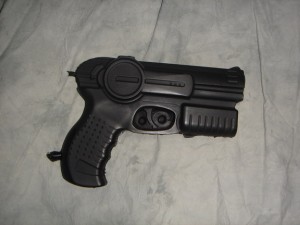
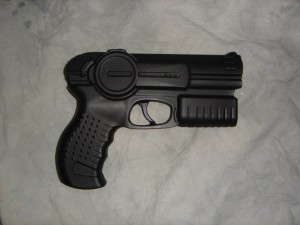
Here’s the raw kit
And here’s how he did it!
My iRobot build
First of all I must thank Spat for providing such an awesome prop, I had a bit of fun with Australian customs however common sense won in the end.
This is my second iRobot prop that I have made and I ended up giving it to a friend who loved it and practically begged me to had it over so, this time I thought I would make a few improvements from my origional prop.
What did I use to get Spat’s awesome prop to be even MORE awesome!
Well its pretty simple but its slow and frustrating. One thing I have learned is that buying cheap paint usually spoils the end result so I cant recomment Tamyia spray paints enough. They retail for about $12 AUD a can but they are so worth it.
What will you need?
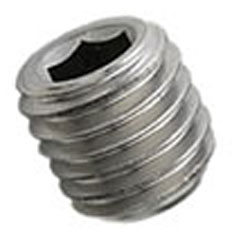
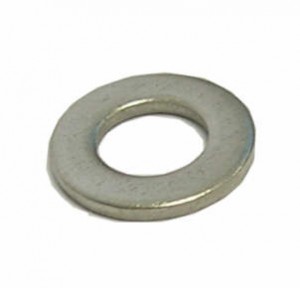
10 x M5 grub screws ( you can use smaller if you want )
2 x M7 grub screws
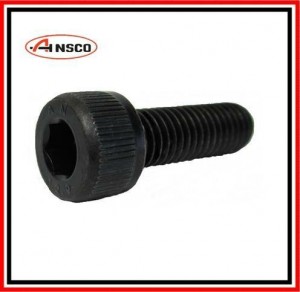
1 x M8 socket bolt
1 x Tamyia Nato Black spray paint
1 x Tamyia Primer
1 x Tamyia Mettalic Black spray paint
1 x Tamyia Semi-Gloss Clear coat
1 x Cordless Drill and bits
1 x Tamyia Metallic Grey Paint pot ( Acrylic )
1 x Tamyia Chrome Paint pot ( Acrylic )
1 x Tamyia model putty
1 x Tamyia wear effect kit
Step 1. Lightly sand and then was in warm soapy water and leave to dry.
Step 2. Fill in any bubbles in the resin using model putty (Tamyia)
Step 3. Take a 1″ spade drill bit and secure the pistol to the table/workbench with clamps and slowly drill out the front of the pistol to about 2-3mm deep but NO deeper!
Step 4. Take a 5mm drill bit and make holes where the indents are in the prop and wherever you think looks cool.
Step 5. Drill a hole for the M8 bolt that is 1mm WIDER than the actual bolt then drill it deep enough to countersink it into the recoil supressor. The bolt should have about 4-5mm extending out from the front. Change drill bits and make a hole to mount the bolt, be careful not to drill too deep or you will risk breaking the pistol.
Step 6. Repeat Step 1.
Step 7. Prime the surface and leave to dry
Step 8. Lightly sand and repeat priming if nessisary
Step 9. Spray with Nato black and leave to dry, repeat if nessisary
Step 10. Mask off the circular part and lower handle grip using tape
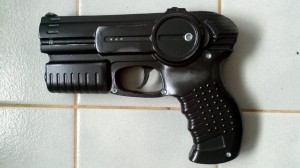
- Another angle
Thanks, Alan!! And if you’re interested in getting a kit of your own, check out the SpatCave Store!
