Zombie Bite Application Process
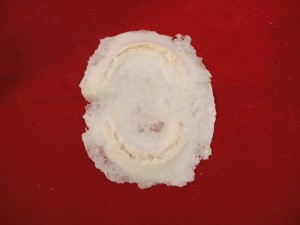
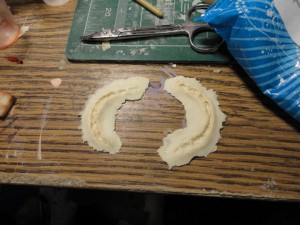
Here’s a quick tutorial on applying a foam latex appliance.
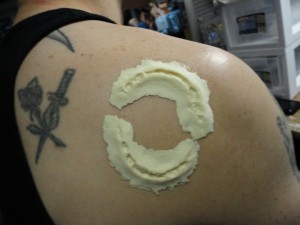
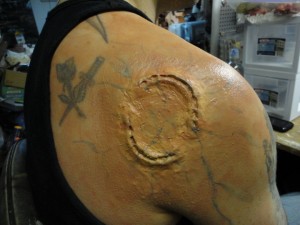
Apply the appliance. The dried glue will bond on contact. If you missed anything, apply more adhesive and let it dry.
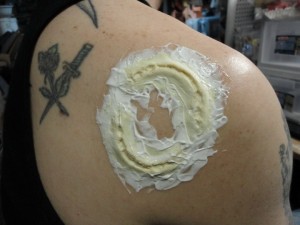
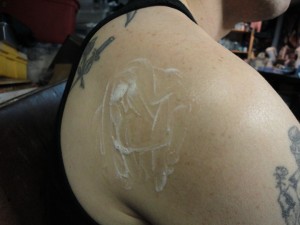
Apply a layer of "Spackle" (adhesive mixed with a thickening agent) to the edges to blend the seams. You can do a few layers of this, just make sure you let it dry between coats.
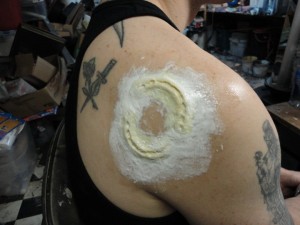
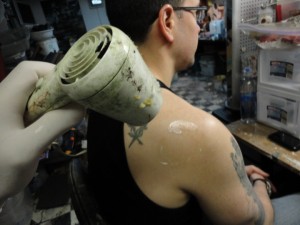
Smooth and blend the spackle with a sponge and allow to dry. You can speed up the drying with a hair dryer.
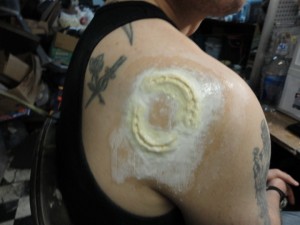
To make it easier to paint, seal the appliance with a thin layer of adhesive. Once the adhesive is dry, powder the area with a translucent powder to set it and get rid of any tackiness from the glue.
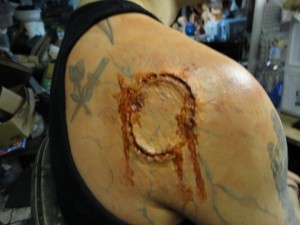
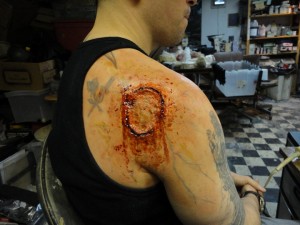
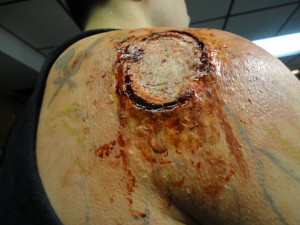
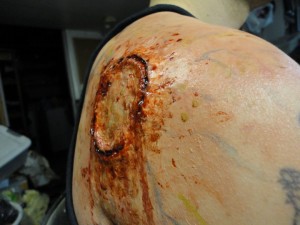
Then go in with a lighter color. I'm using Rubber Mask Grease Paint, but you can use anything you want; Acrylics, foundation make-up, etc.. I also added some veins and some dried blood with some Skin Illustrator paint.
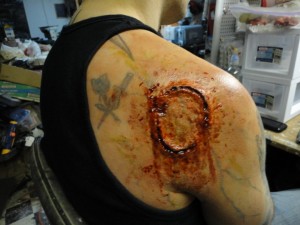
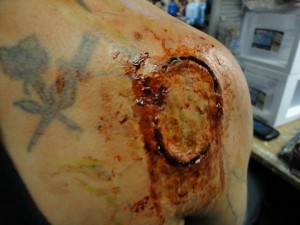
Add some blood gel into the teeth marks to get some depth in there and then thinned out the blood gel with water to make some blood stains all around the wound.
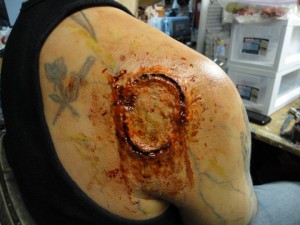
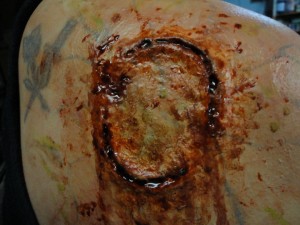
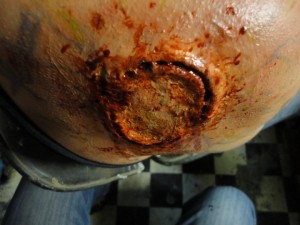
I added some green around the edge of the bite and on the skin around the wound to give the look of pus or an infection setting in.
And there you go! All together it took about an hour to apply and paint, and about another hour to remove completely.
If you’re interested in picking up one of these kits, check out our Zombie Store! This was Zombie Bite Style “B”.
Hope you enjoyed it!

1 Comment
[…] Zombie Bite Application Process | Spat's Blog […]