Supplies
Needed:
Sandpaper
Crazy
Glue
Primer
OD
GreenPaint
Flat
Black Paint
Clear
Coat
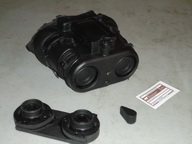
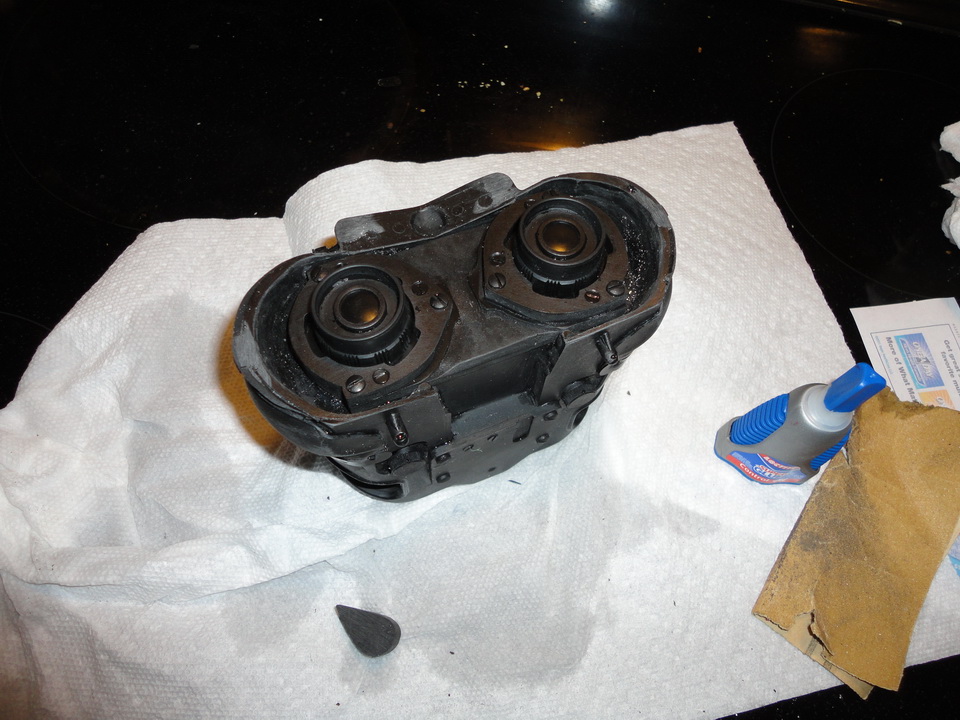
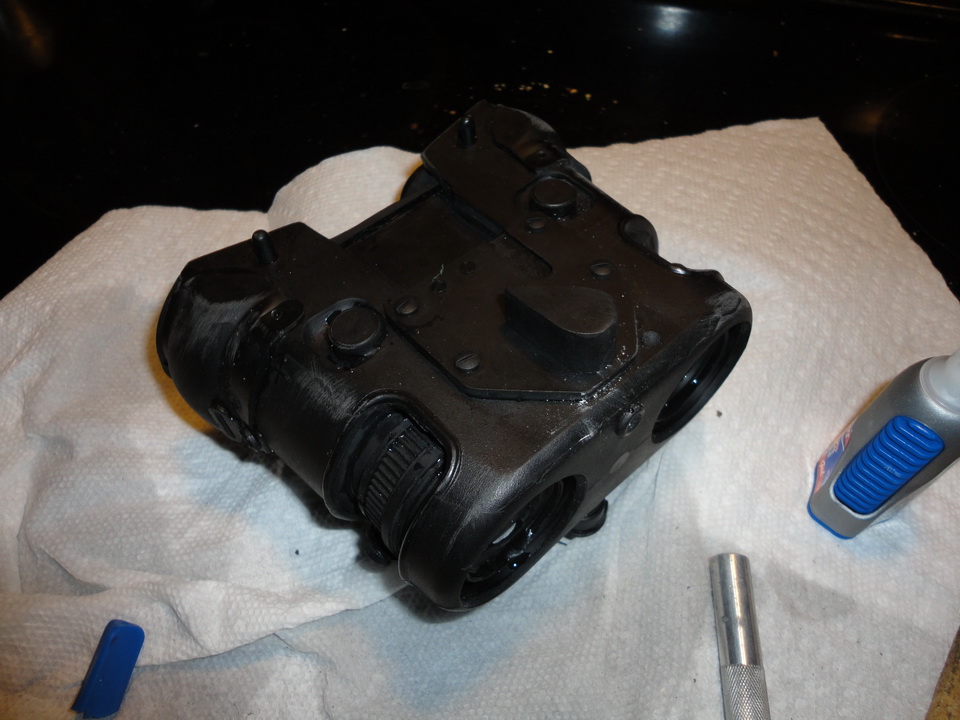
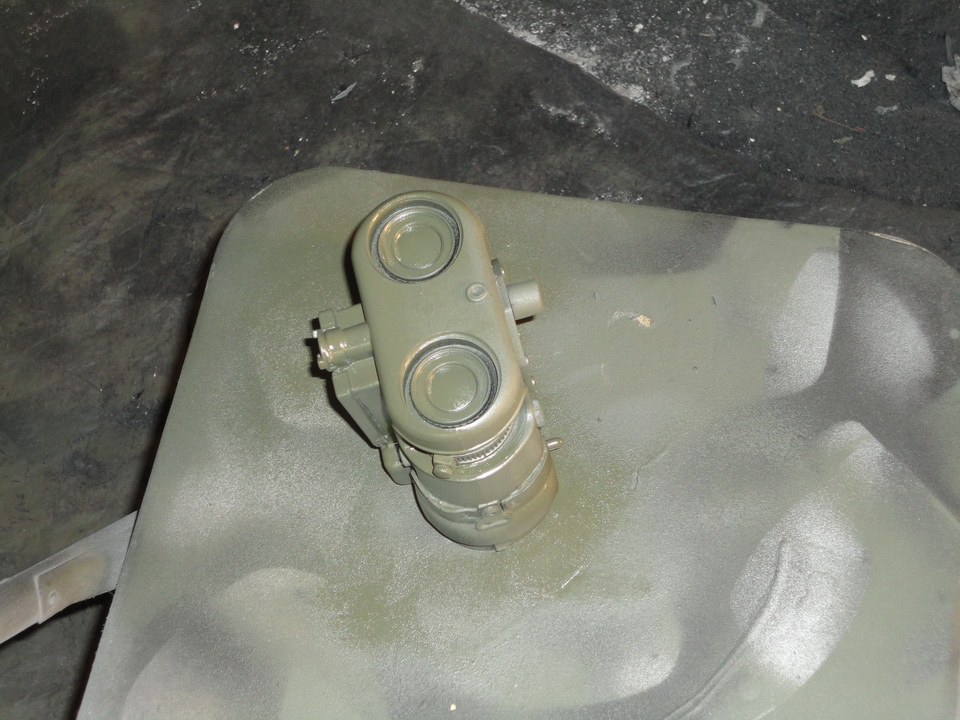
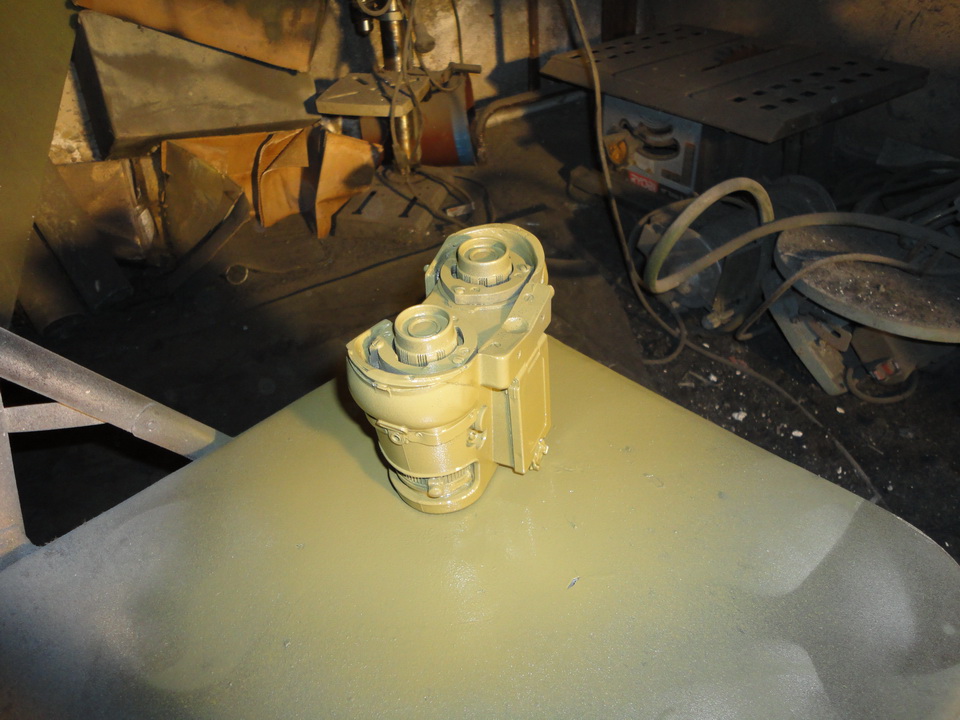
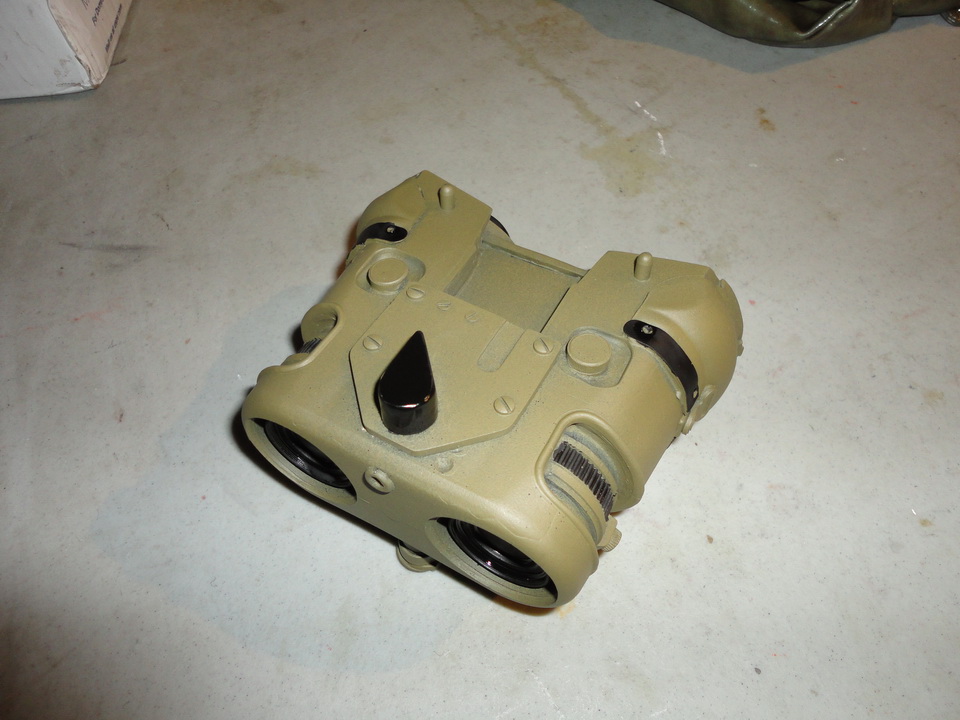
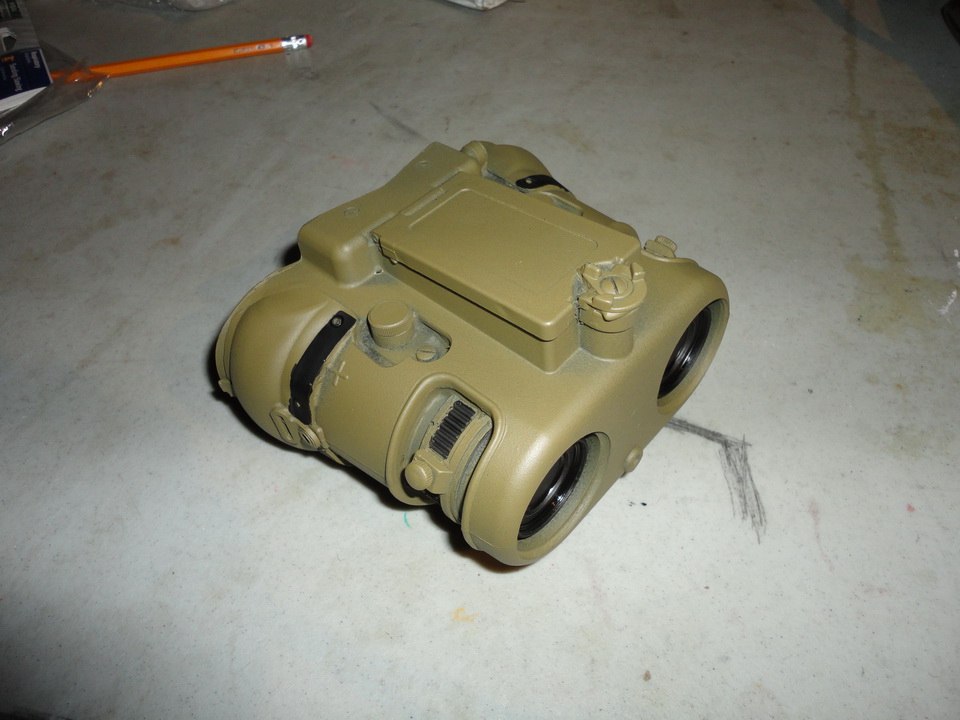
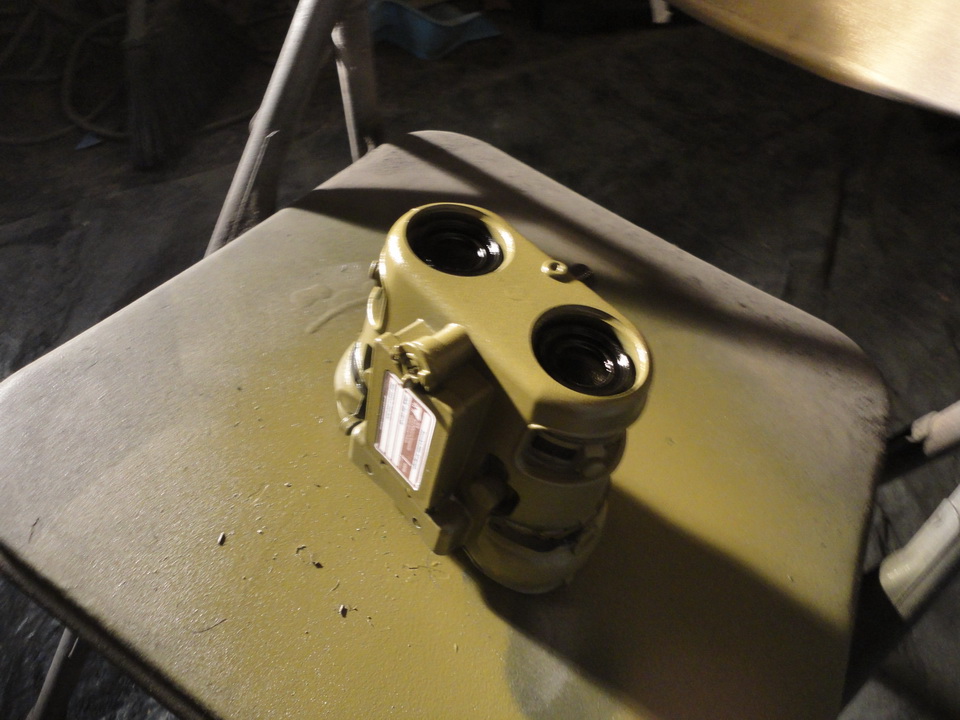
A
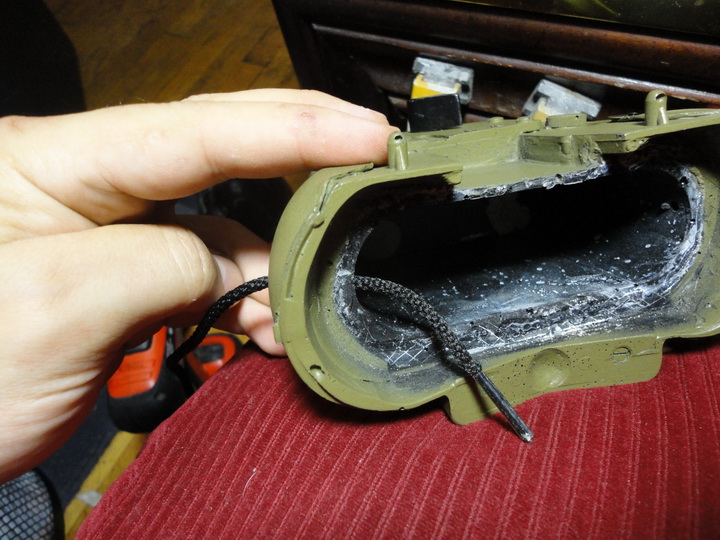
very simple, three part resin kit that needs just a little clean-up
and some paint to make a very nice display piece for every fan!
Payments
accepted are bank certified checks, money orders, and PayPal.
International
Shipping is available.
For
shipping prices, please use the checkout cart in the store,
it calculates the shipping costs for you prior to the payment being
due.
All
items are made to order at the time payment is made. Please expect 4-6
weeks for the items to be ready to ship.
Prices
subject to change without notice.